DNS over HTTPs (DoH)
This will help prevent an ISP from blocking DNS
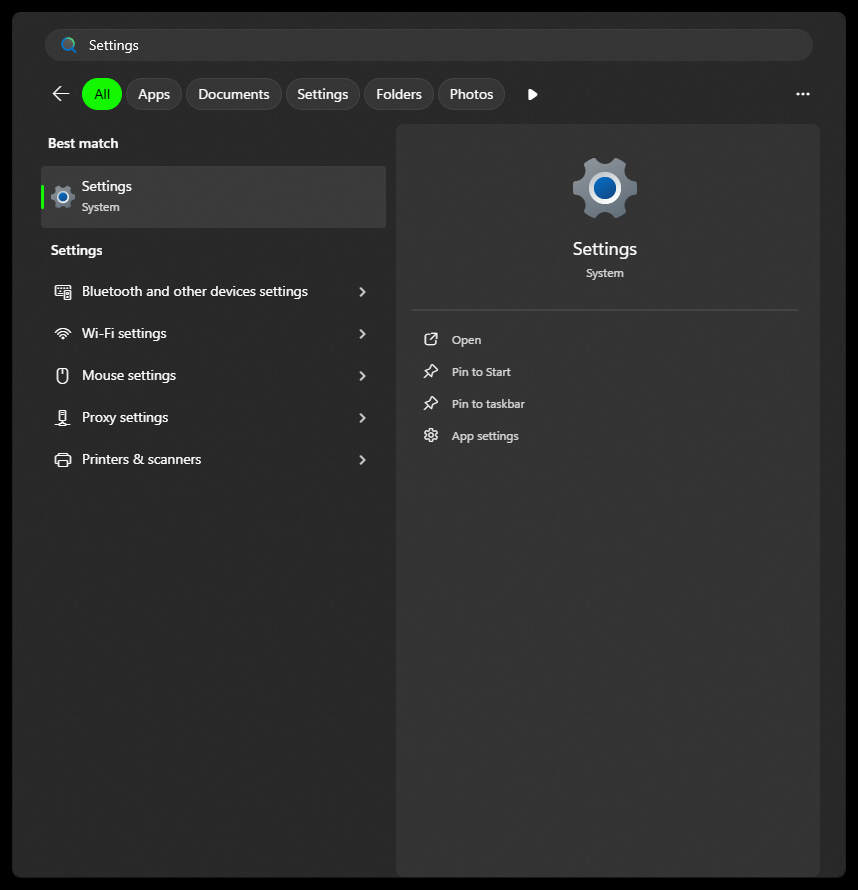
Go to Settings
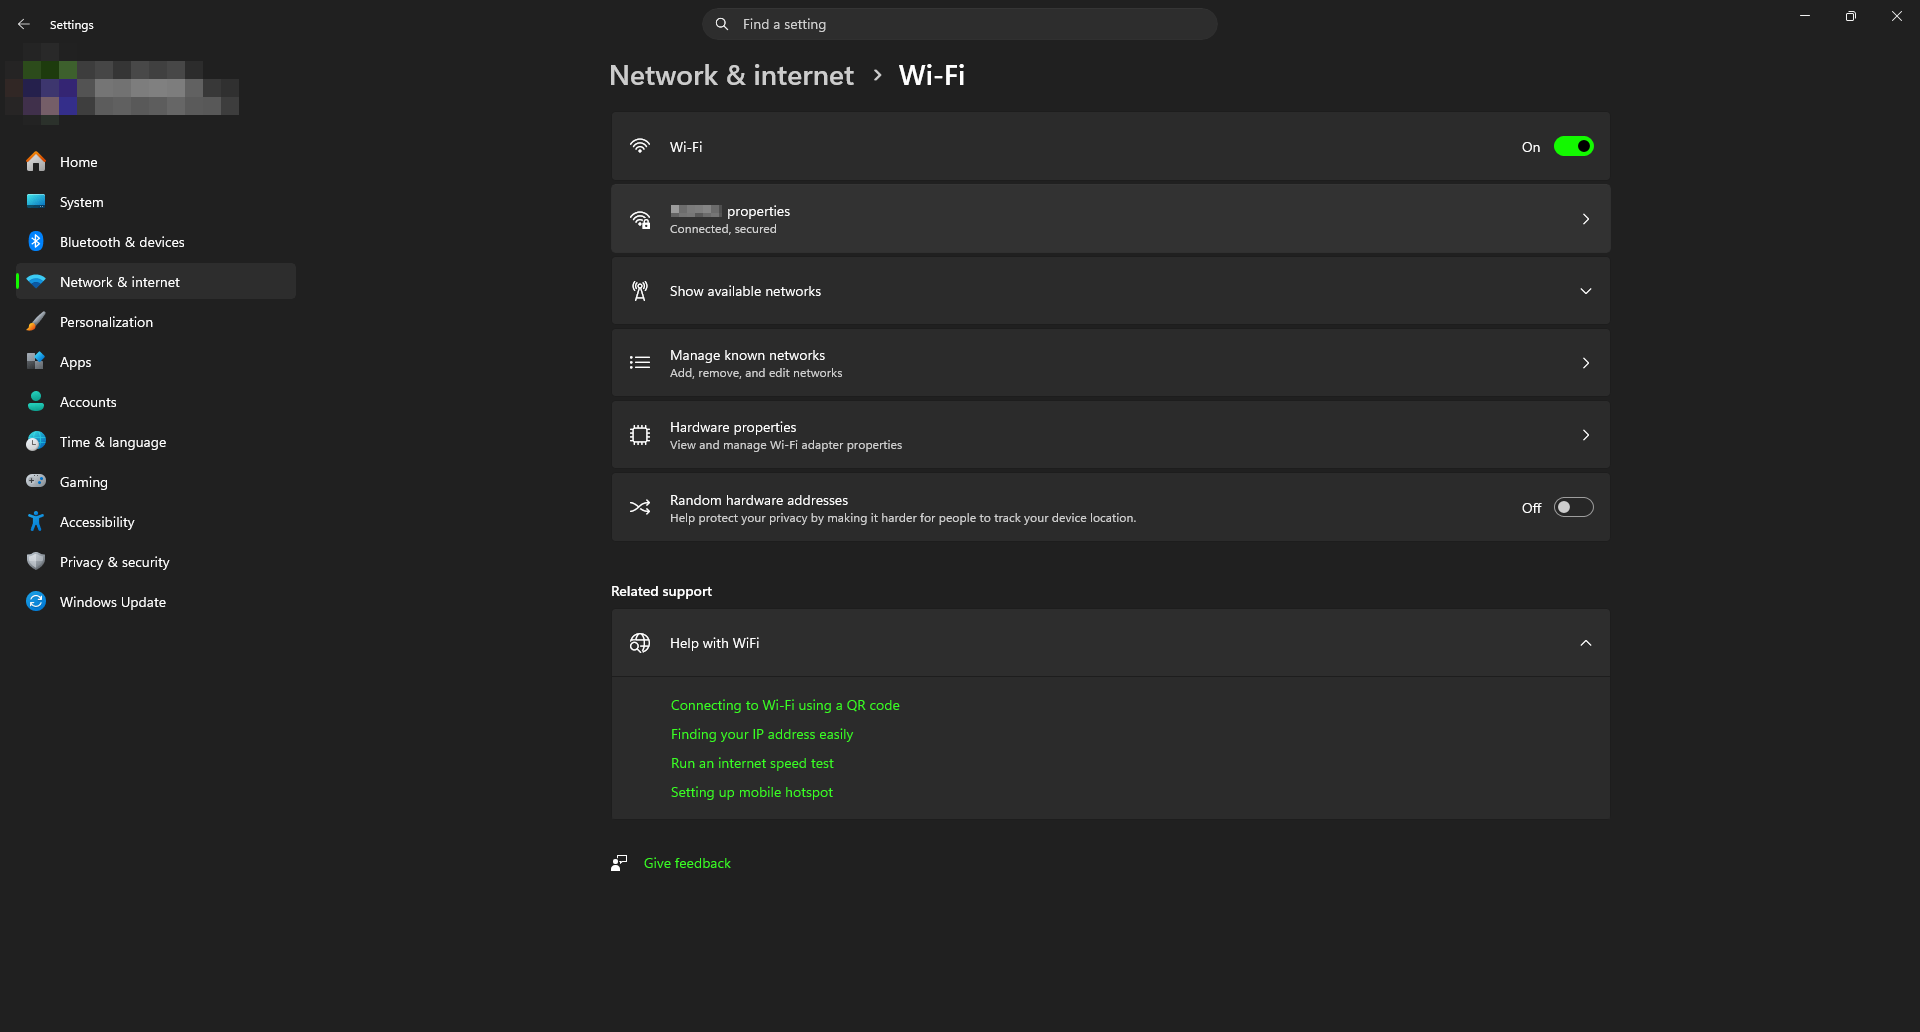
If you are using Wi-Fi, go to Wi-Fi. Otherwise, go to Ethernet, and select the network adapter you are currently using.
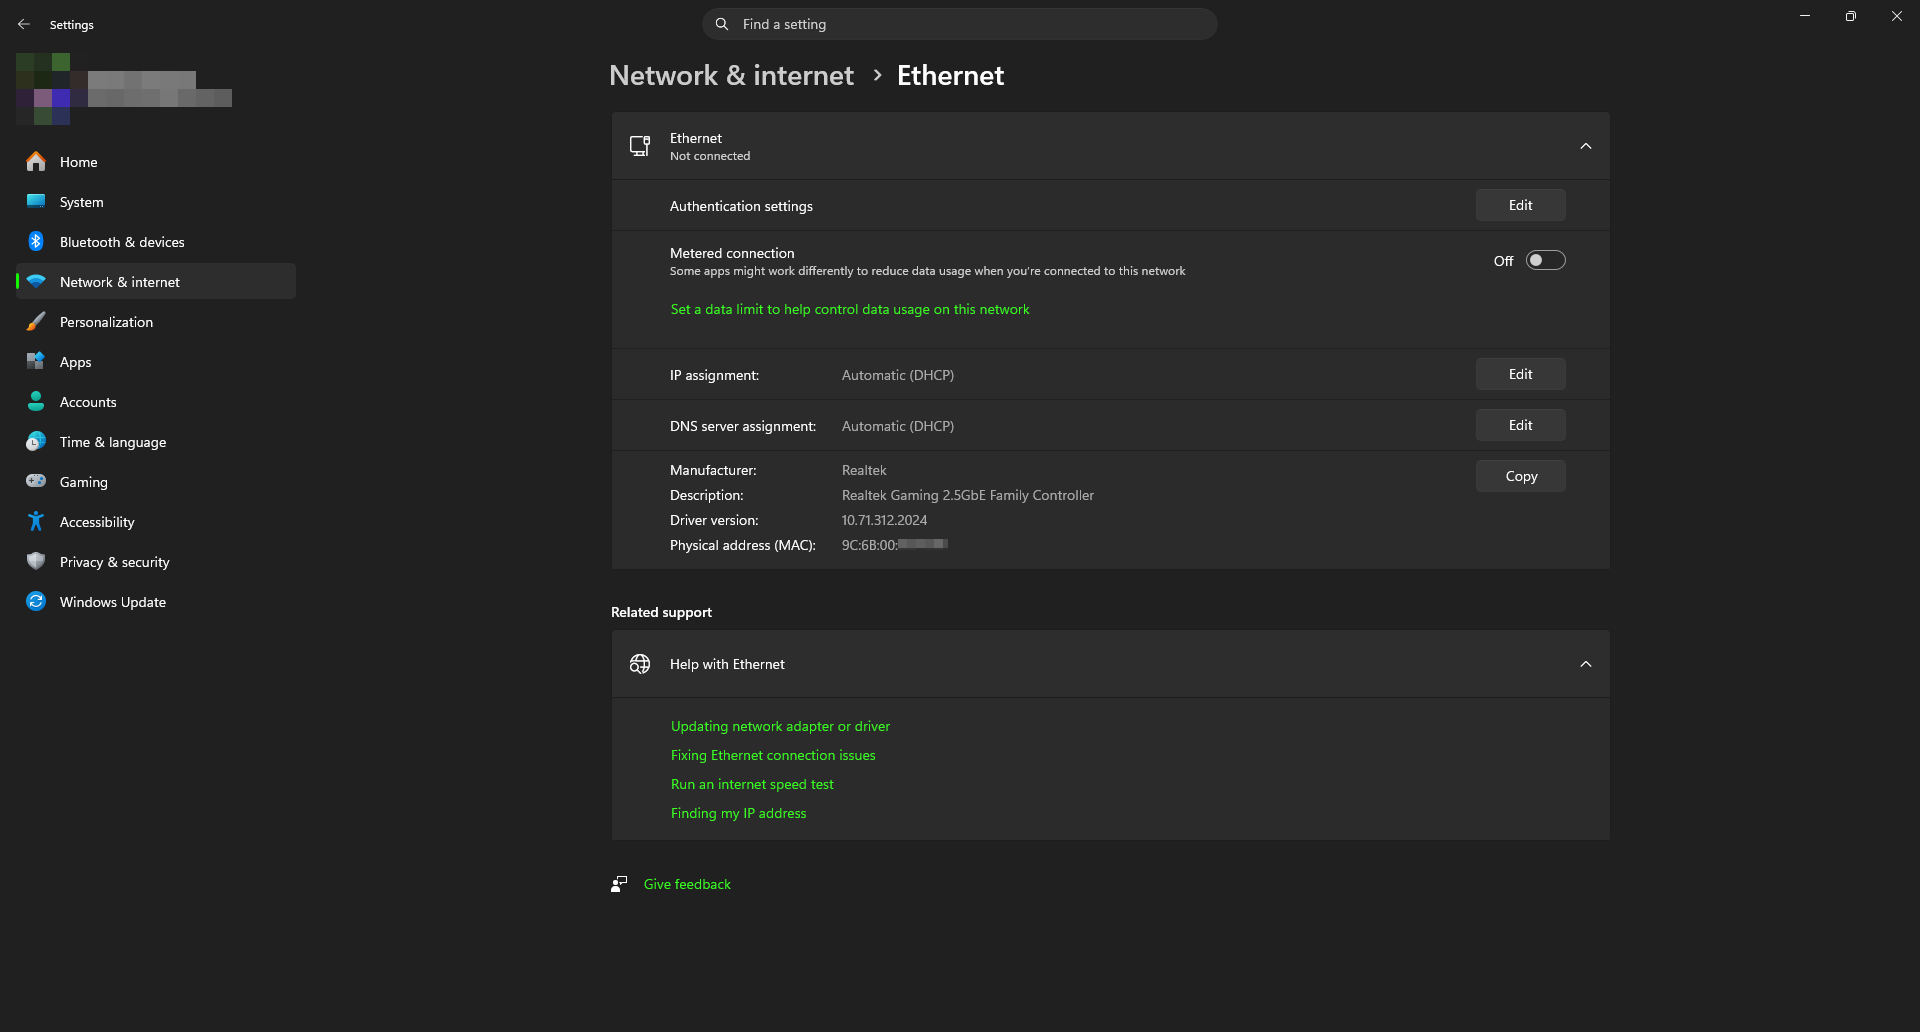
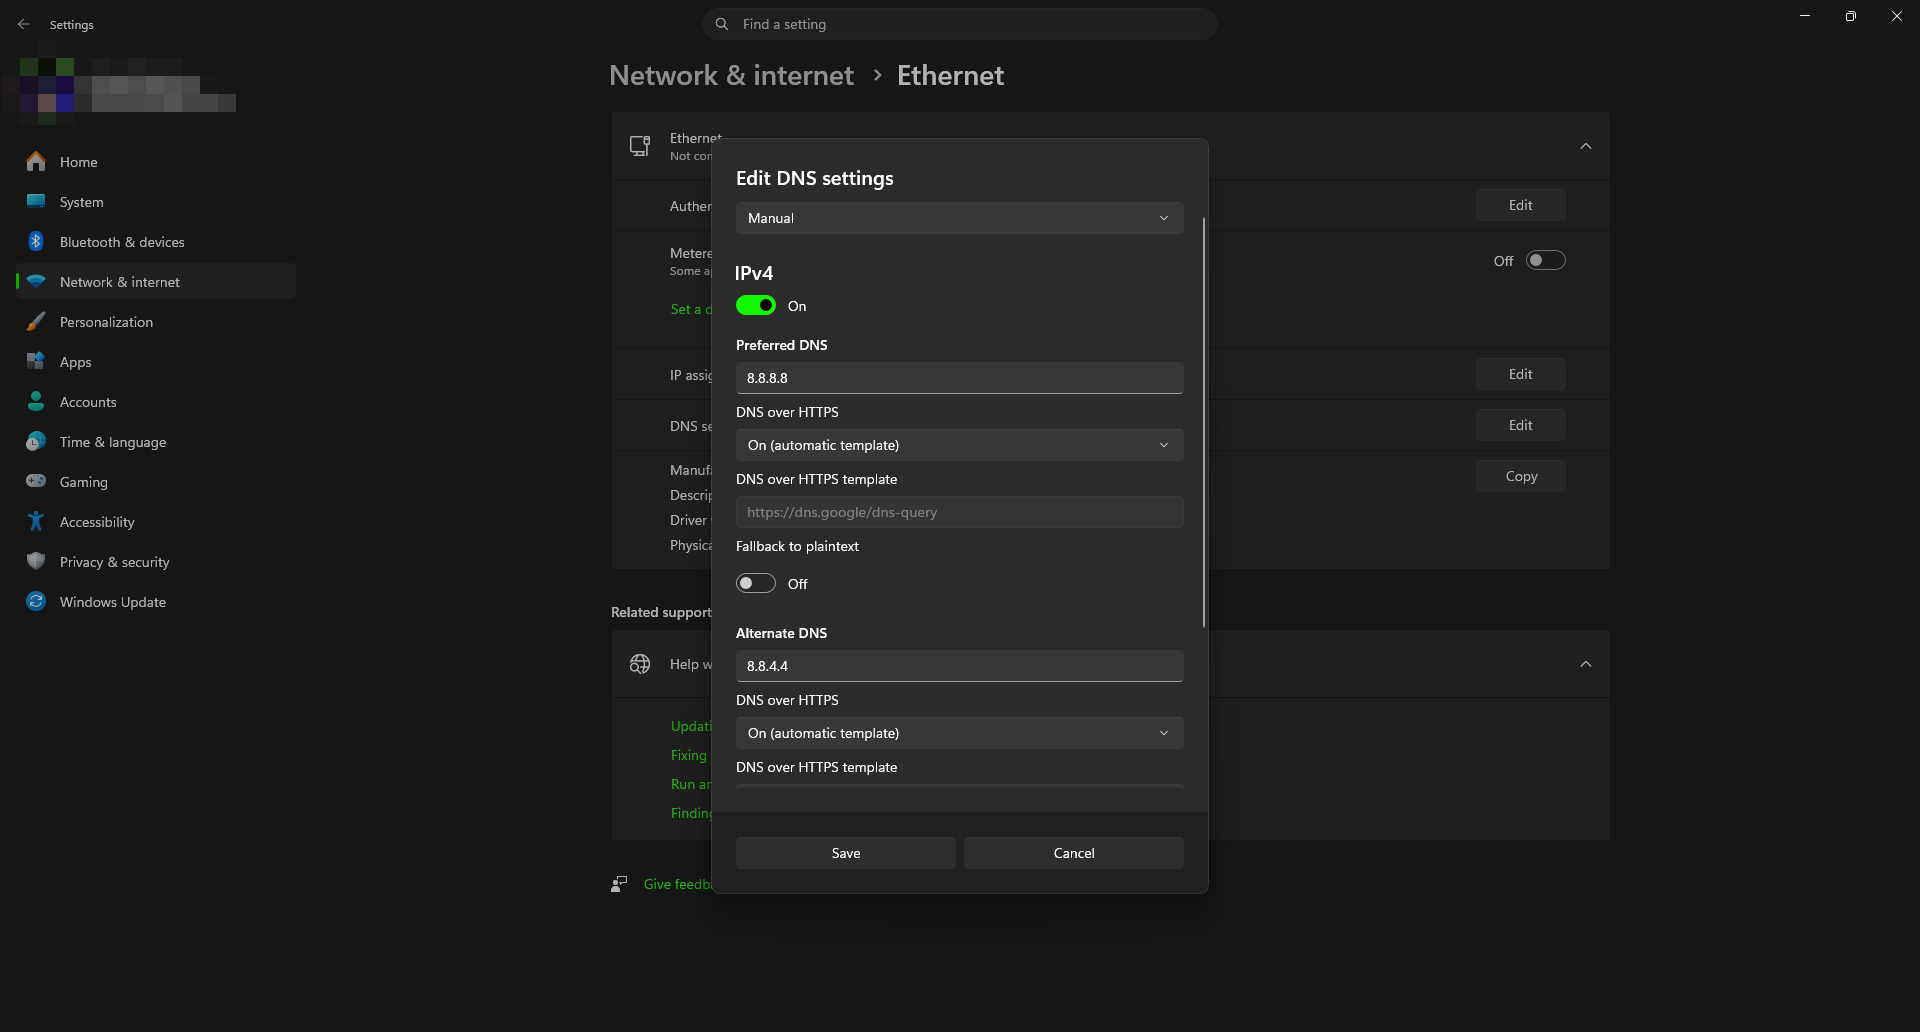
Open DNS Server Assignment and select Manual. Turn on IPv4, and enter these values:
Preferred DNS server:
8.8.8.8Alternative DNS server:
8.8.4.4.
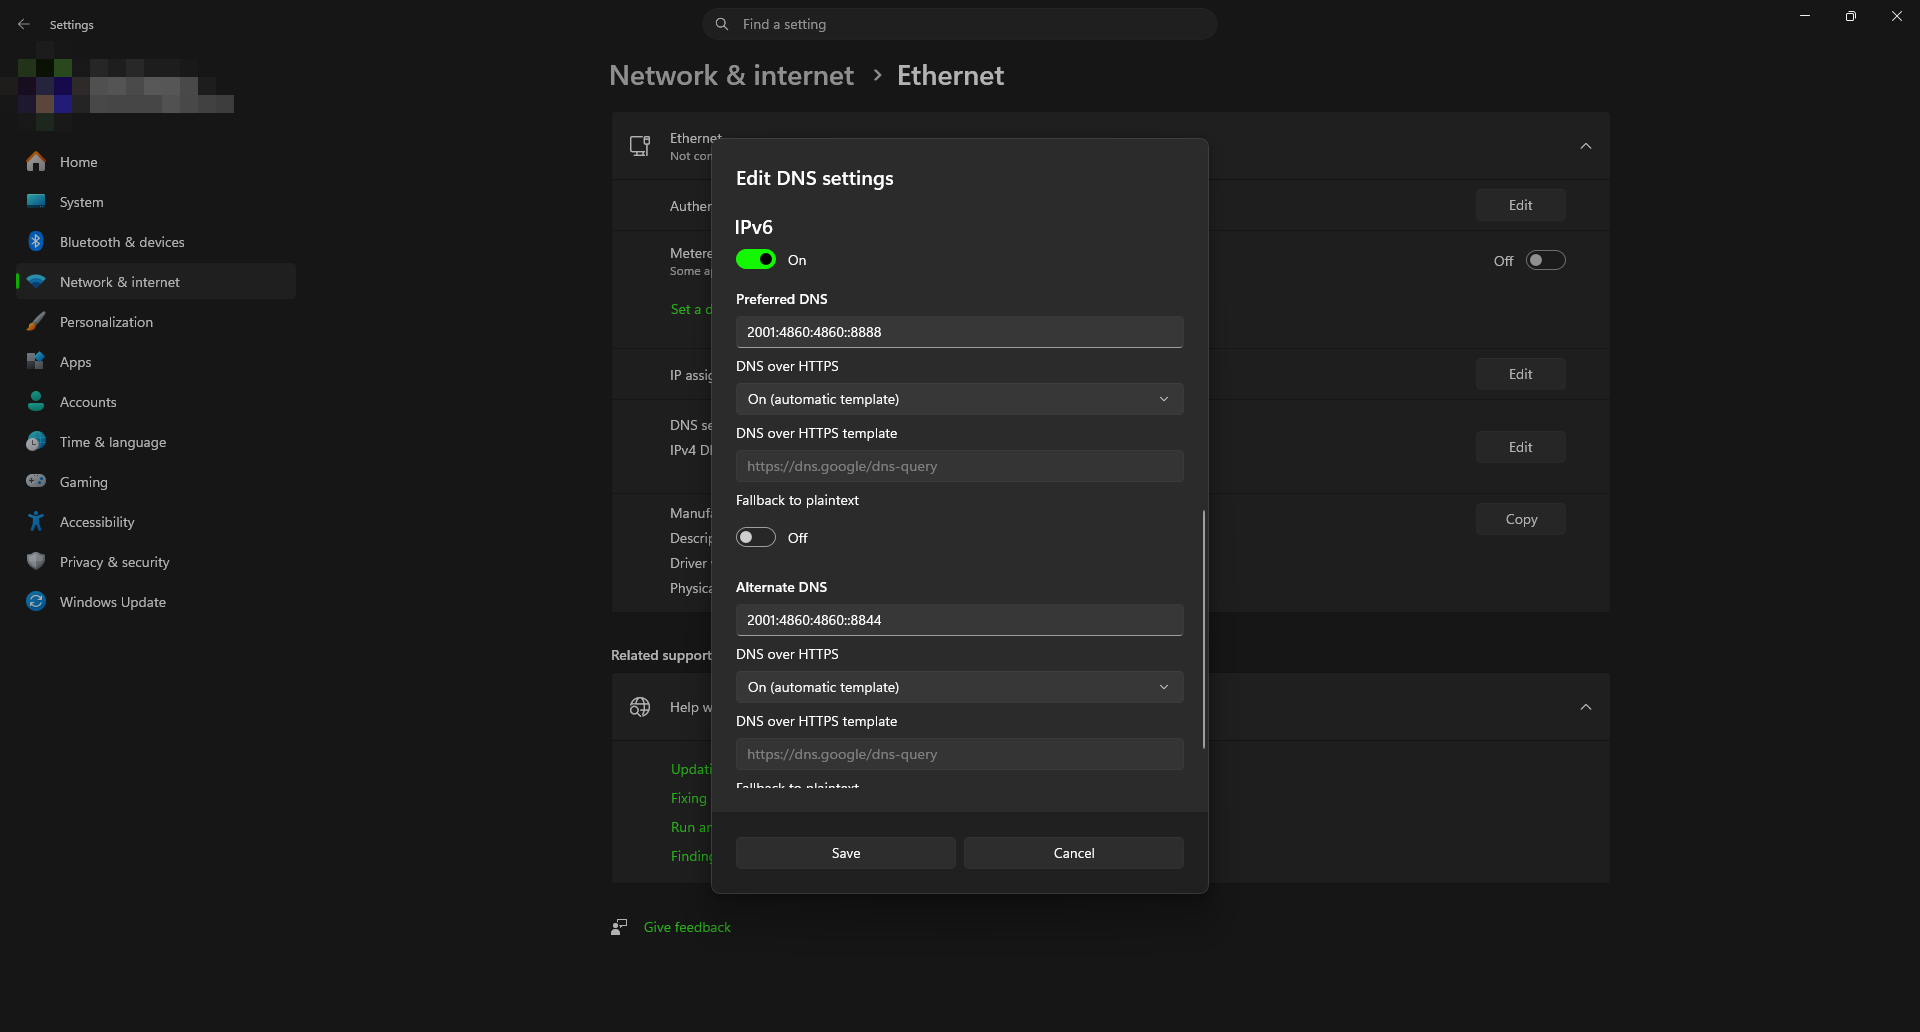
Make sure that you set DNS over HTTPS is set to On (automatic template)
Turn on IPv6, and enter these values:
Preferred DNS server:
2001:4860:4860::8888Alternative DNS server:
2001:4860:4860::8844
Check that your DNS is set properly
Just to make sure everything is set properly we can do a little test. This will let us know what our computer is actually using as the DNS server.
Open the command prompt
Search for the Command Prompt program. You can also enter cmd into the run program.
Run in command prompt
ipconfig /all | findstr "DNS\ Servers"
The output will look like
DNS Servers ...........: <DNS SERVER>
If the <DNS SERVER> doesn’t match what you entered earlier, something went wrong. Give this guide another try from the top. There can be multiple lines showing the multiple DNS servers you have set.
Flush your DNS (optional)
DNS records are often saved on your computer. Sometimes upto 24 hours. You can clear these records by running ipconfig /flushdns in the command line.
Open the command prompt
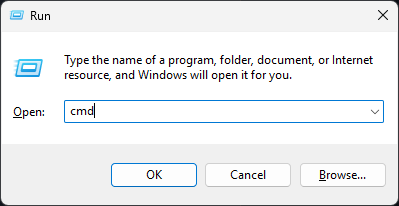
Search for the Command Prompt program. You can also enter cmd into the run program.

Run ipconfig /flushdns
Now in the command prompt, type the following and press enter
ipconfig /flushdns
The output should look like this:
C:\Users\playit>ipconfig /flushdns

Windows IP Configuration

Successfully flushed the DNS Resolver Cache.