This guide will walk you through how to host a FiveM server through playit.gg
Requirements
- GTA V Legacy
Server
- FiveM Server Guide - docs.fivem.net
- FiveM Client Setup - fivem.net
- Server Registration Key - portal.cfx.re
- TxAdmin Download - runtime.fivem.net
We’ve decided to use TxAdmin for this demonstration. Other ways do exist and work with playit. If you are unsure how to set up a server, feel free to ask in the Discord !
Creating the server
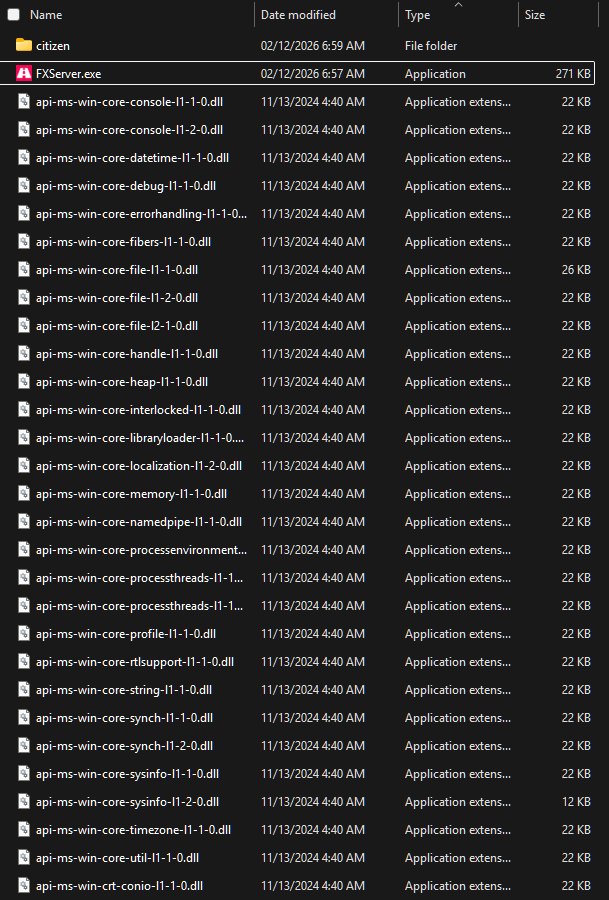
First, unzip the file called server.7z. Inside, you will see these contents. If they don’t look exactly like this, sort by Type.
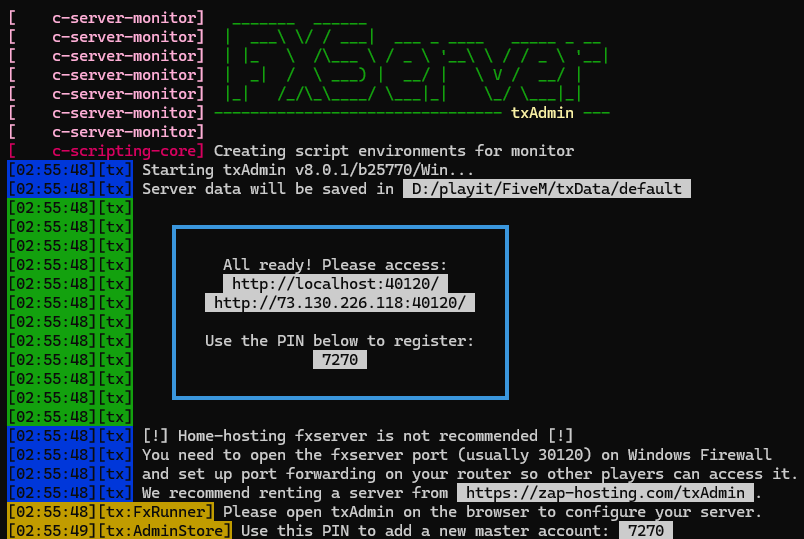
Double-click and execute FxServer.exe. This will open a console window and a webpage where you can then configure the server. The PIN should be autofilled.
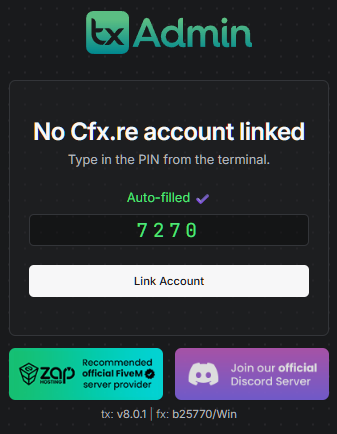
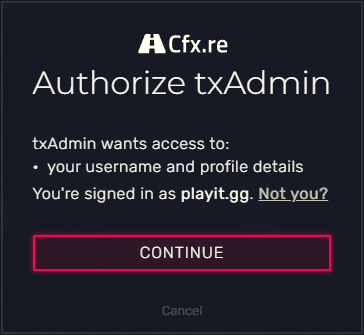
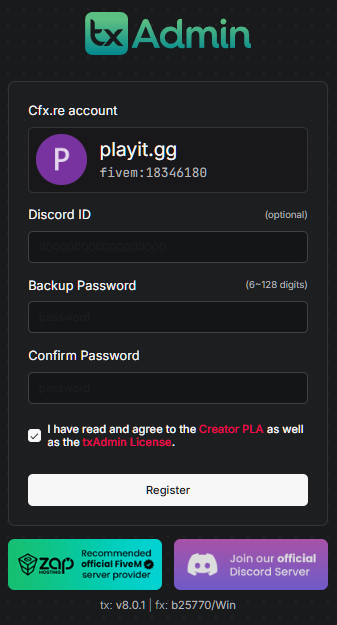
Continue to Link Account. If you do not have an account, create one and then return to this step. If you do, continue signing in.
After account creation, set a password for your account. Continue registration.
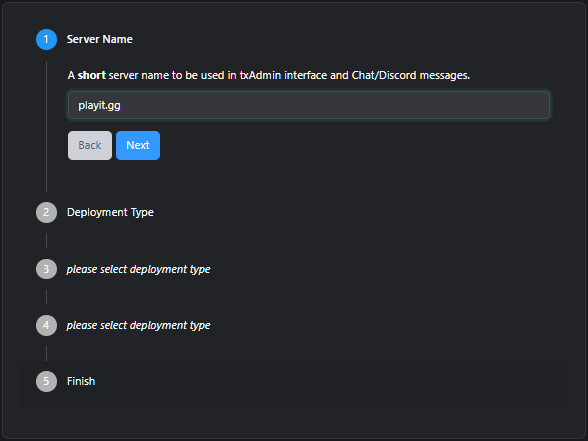
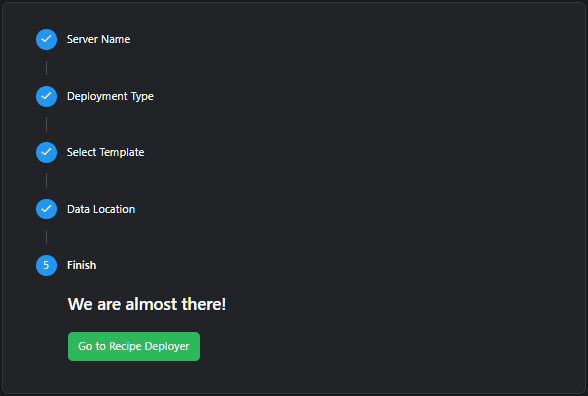
Now, we can create a server using the guided setup shown on the next page. Set a name for this new server.
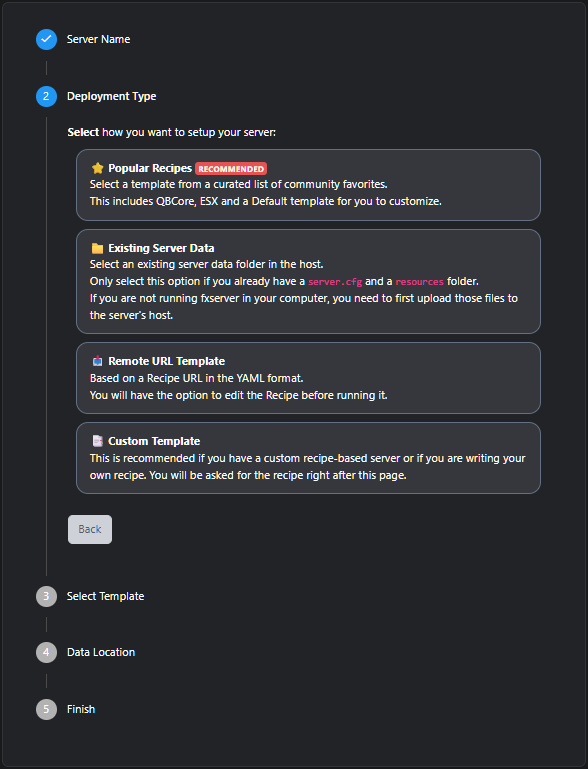
For the deployment type, we recommend the Popular Recipes
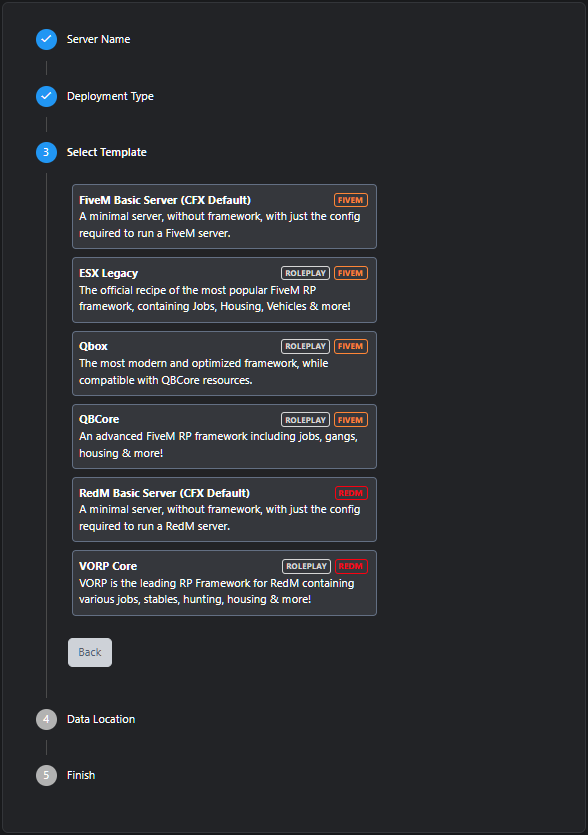
Choose a template that you like. This changes the behaviour and features on the server. We’ll just be using the FiveM Basic Server - it’s the first one in the list.
Choose a place to save your server files. The auto generated name is fine, and does not need renamed.

Go to Recipe Deployer.
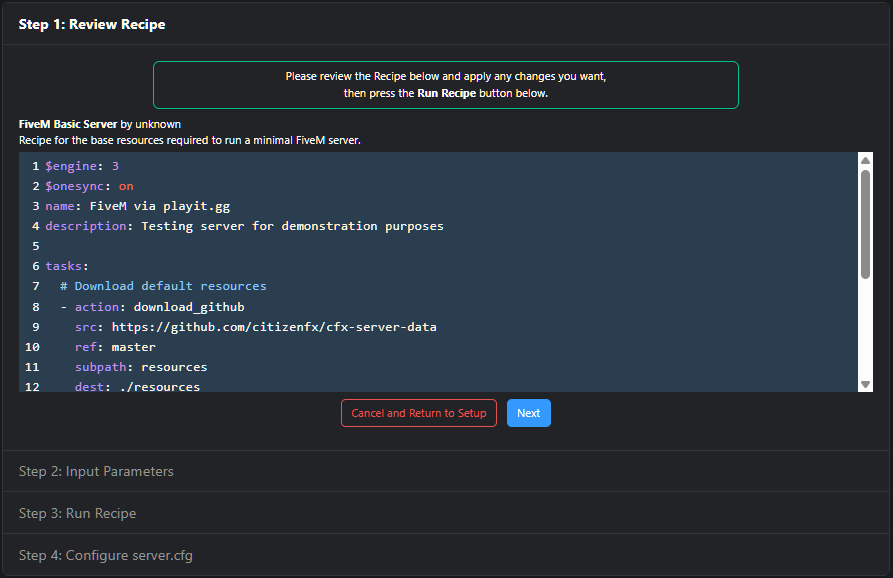
Here is where you change visibility settings. We recommend only changing the name and description
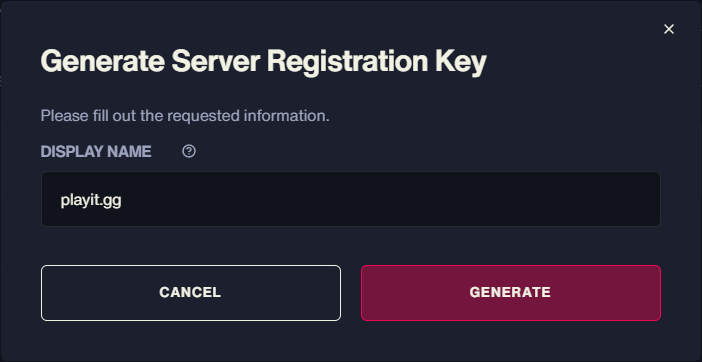
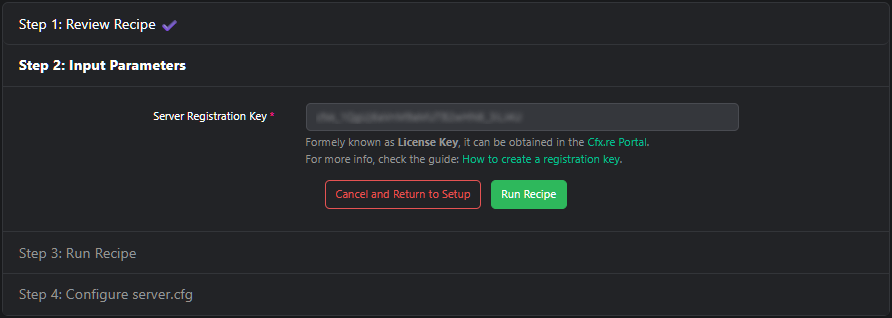
You need a registration key to validate your server. Go to portal.cfx.re and create a new key - copy this.
Paste this in Recipe Deployer, Step 2. Click Run Recipe.
Change the basic configuration file if you wish. If everything looks correct, click Save & Run Server

You now have the ability to join the server on your local network, as well as logs and a command line.

Creating a tunnel
This server uses
TCP/UDP 30120, which means that free users will not be able to create this - however, you can check out playit premium
Set up the tunnel as follows:
Tunnel Type: FiveM
Port Count: 1
Local Port: 30120

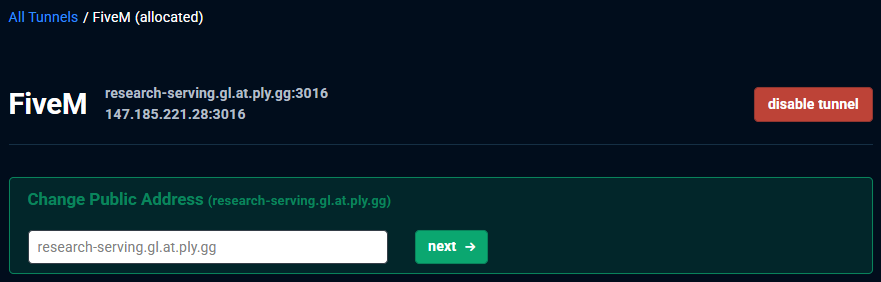
Your tunnel has been created, and the next time you open FXServer.exe, the server will run and a new browser tab for TxAdmin should open
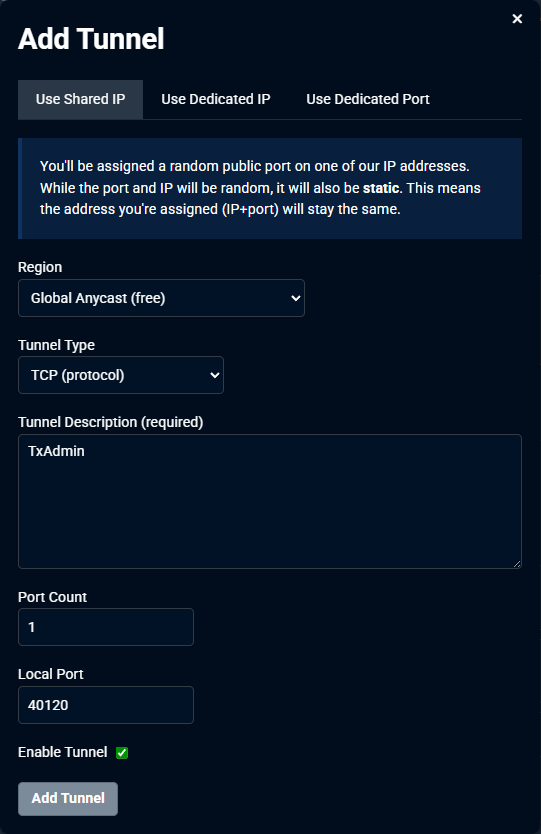
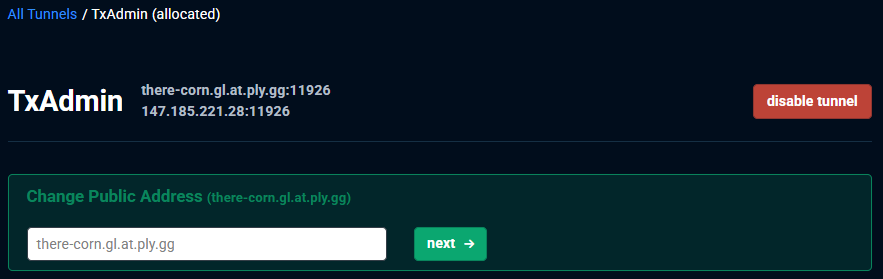
Using a tunnel for TxAdmin’s panel (optional)
Set up the tunnel as follows:
Tunnel Type: HTTPs
Port Count: 1
Local Port: 40120
Connecting to the server
Inside of FiveM, click on Play, and go to the server list. We’ll want to direct connect.
To do this, we’ll type in >IP_Address:Port. This will be different for everyone.
