Important! HTTPs tunnels require Playit Premium. See details
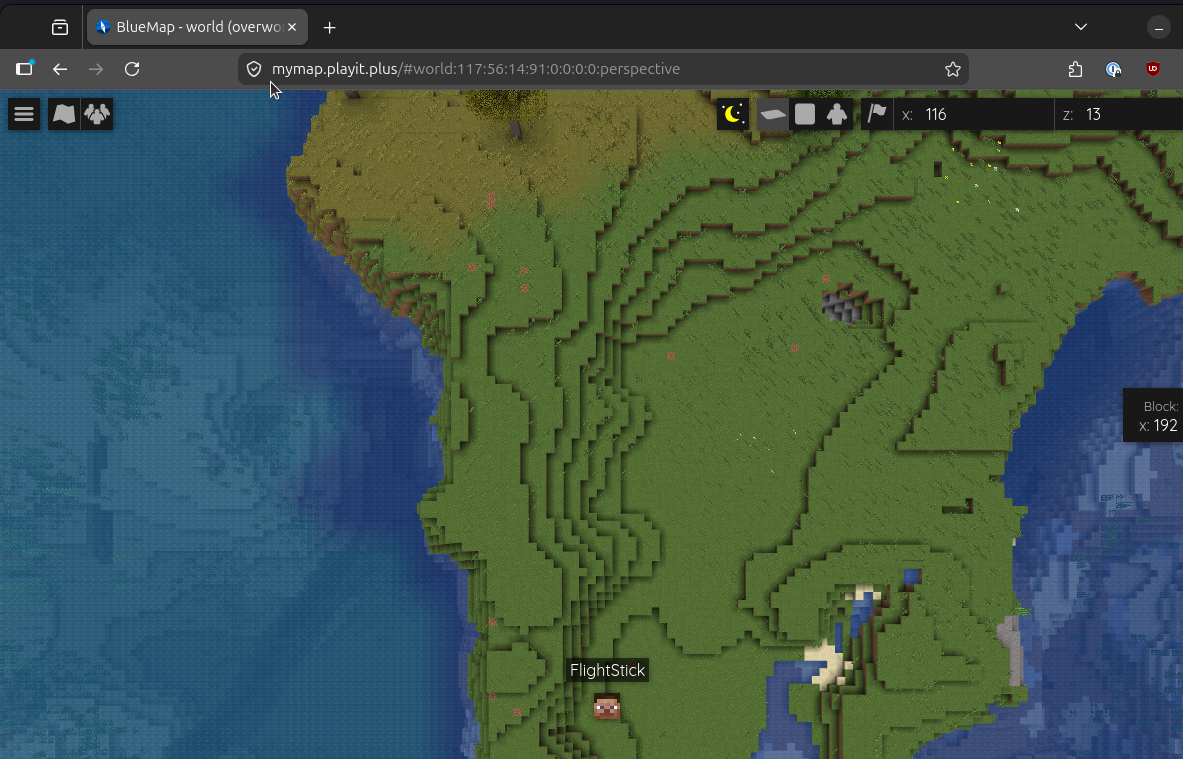
This guide assumes you have a web server up and running on localhost. For this example, we have a Minecraft Java server running with Paper and the BlueMap plugin.
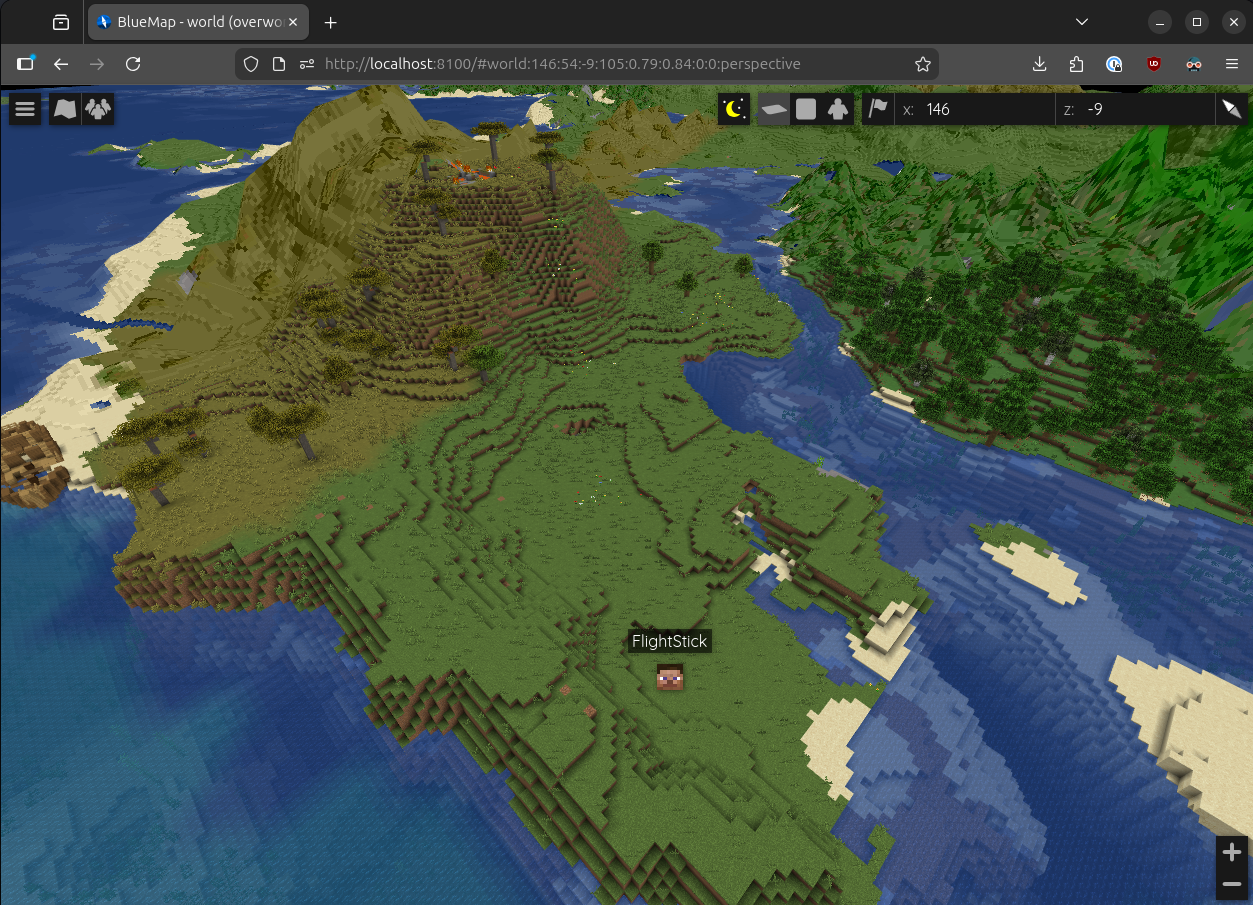
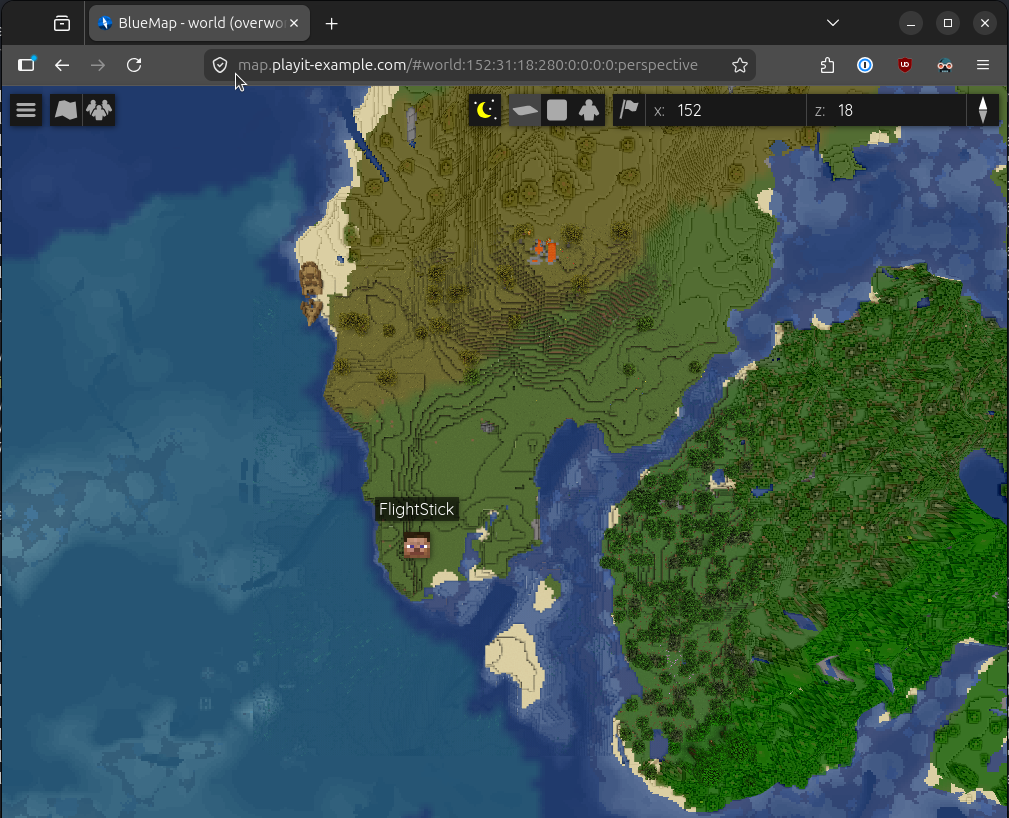
In this guide we’ll be using Playit to make our local website running at http://localhost:8100 public on https://map.playit-example.com and https://mymap.playit.plus. For you this will likely be different.
Step 1. (optional) Adding your external domain to Playit
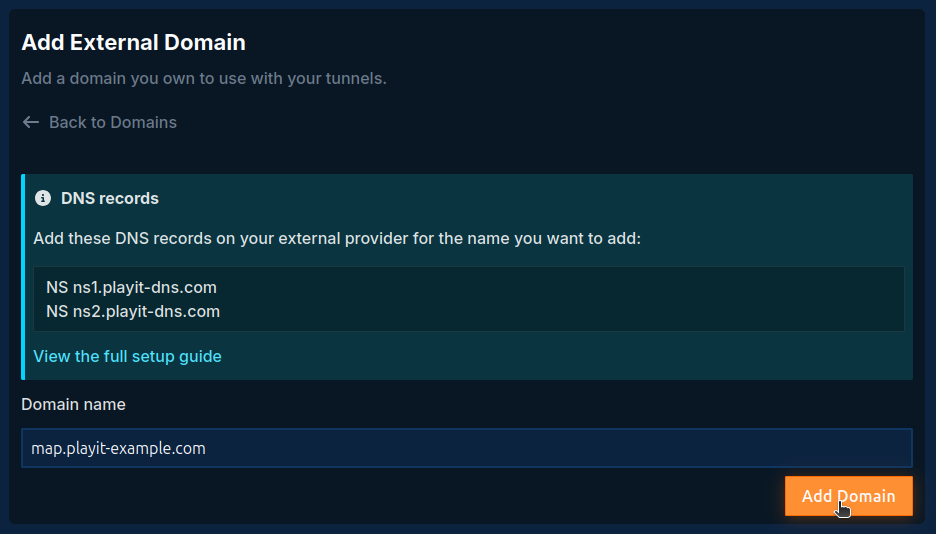
Visit playit.gg/account/details/domains/external
to add your external domain. For this example, it will be map.playit-example.com. To use an external domain you will need to have it purchased on a domain registar such as Namecheap, Porkbun, or Cloudflare. For more details on how to add an external domain you can see Add an external domain to playit.gg
. In this guide we’ll be using CNAME records which is a new feature for HTTPs tunnels.
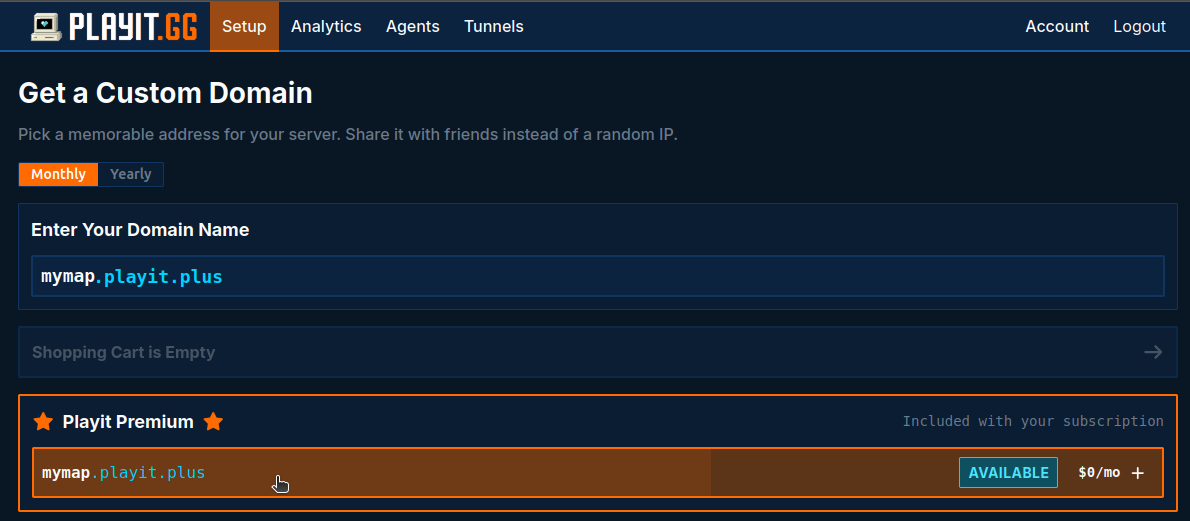
Step 2. (optional) Get your custom domain
Visit playit.gg/account/setup/domain/custom and purchase your custom domain. Playit premium accounts get 3x .playit.plus domains.
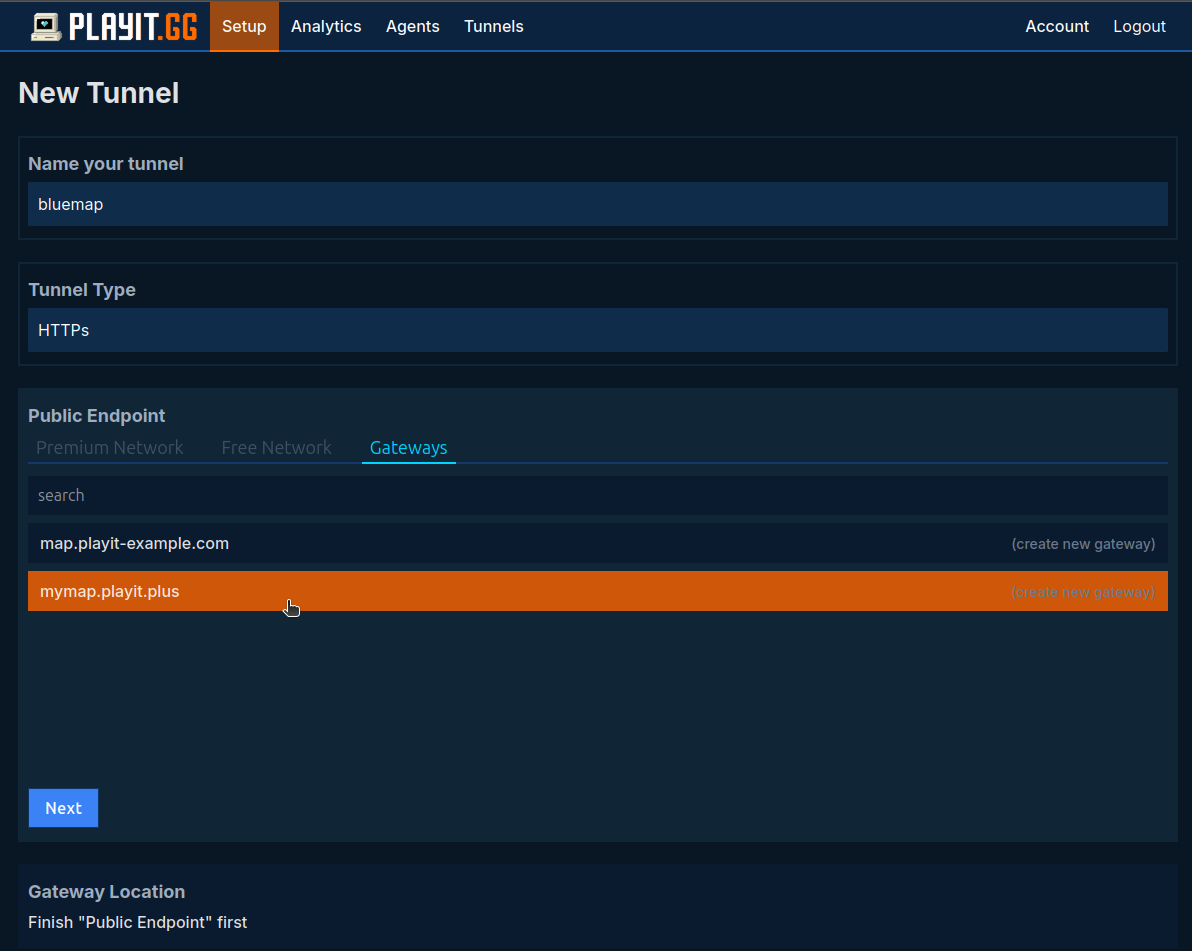
Step 3. Create your HTTPs tunnel
Visit playit.gg/account/setup/new-tunnel to create your HTTPs tunnel.
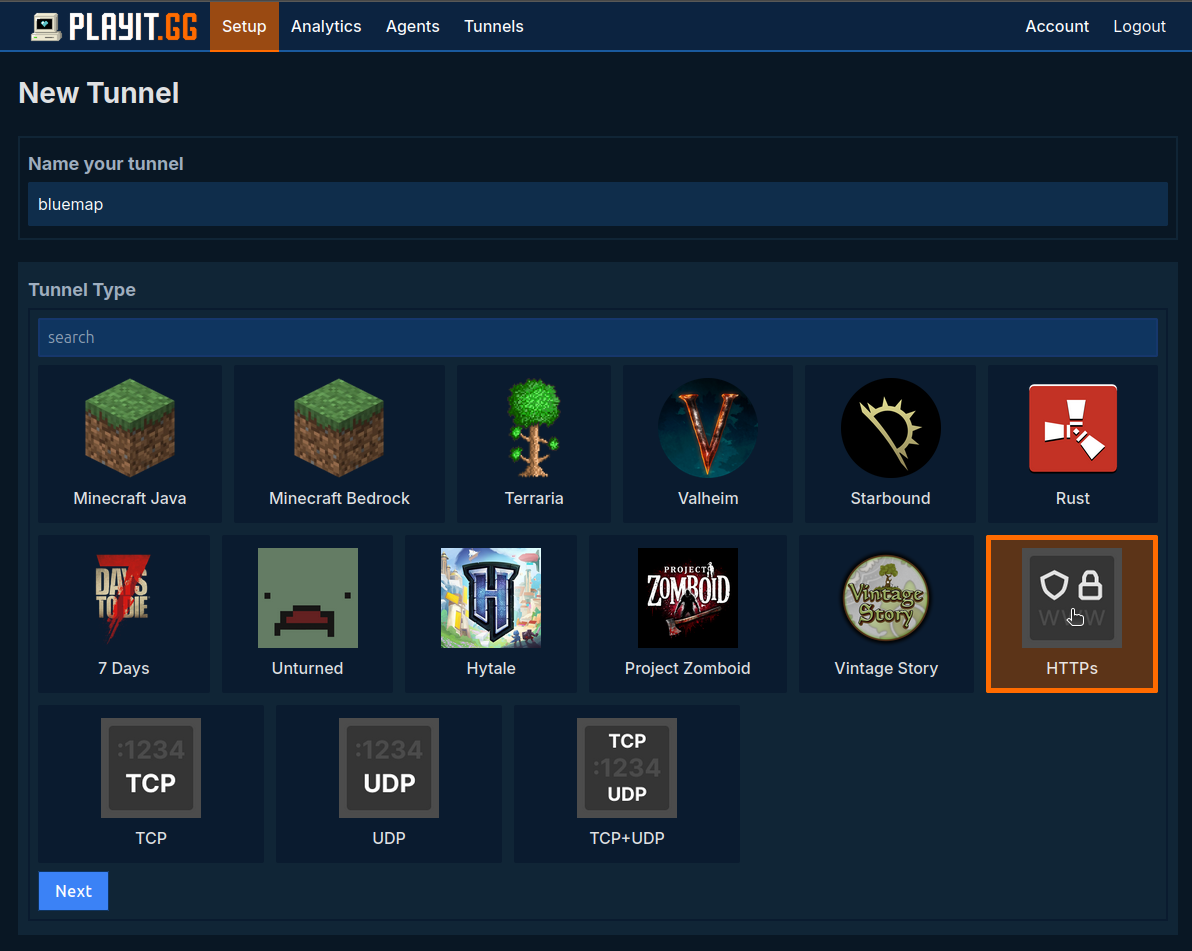
Select one of the domains you would like to use for your website. You can add more later.
Then:
- Select the region where you are located.
- Select the playit agent running on the same computer / server as your website.
- Leave the Origin Config with its default settings.
- Finall, press “Create Tunnel”.
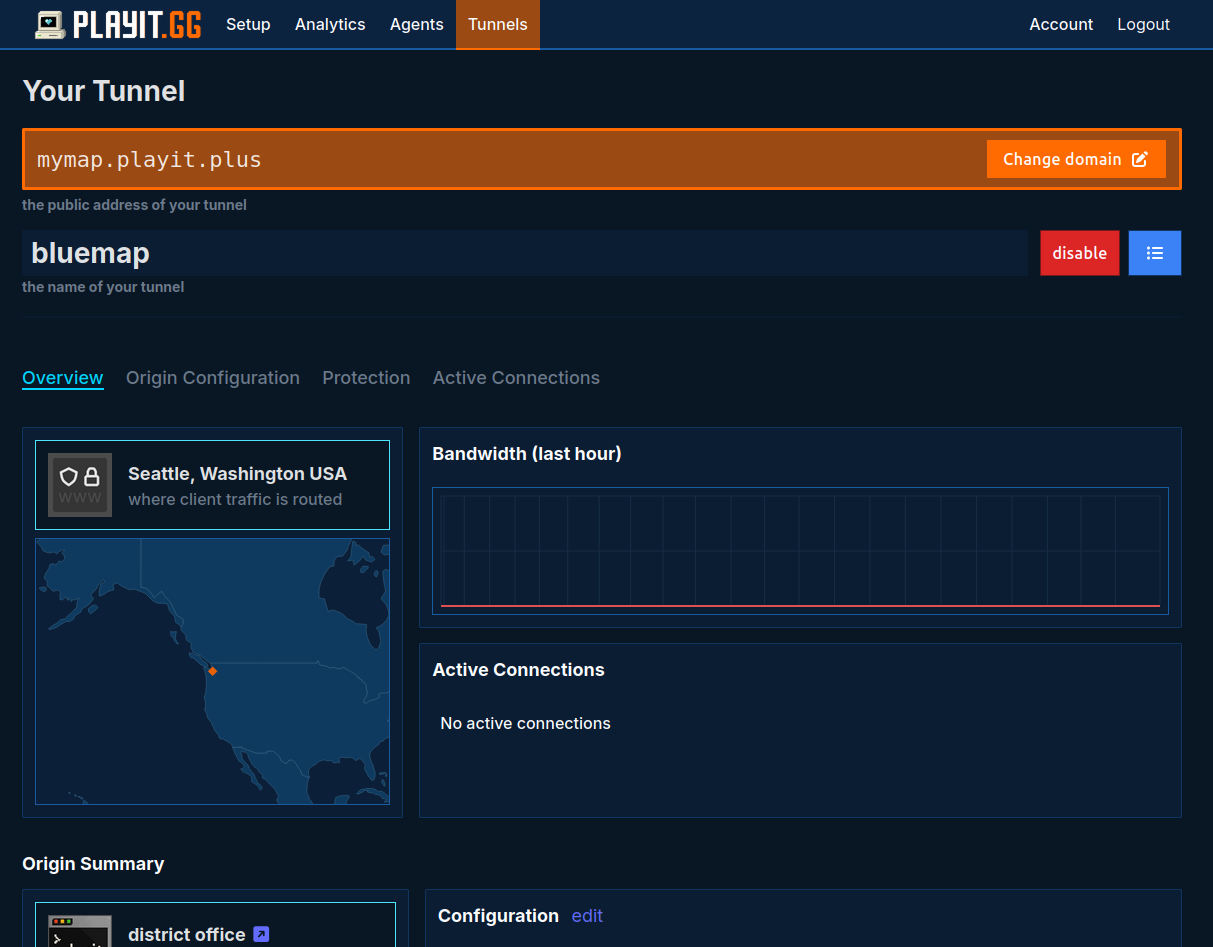
Your tunnel should now be created.
Step 4. Install Caddy
Playit does not terminate SSL, so you need to install a program to do that for you. Some web servers have support for SSL build in, but we still recommend using Caddy unless you know what you’re doing. Caddy will automatically provision and manage your HTTPs certificates using Let’s Encypt. This makes life a lot easier.
You can install instructions from the official website . In our case, we’re using a Debian based server so will run their install script from caddyserver.com/docs/install (copied below)
sudo apt install -y debian-keyring debian-archive-keyring apt-transport-https curl
curl -1sLf 'https://dl.cloudsmith.io/public/caddy/stable/gpg.key' | sudo gpg --dearmor -o /usr/share/keyrings/caddy-stable-archive-keyring.gpg
curl -1sLf 'https://dl.cloudsmith.io/public/caddy/stable/debian.deb.txt' | sudo tee /etc/apt/sources.list.d/caddy-stable.list
sudo chmod o+r /usr/share/keyrings/caddy-stable-archive-keyring.gpg
sudo chmod o+r /etc/apt/sources.list.d/caddy-stable.list
sudo apt update
sudo apt install caddy
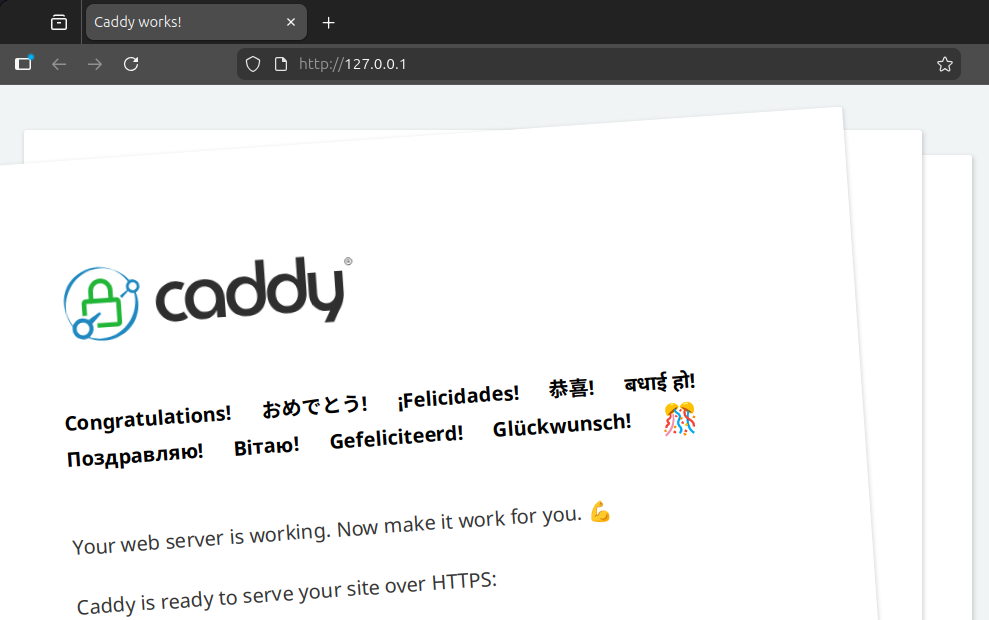
You can confirm that caddy is properly installed and running by visiting http://127.0.0.1:80
. The page should look something like:
Step 5. Configure Caddy
From the Caddy works! website we can see where our Caddyfile is located. In our case on Linux the file is located at
/etc/caddy/Caddyfile
for you this might be different.
The file contents should look something like
:80 {
        # Set this path to your site's directory.
        root * /usr/share/caddy

        # Enable the static file server.
        file_server

        # Another common task is to set up a reverse proxy:
        # reverse_proxy localhost:8080

        # Or serve a PHP site through php-fpm:
        # php_fastcgi localhost:9000
}
We’re going to add our own configuration block at the end of the file
mymap.playit.plus {
    reverse_proxy localhost:8100
}
- Replace
mymap.playit.pluswith the domain you used when creating your tunnel. - Replace
localhost:8100with the address of your website
Save the file then run the command to “Reload the configuration”. In our case that is
sudo systemctl reload caddy
Drum roll…… That’s it! You should now be able to visit your domain and it should be public with HTTPs.
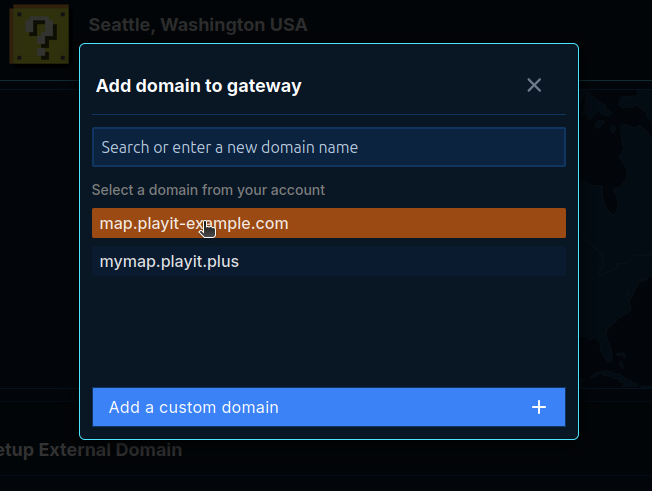
Step 6. (Optional) Add another domain to your gateway
Visit playit.gg/account/details/gateways/list and find your gateway.
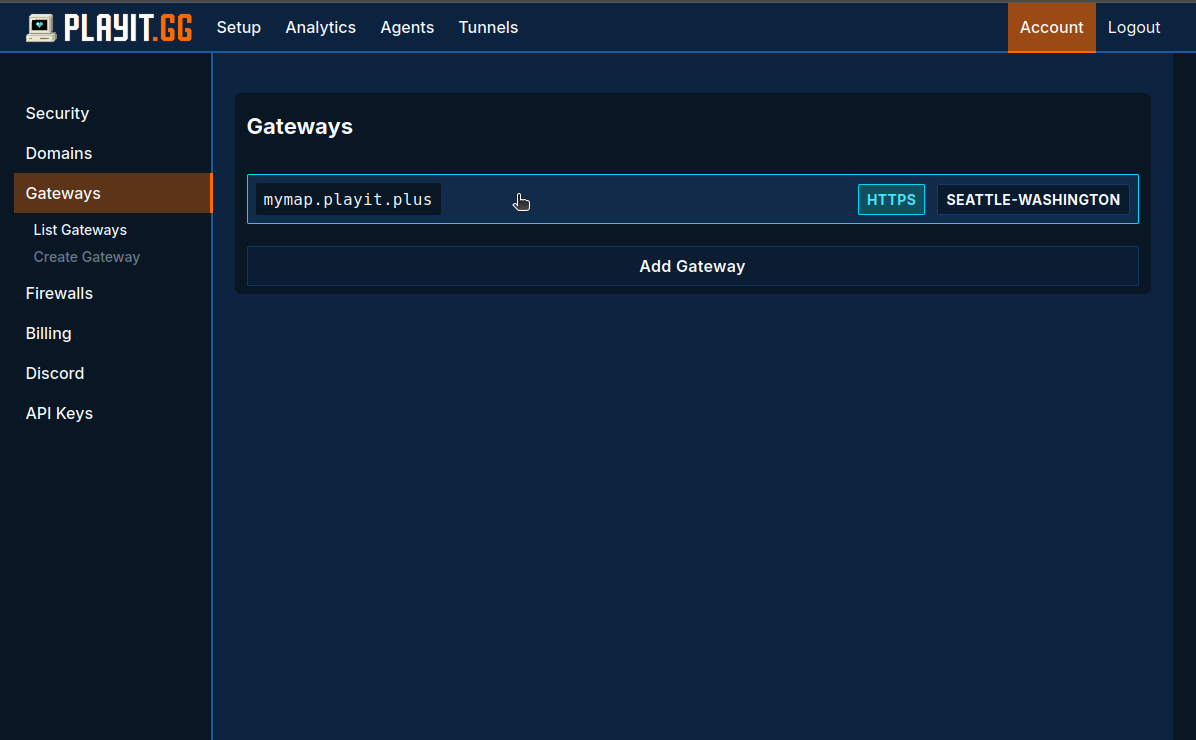
Add the external domain to your gateway
Step 7. (Optional) Configure your external domain with a CNAME record
If your external domain is already setup with nameserver records you can skip this step. If your domain is managed by a different DNS service (such as Cloudflare) you can use our CNAME address for the gateway to setup your external domain.
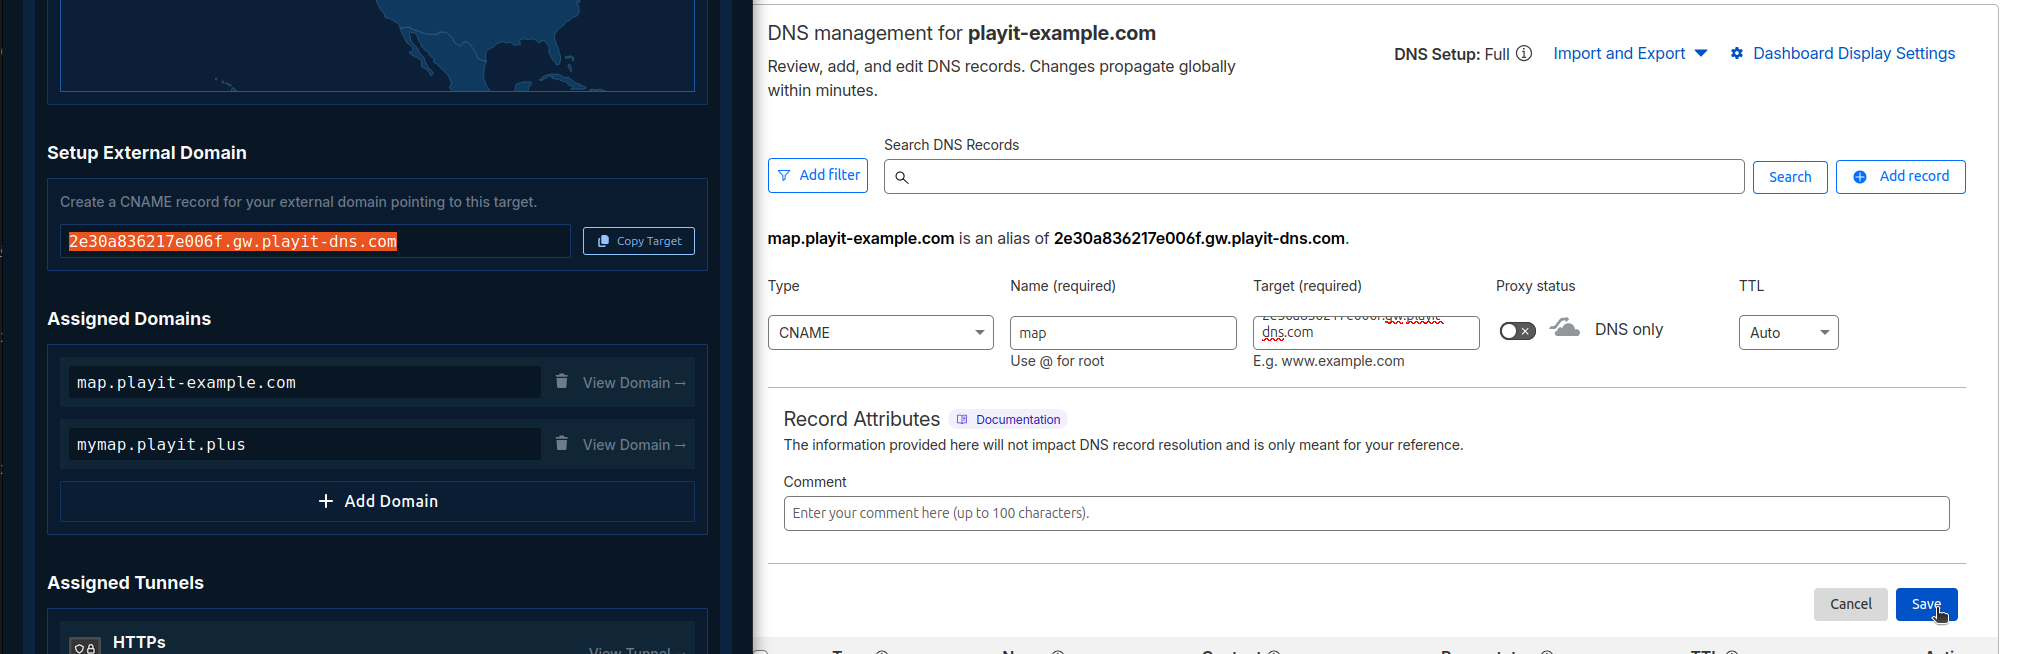
Step 8. (Optional) Configure your external domain with a CNAME record
By this step, your external domain should be:
- Added to your gateway
- Have DNS properly configured (either by CNAME, NS, or Nameservers)
All we need to do now is add it to our Caddy configuration and reload. Example
mymap.playit.plus, map.playit-example.com {
    reverse_proxy localhost:8100
}
After saving the file I’ll run
sudo systemctl reload caddy
And a few seconds later our website is live with HTTPs!