Setting Everything Up
Installing SteamCMD
For this to work, we will be using SteamCMD - here’s how to set it up. We will be using Ubuntu Server 26.04 for this guide. From your terminal, enter these commands - to install SteamCMD, the multiverse repository and x86 packages must be enabled.
Ubuntu
sudo add-apt-repository multiverse; sudo dpkg --add-architecture i386; sudo apt update
sudo apt install steamcmd
For other distributions, please refer to the instructions for your specific setup
Installing the Satisfactory Dedicated Server
You need a place to store the server - create a new directory, for example satisfactory
mkdir ~/satisfactory
Start installing the server from SteamCMD using this command:
/usr/games/steamcmd +force_install_dir ~/satisfactory +login anonymous +app_update 1690800 validate +quit
This will tell SteamCMD to start installing the Satisfactory server inside of ~/satisfactory.
If you get
ERROR! Failed to install app '1690800' (Missing configuration), you should try adding+@sSteamCmdForcePlatformType linuxto the command:
/usr/games/steamcmd +@sSteamCmdForcePlatformType linux +force_install_dir ~/satisfactory +login anonymous +app_update 1690800 validate +quit
Create the tunnel
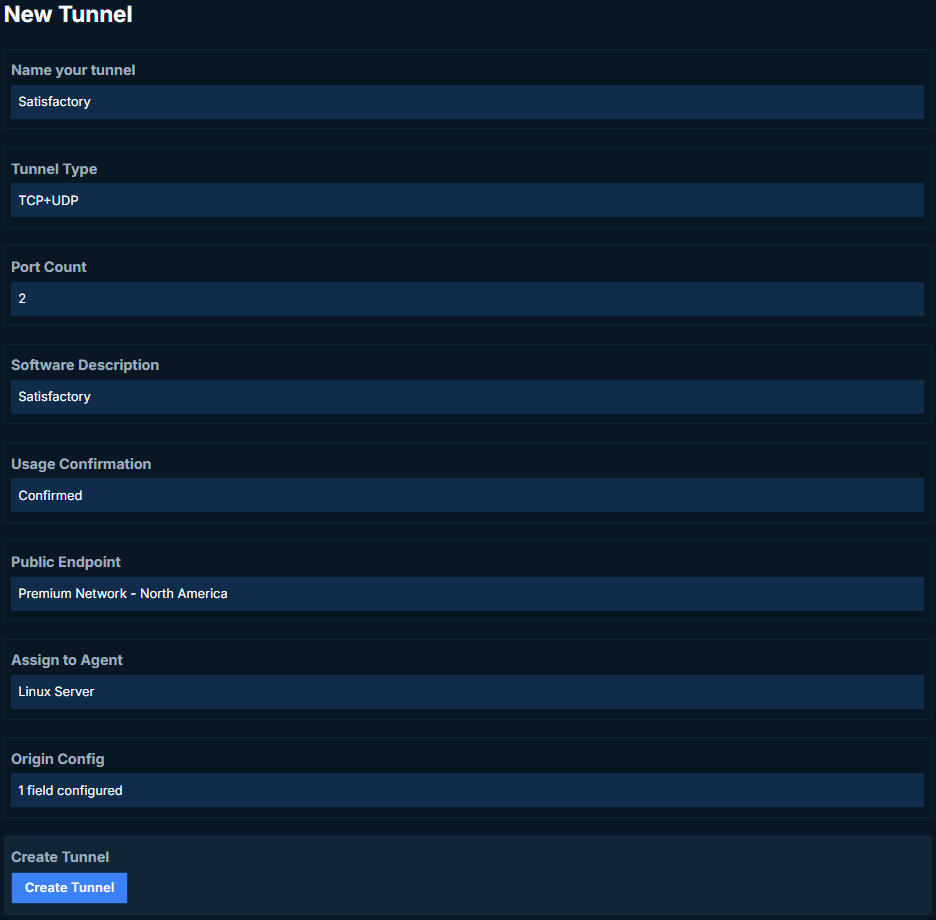
- Type: TCP/UDP
- Port Count: 2
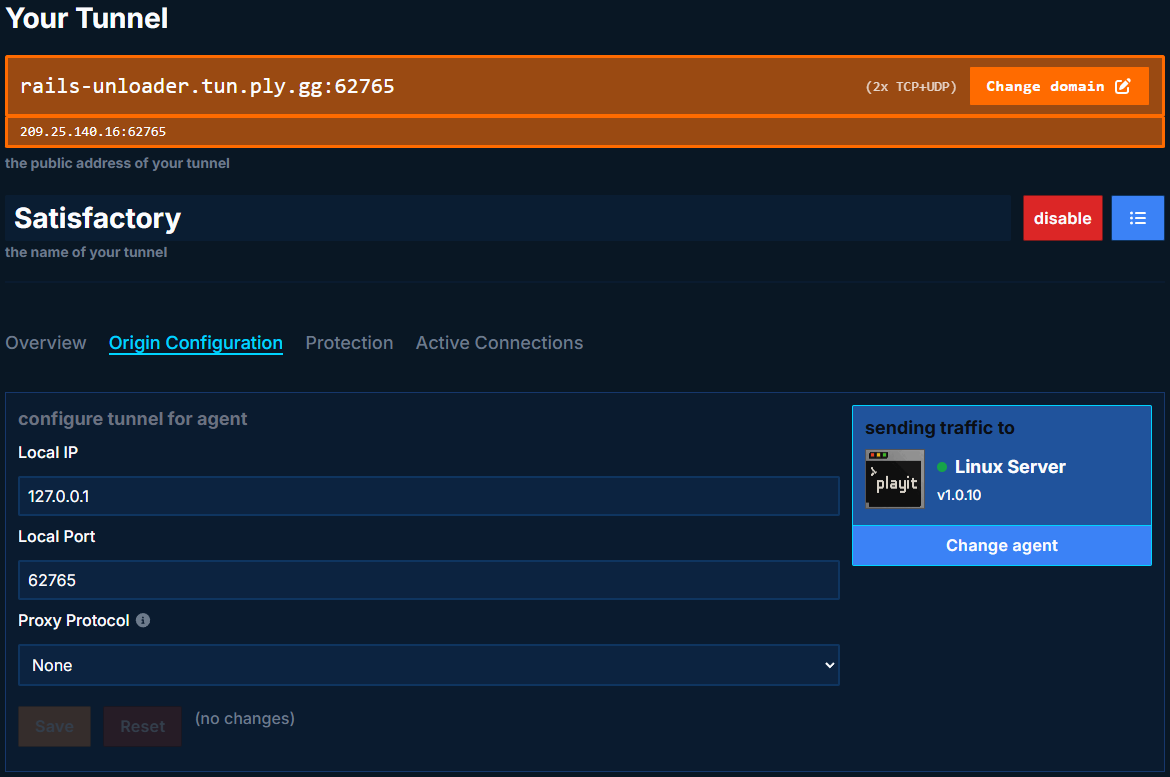
- Local IP: 127.0.0.1
- Port: NULL
We will match the tunnel’s local port to match the public one assigned by playit. Our public port is 62765, so we’ll set the local port to 62765. See Origin Configuration.
Creating the startup file
In order to be able to join the server, you have to tell it which ports to bind.
Set -port to the public port of the tunnel, and -ReliablePort to the public port +1.
Basically, the second port is one number higher than what’s shown on the website. For example, our public port is 62765, so our reliable port is 62766.
Create a new bash file, and set -port and -ReliablePort to match your tunnel’s information. We’ve called our file start.sh and placed it inside of the server’s root directory, where FactoryServer.sh is located.
nano start.sh
Save the file and exit the file by using CTRL + S, followed by CTRL + X
This is the command we will put inside of the file:
bash FactoryServer.sh -log -port=62765 -ReliablePort=62766
Starting the server
With our newly created script, we can run it by using bash start.sh
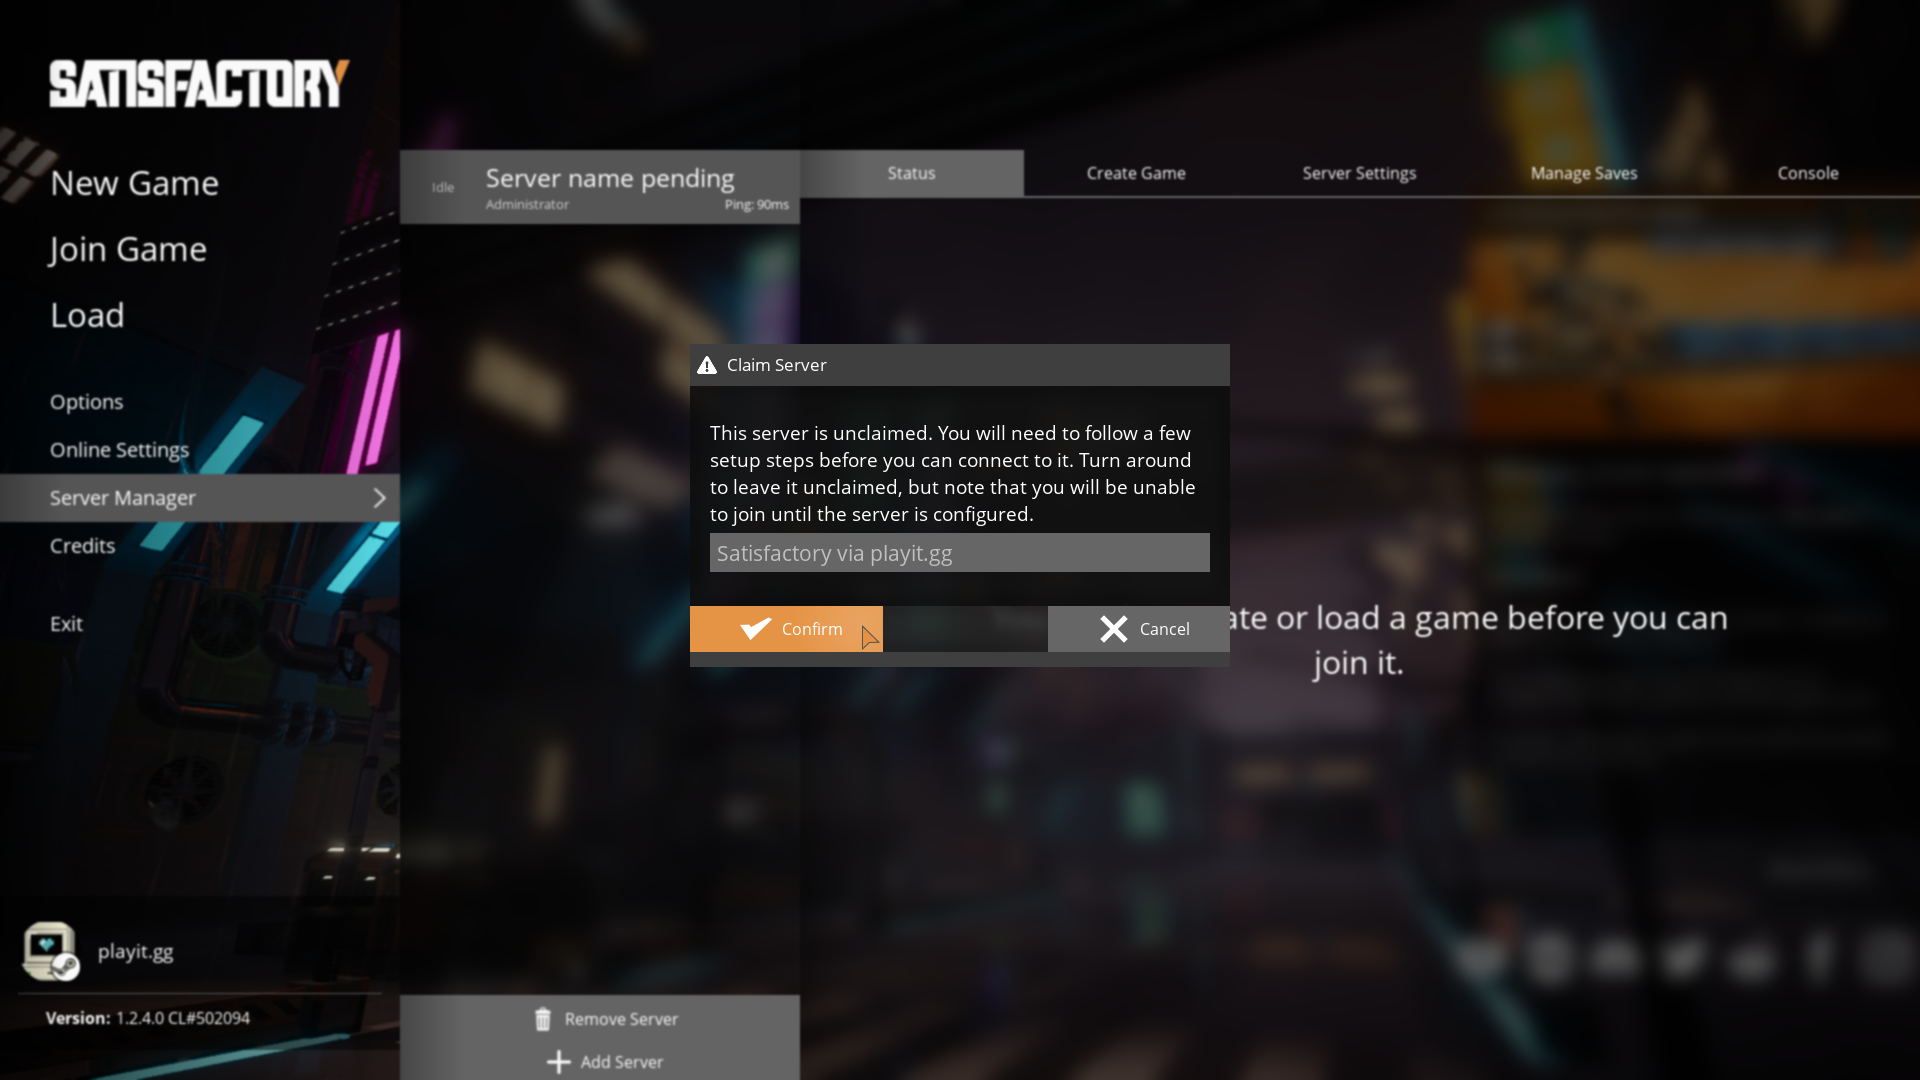
Claiming the server
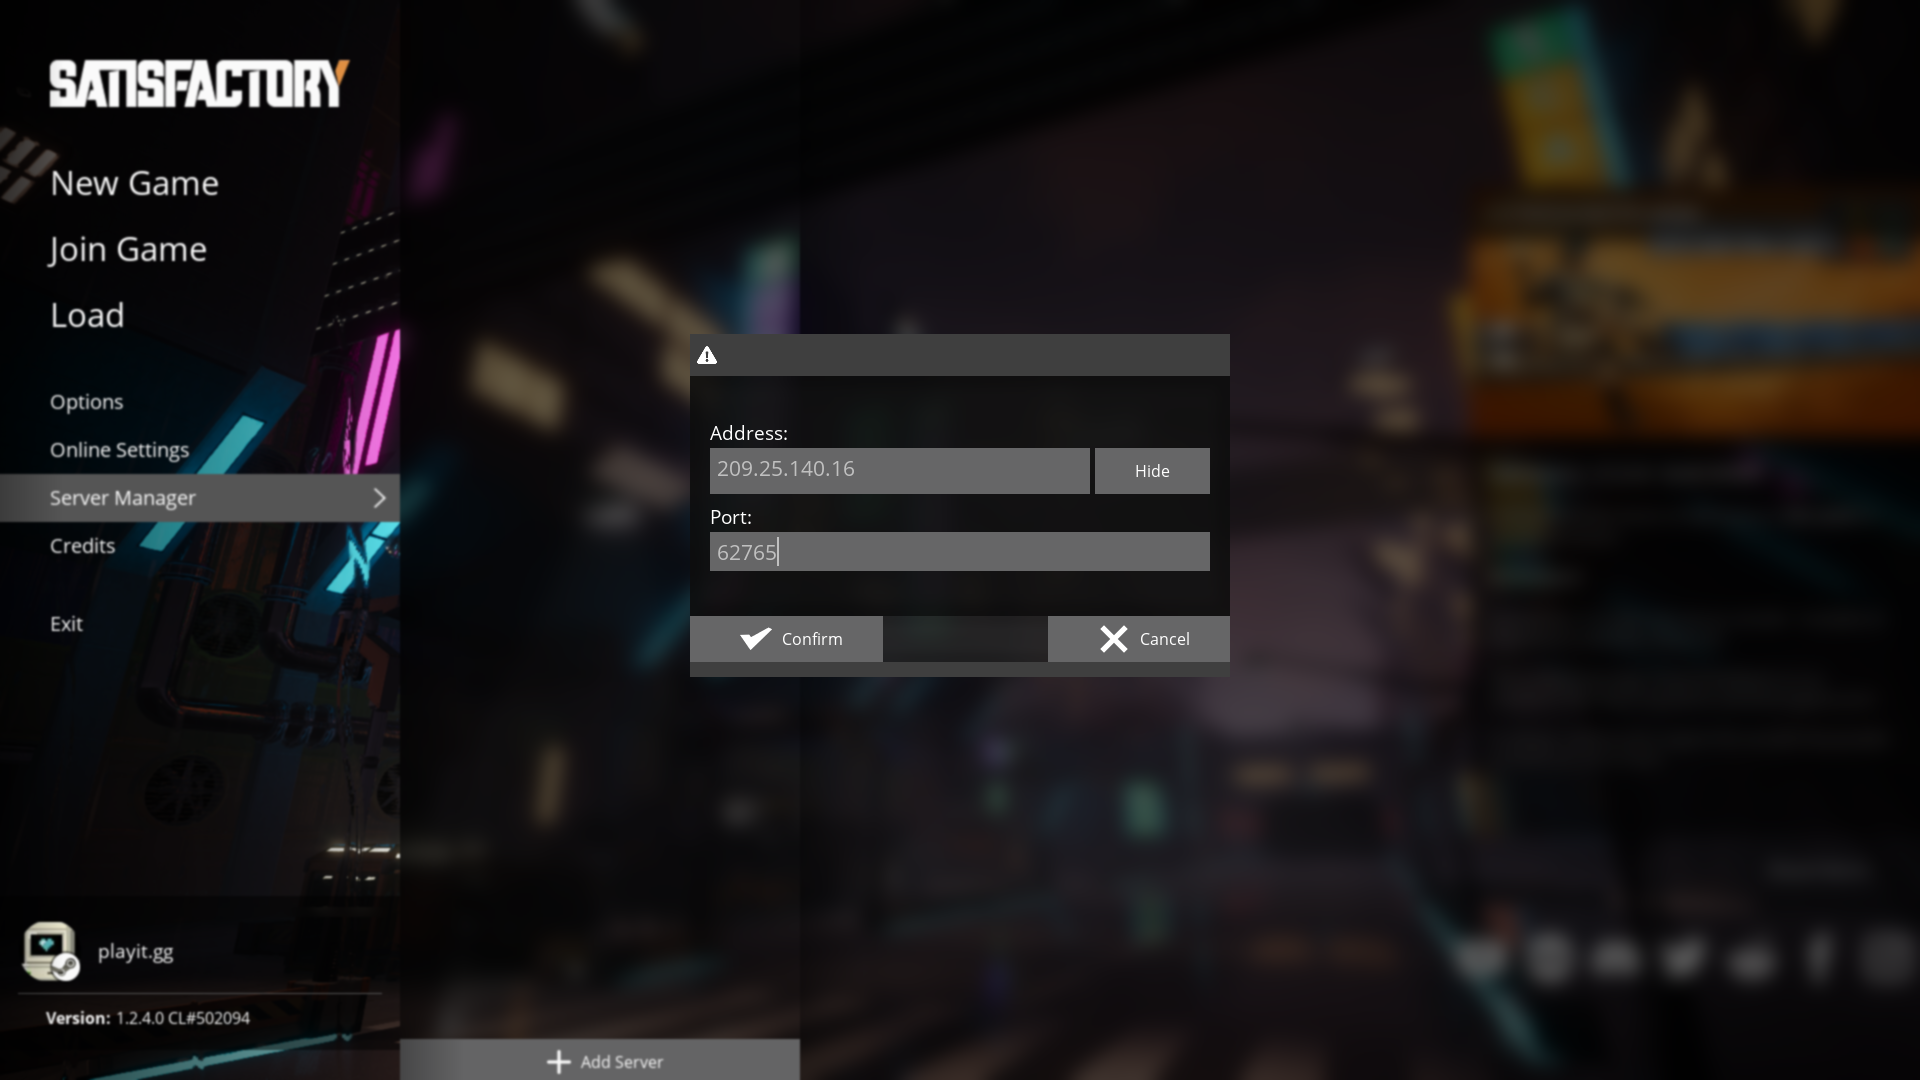
When you create a new Satisfactory server, it creates a new unique identity using a self-signed certificate. Enter the tunnel information provided by playit like this:
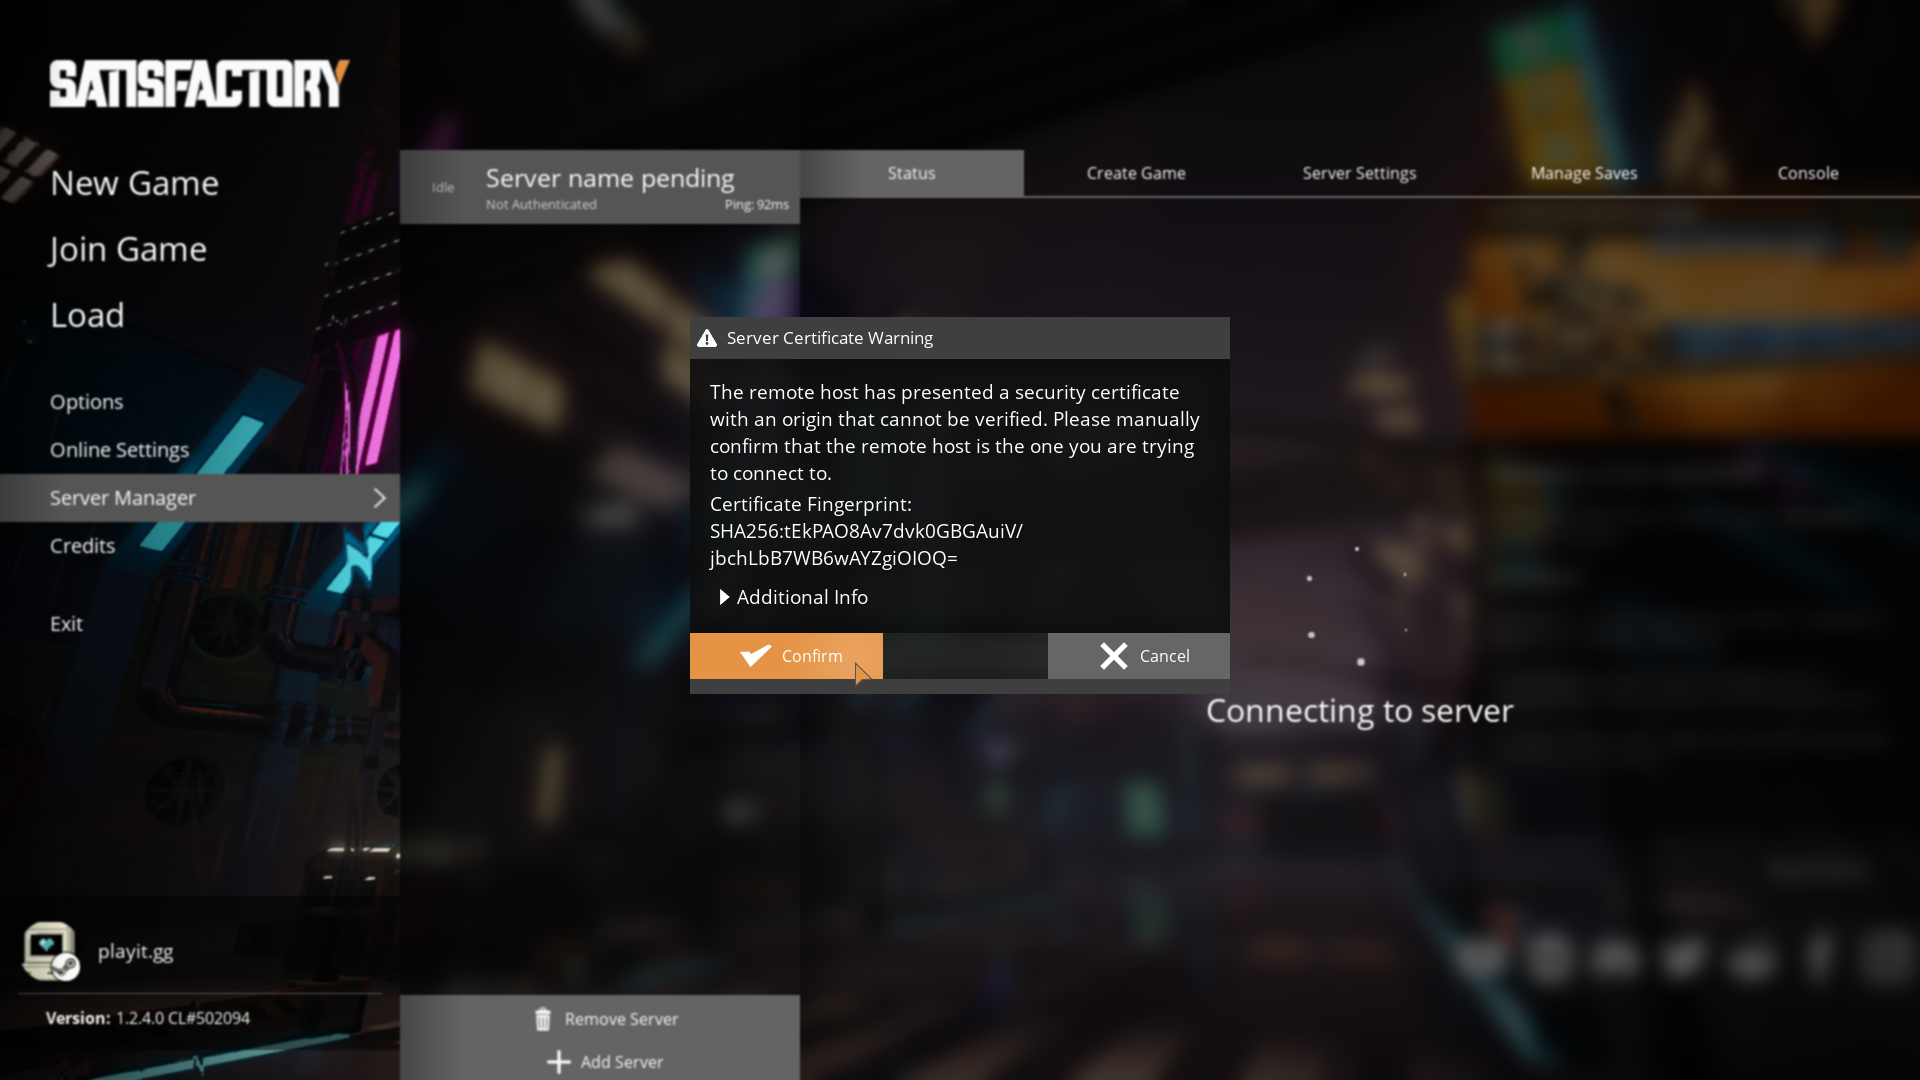
You may get a warning, saying that the origin cannot be verified. It is safe to confirm this. If you are still unsure, make sure the identity matches the one printed in the console.
LogServer: Warning: ==============================================================
LogServer: Warning: Server API is running using a Self-Signed Certificate.
[2026.09.30-15.14.19:947][  0]LogServer: Warning: ==============================================================
LogServer: Warning: To verify the certificate integrity on the Client, make sure the following Fingerprint matches with the Client one:
[2026.09.30-15.14.19:949][  0]LogServer: Warning: Server API is running using a Self-Signed Certificate.
LogServer: Warning: SHA256:tEkPAO8Av7dvk0GBGAuiV/jbchLbB7WB6wAYZgiOIOQ=
[2026.09.30-15.14.19:949][  0]LogServer: Warning: To verify the certificate integrity on the Client, make sure the following Fingerprint matches with the Client one:
LogServer: Warning: ==============================================================
[2026.09.30-15.14.19:949][  0]LogServer: Warning: SHA256:tEkPAO8Av7dvk0GBGAuiV/jbchLbB7WB6wAYZgiOIOQ=
[2026.09.30-15.14.19:949][  0]LogServer: Warning: ==============================================================
Server configuration
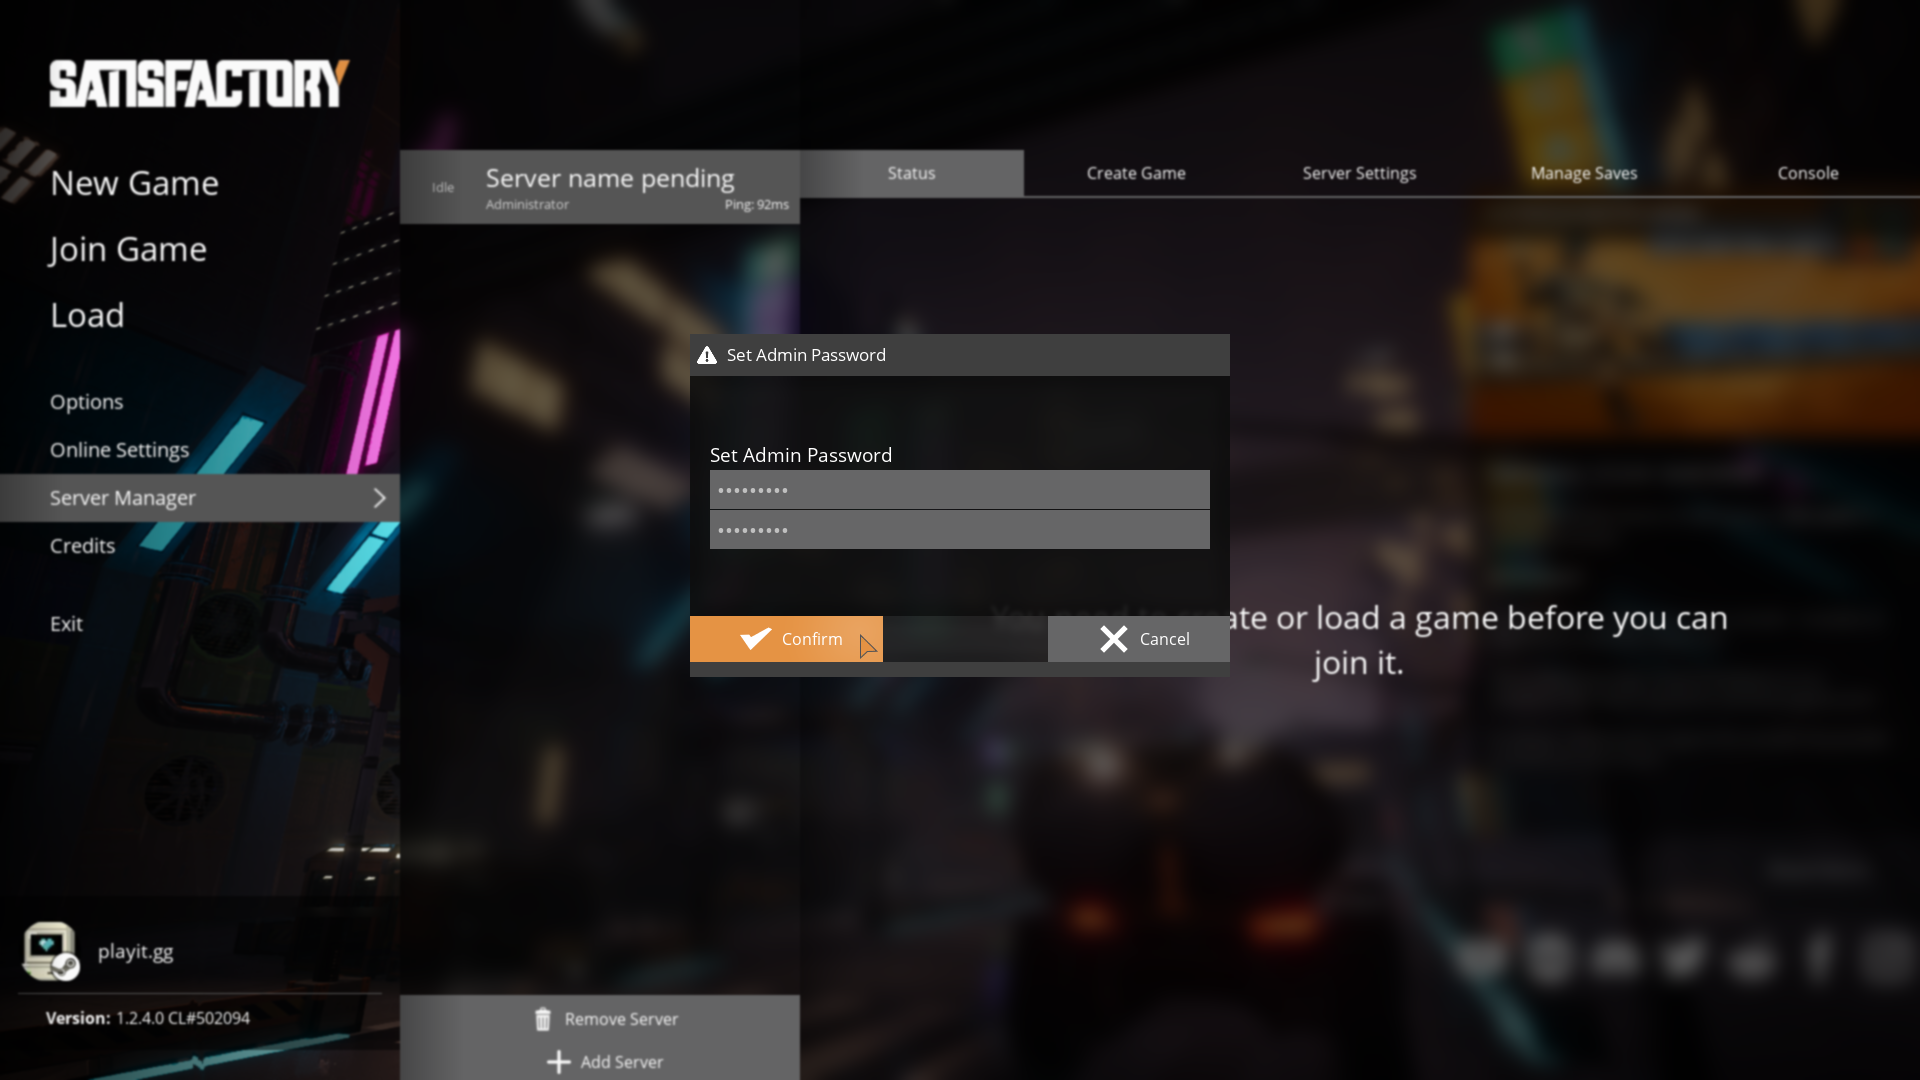
After you claim the server, you can then set an admin password. This can be done inside of the game, as a newly created server.
Set an admin password, and click Confirm
Choose whether or not you want to send crash logs to Coffee Stain. This is not required, this is up to you.
Creating a game
Once you’re here, you can configure the game as you see fit.
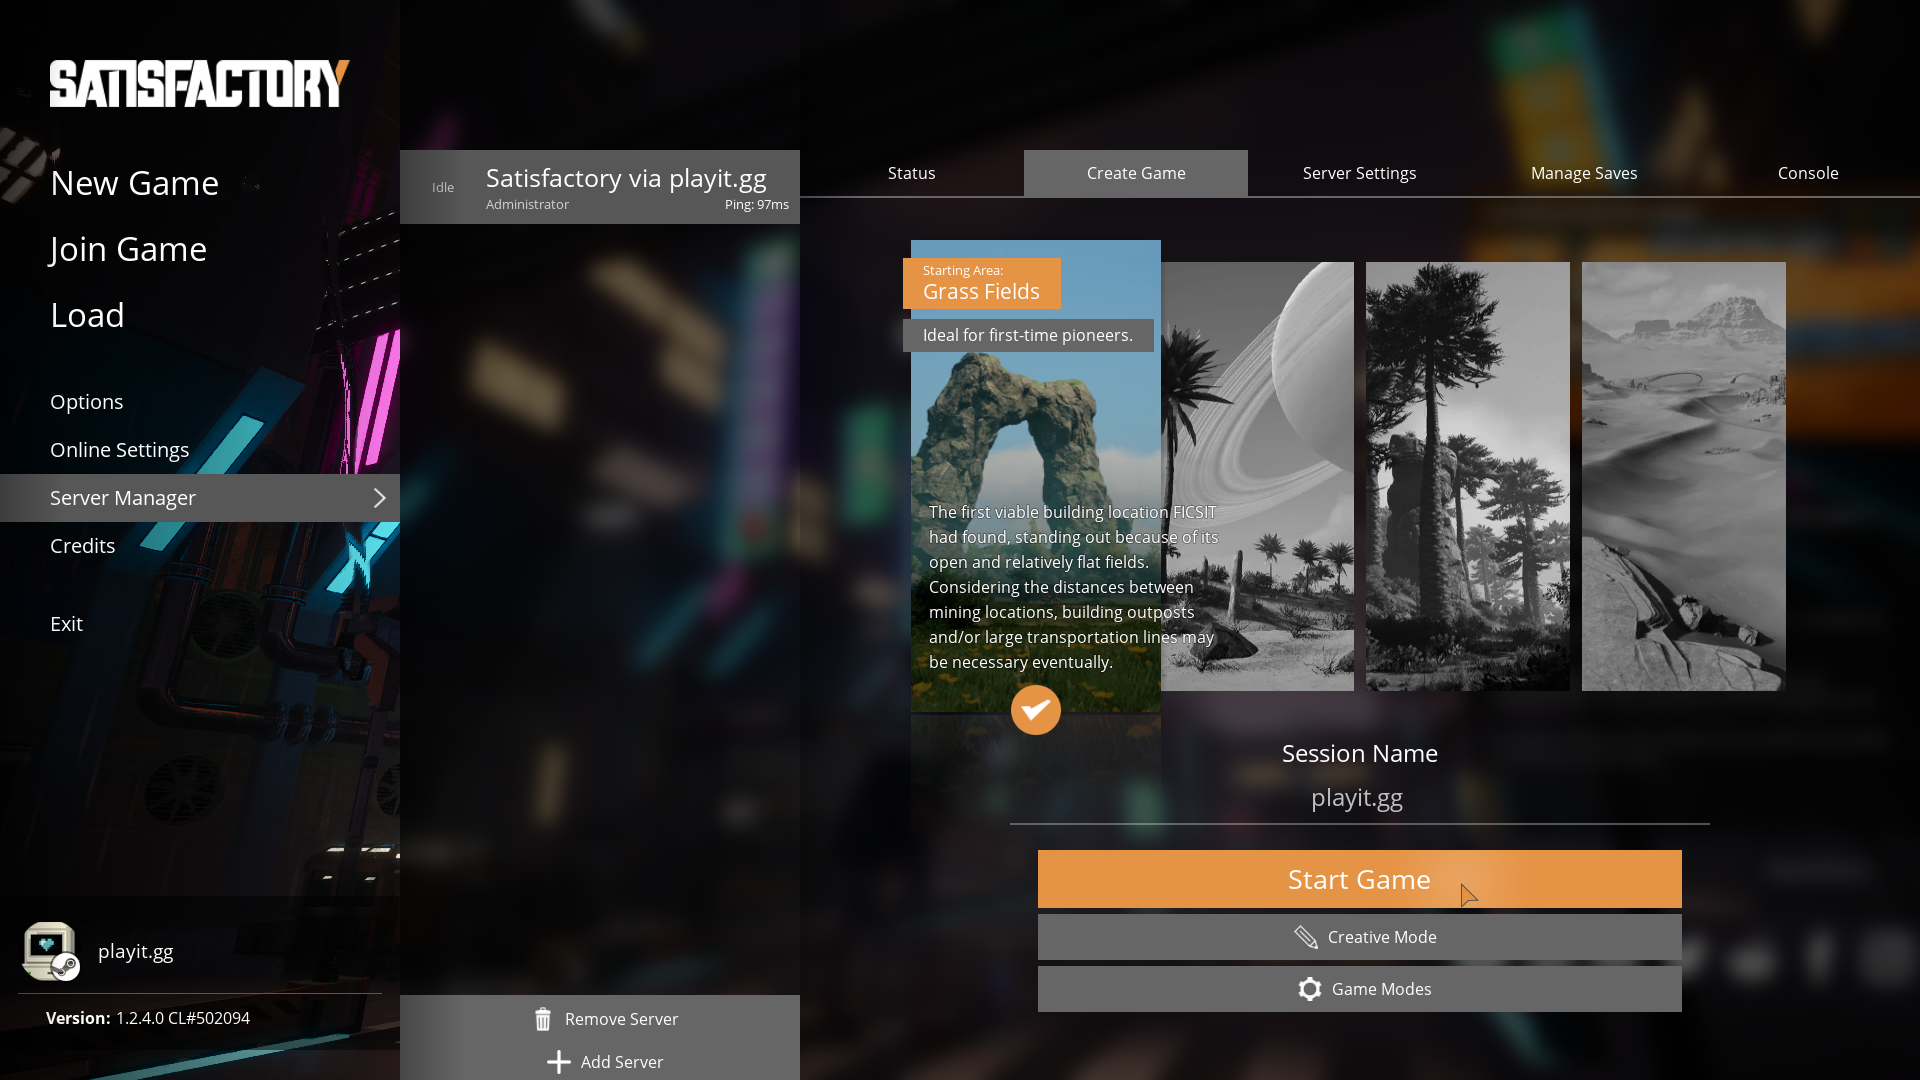
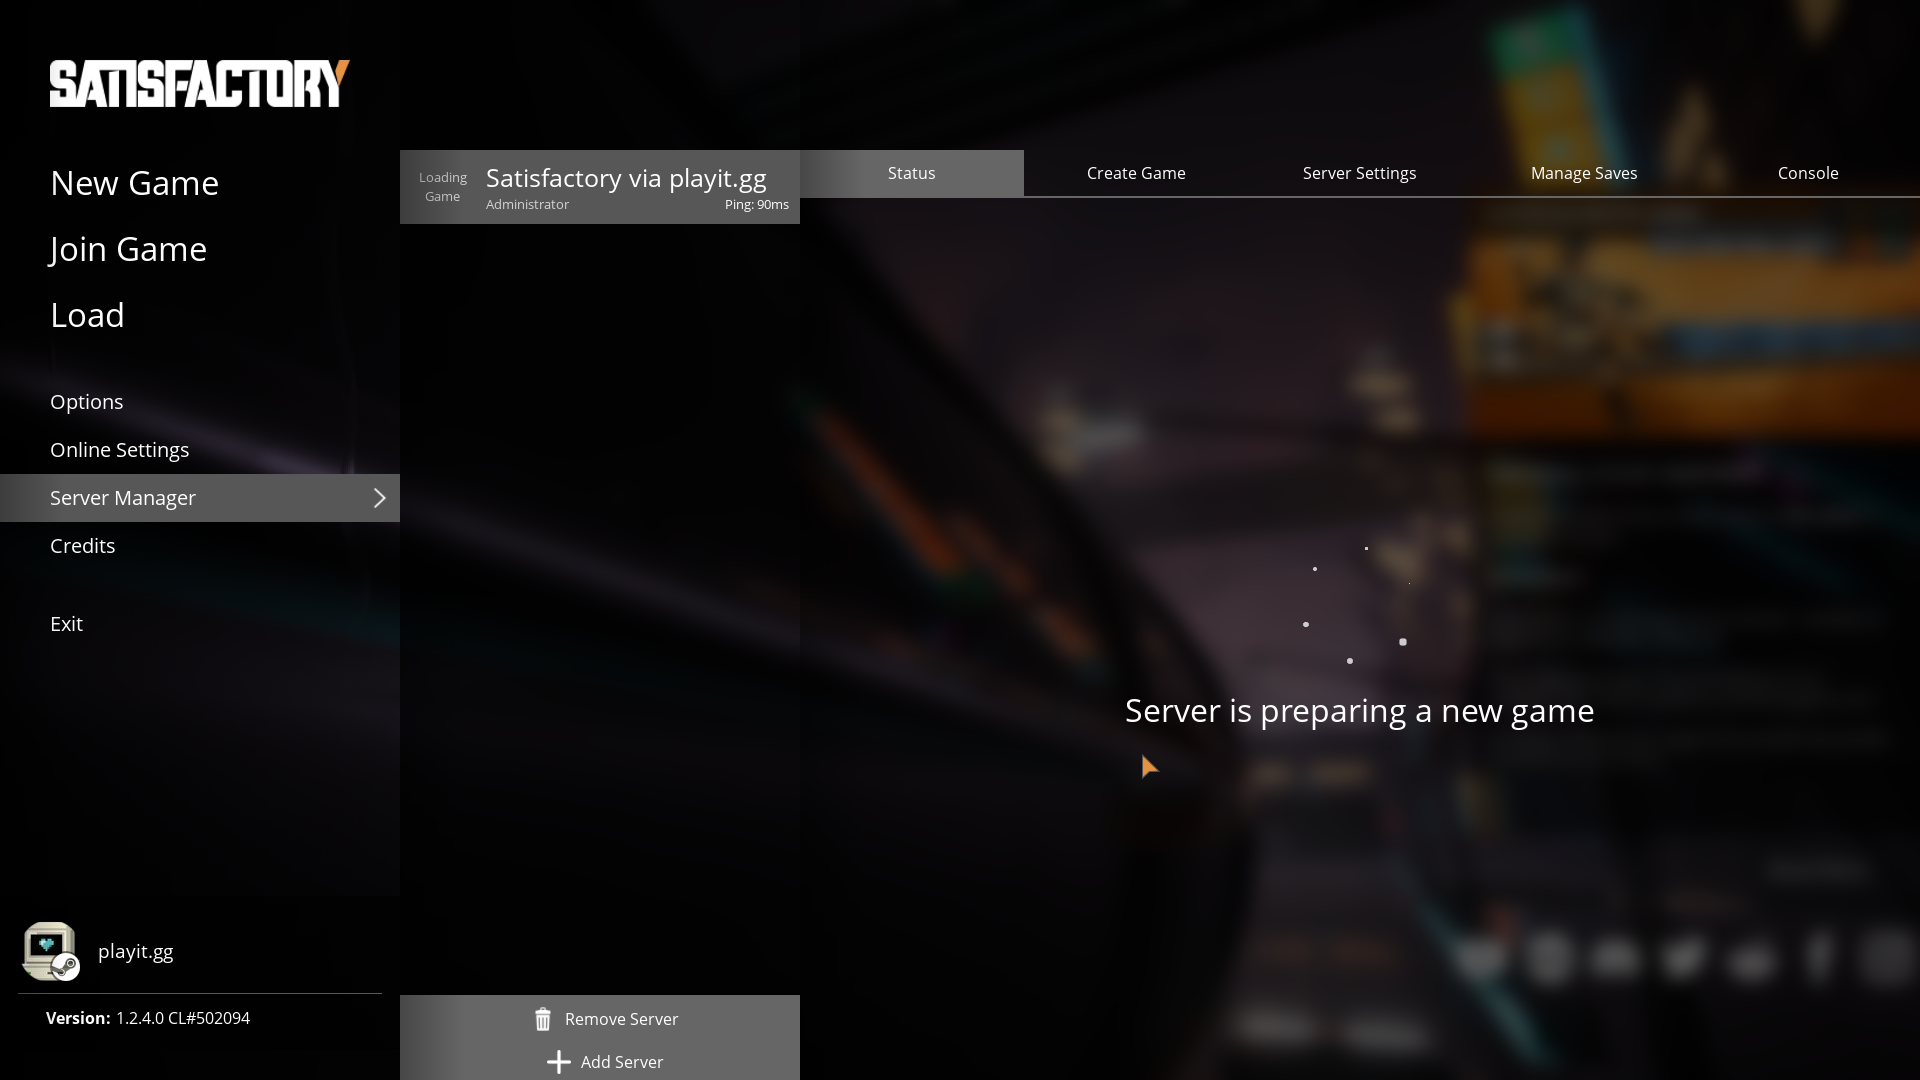
Here, you can set the server name, game rules, and other things.
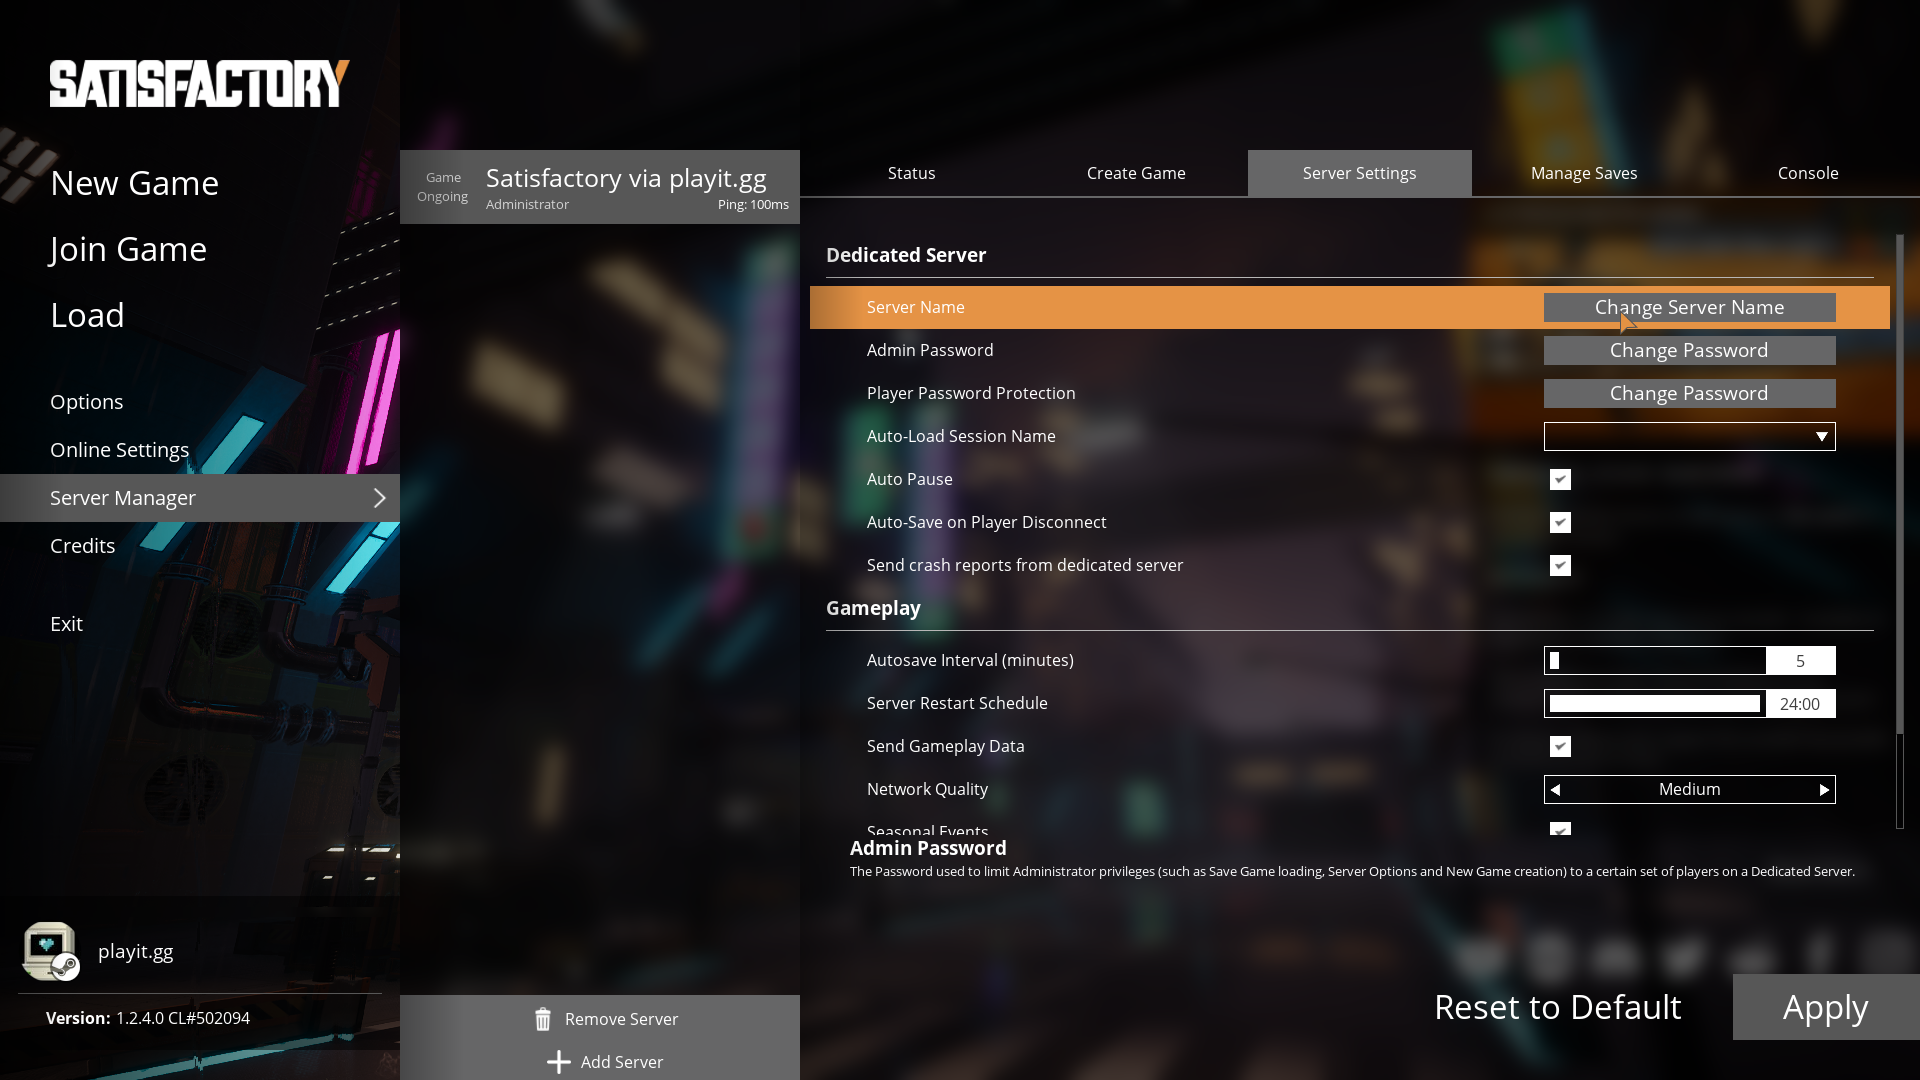
Now you have a fully functional game server, running through playit.gg!

Troubleshooting
Refusing to run with the root privileges.
If you get this error, run the server without root, or using sudo.