Documentation
- Dedicated Server – Arma 3 - Bohemia Interactive Community - [community.bistudio.com]
- Server Config File – Arma 3 - Bohemia Interactive Community - [community.bistudio.com]
Setting Everything Up
Assuming you already own Arma 3 on Steam, you already have access to the dedicated server software.
- Open your Steam Library
- Search for Arma 3 (the server is usually hidden until searched)
- Install Arma 3 Server
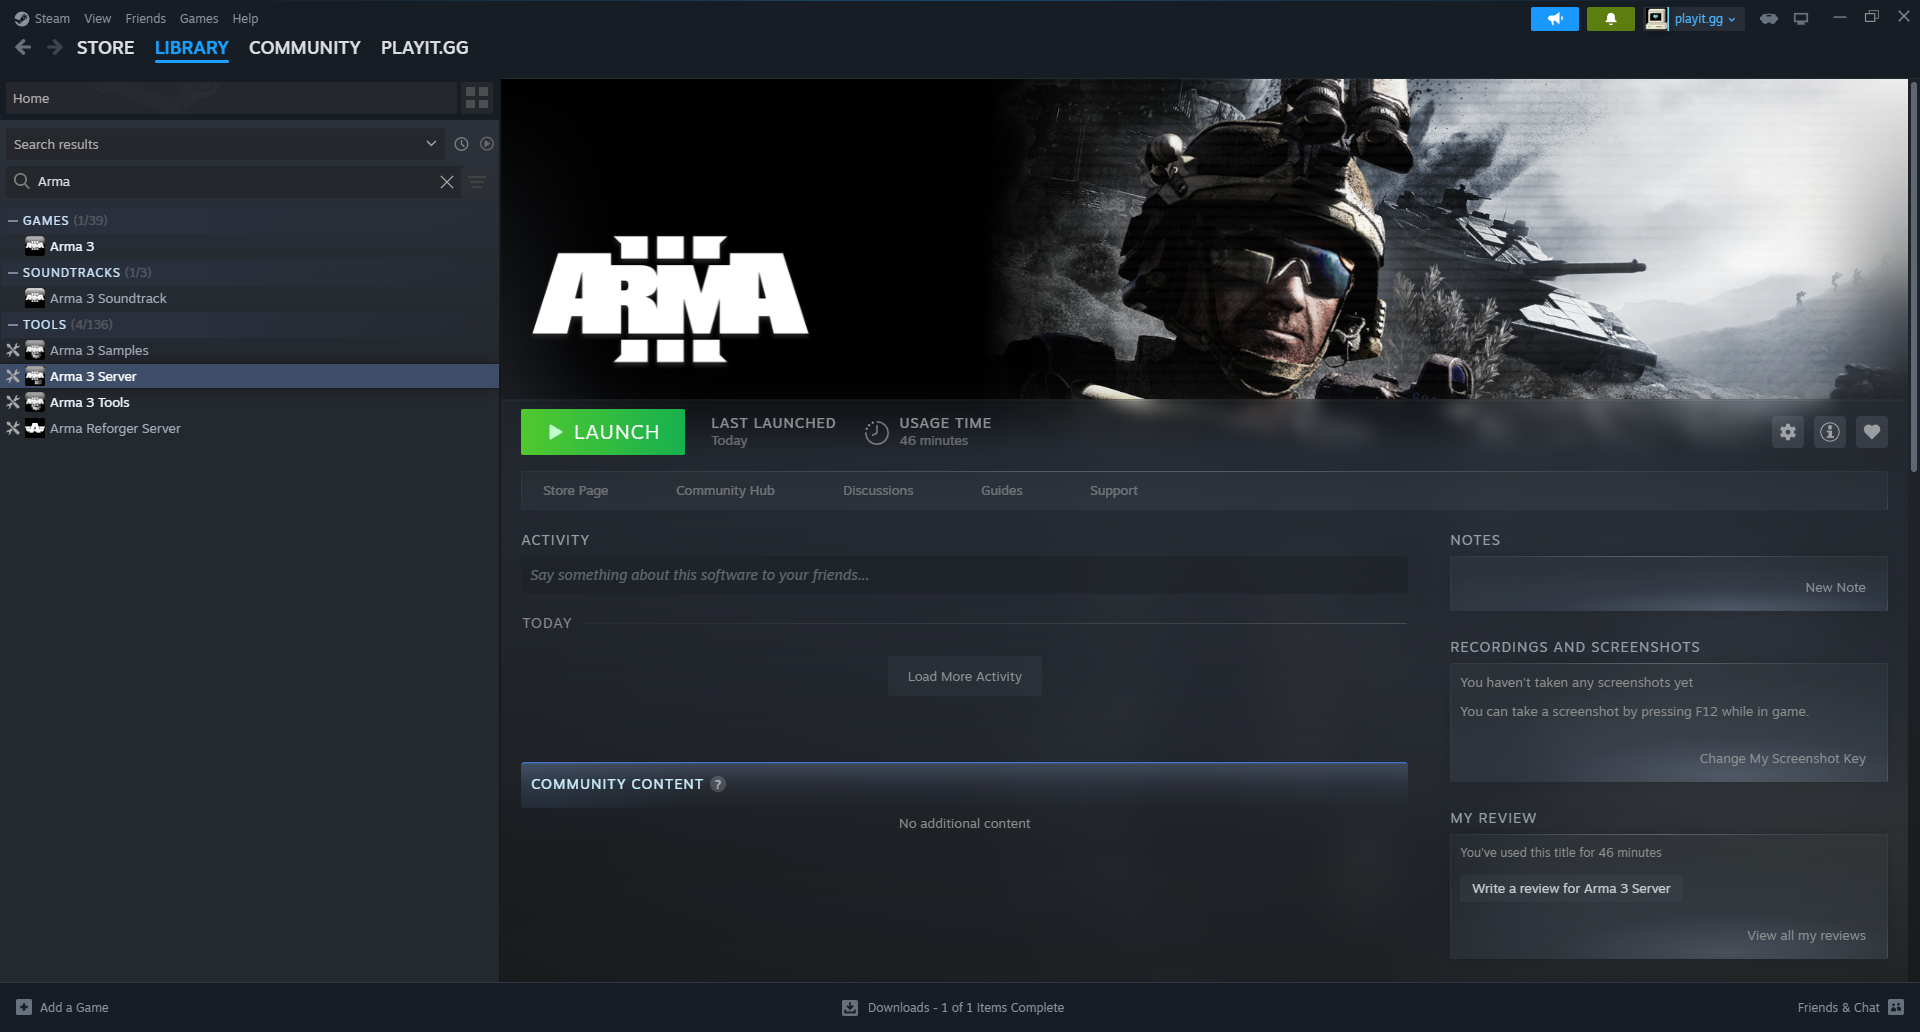
NOTE: The Arma 3 Server (App ID 233780) requires that you modify
steam_appid.txt. Replace233780(Arma 3 Server) with107410(Arma 3). We don’t know why, but the server will complain otherwise.Warning: Current Steam AppId: 233780 doesn't match expected value: 107410The Arma 3 base game also includes the server files needed. This guide is written for Arma 3 Server, however the bundled server setup is very similar.
Creating the config file
Before we can even start the server, a configuration file is required in order to open the server. Inside of the server’s root directory, create a new file server.cfg. Here’s a sample configuration file:
// GLOBAL SETTINGS
hostname = "Arma 3 via playit.gg";    // Name of server in the server browser
password = "";                              // Password needed to join the server (leave empty "" for public)
passwordAdmin = "supersecretadminpassword";    // Password to log in as admin in-game (#login password)
maxPlayers = 8;                            // Maximum number of slots on the server

// WELCOME MESSAGES (Message of the Day)
motd[] = {
    "Arma 3 via playit.gg"
};
motdInterval = 5;                           // Time (seconds) between message lines

// JOIN / LEAVE / SECURITY CONFIGURATION
kickDuplicate = 1;                          // Kick duplicate player IDs (1 = yes, 0 = no)
verifySignatures = 2;                       // 2 = strict signature check (forces players to use identical mod versions)
allowedFilePatching = 0;                    // 0 = no file patching allowed (prevents basic scripting cheats)
battleye = 0;                               // 1 = enable BattlEye anti-cheat, 0 = disable
battleyeLicense = 1

// VOTING & ADMIN PRIVILEGES
voteMissionPlayers = 1;                     // Number of players required to start voting for a mission (1 means always allowed)
voteThreshold = 0.33;                       // Percentage of votes needed to pass a vote (0.33 = 33%)
allowedVoteCmds[] = {                       // Commands players are allowed to vote on
    {"admin", false, false},                // {command, target, log}
    {"kick", false, true},
    {"missions", true, false},
    {"restart", true, false},
    {"reassign", true, false}
};

// IN-GAME CHAT / CHANNELS (0 = Global, 1 = Side, 2 = Command, 3 = Group, 4 = Vehicle, 5 = Direct)
disableVoN = 0;                             // 0 = enable Voice over Network, 1 = disable
vonCodecQuality = 10;                       // Voice quality (0-10, 10 is highest)
forcedVoiceChannels[] = {};                 // Channels forced to use voice only
mutedChannels[] = {0};                      // Channels muted globally (e.g., 0 blocks global chat spam)

// GAMEPLAY & ENVIRONMENT
persistent = 1;                             // 1 = server stays active and keeps running mission when everyone leaves
forceRotorLibSimulation = 0;                // 0 = players choose flight model, 1 = forces advanced helicopter flight model

// MISSION ROTATION
class Missions {
    class Mission_1 {
        template = "";     // Exported .pbo file from editor
        difficulty = "Regular";
    };
};
We’ll come back to this to change template.
Setting up a game
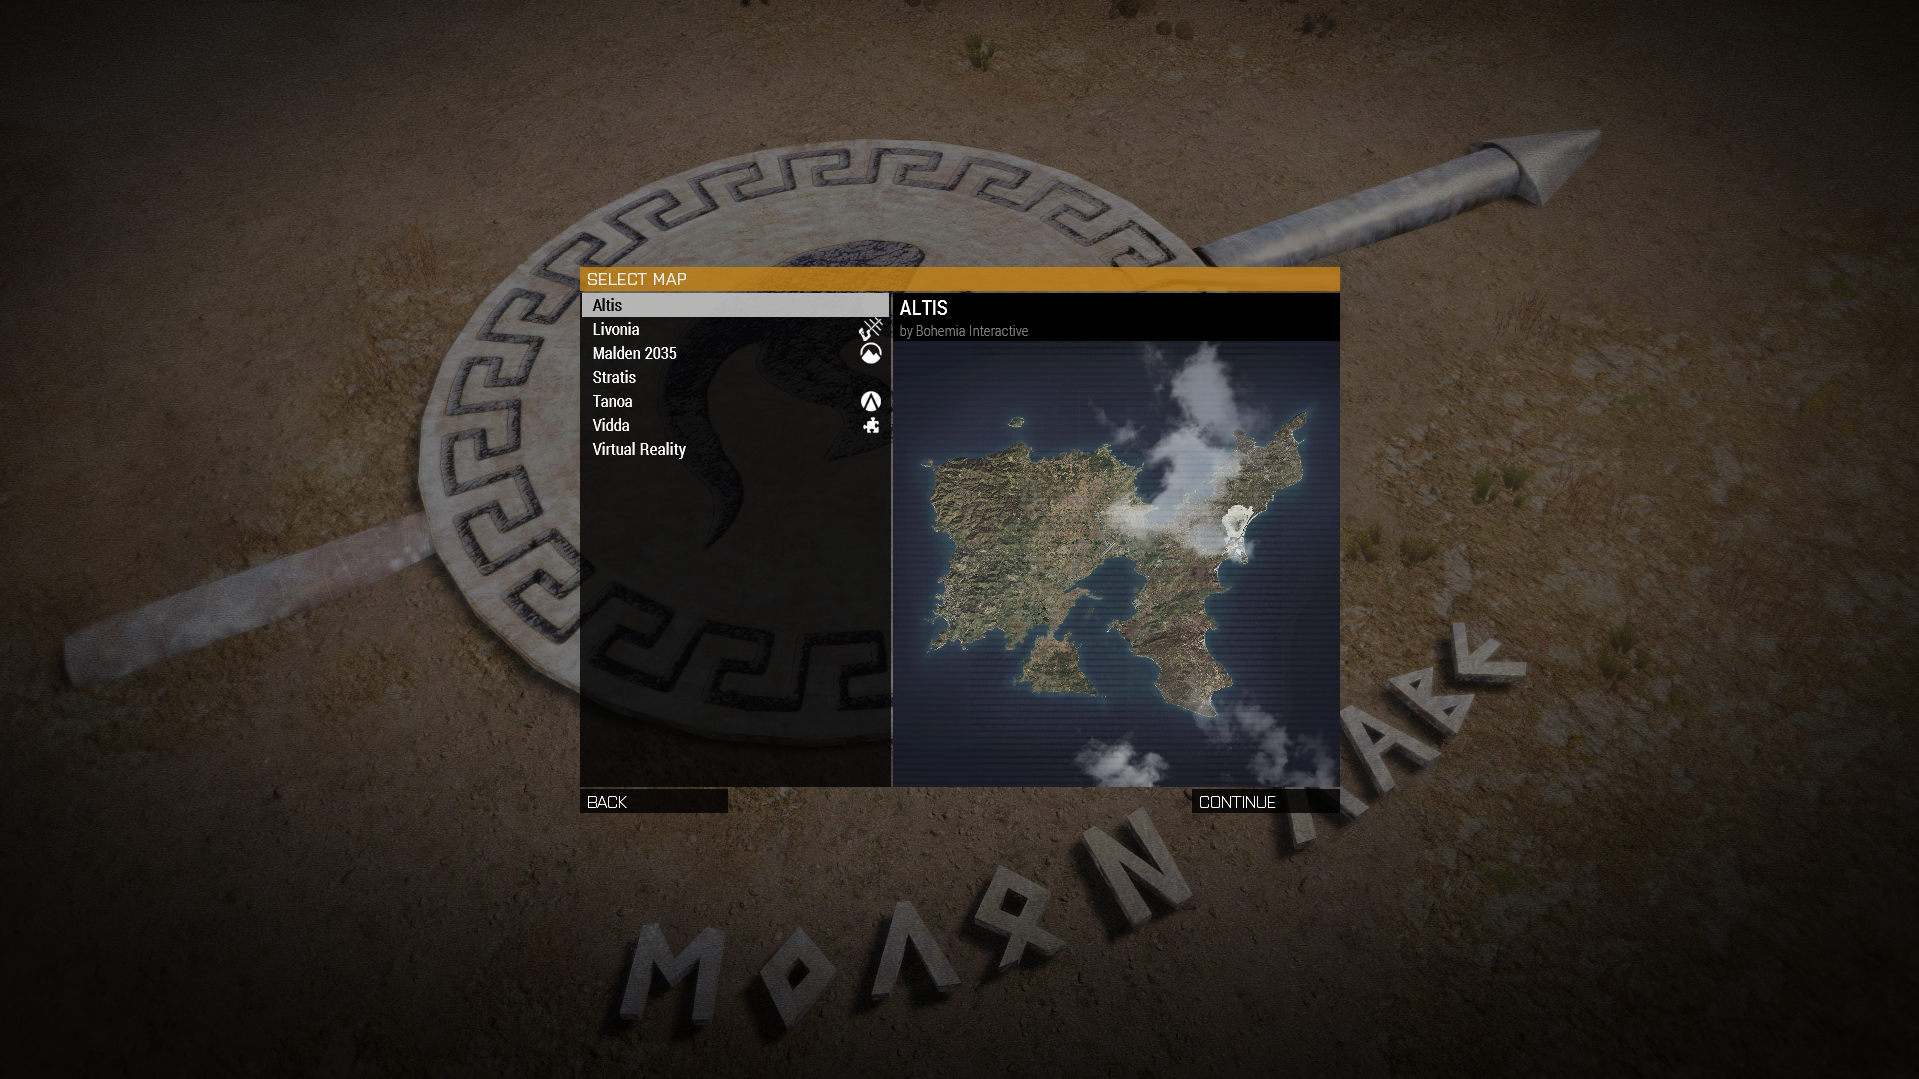
In order to choose a map and scenario, you must first open a map in the in-game editor.
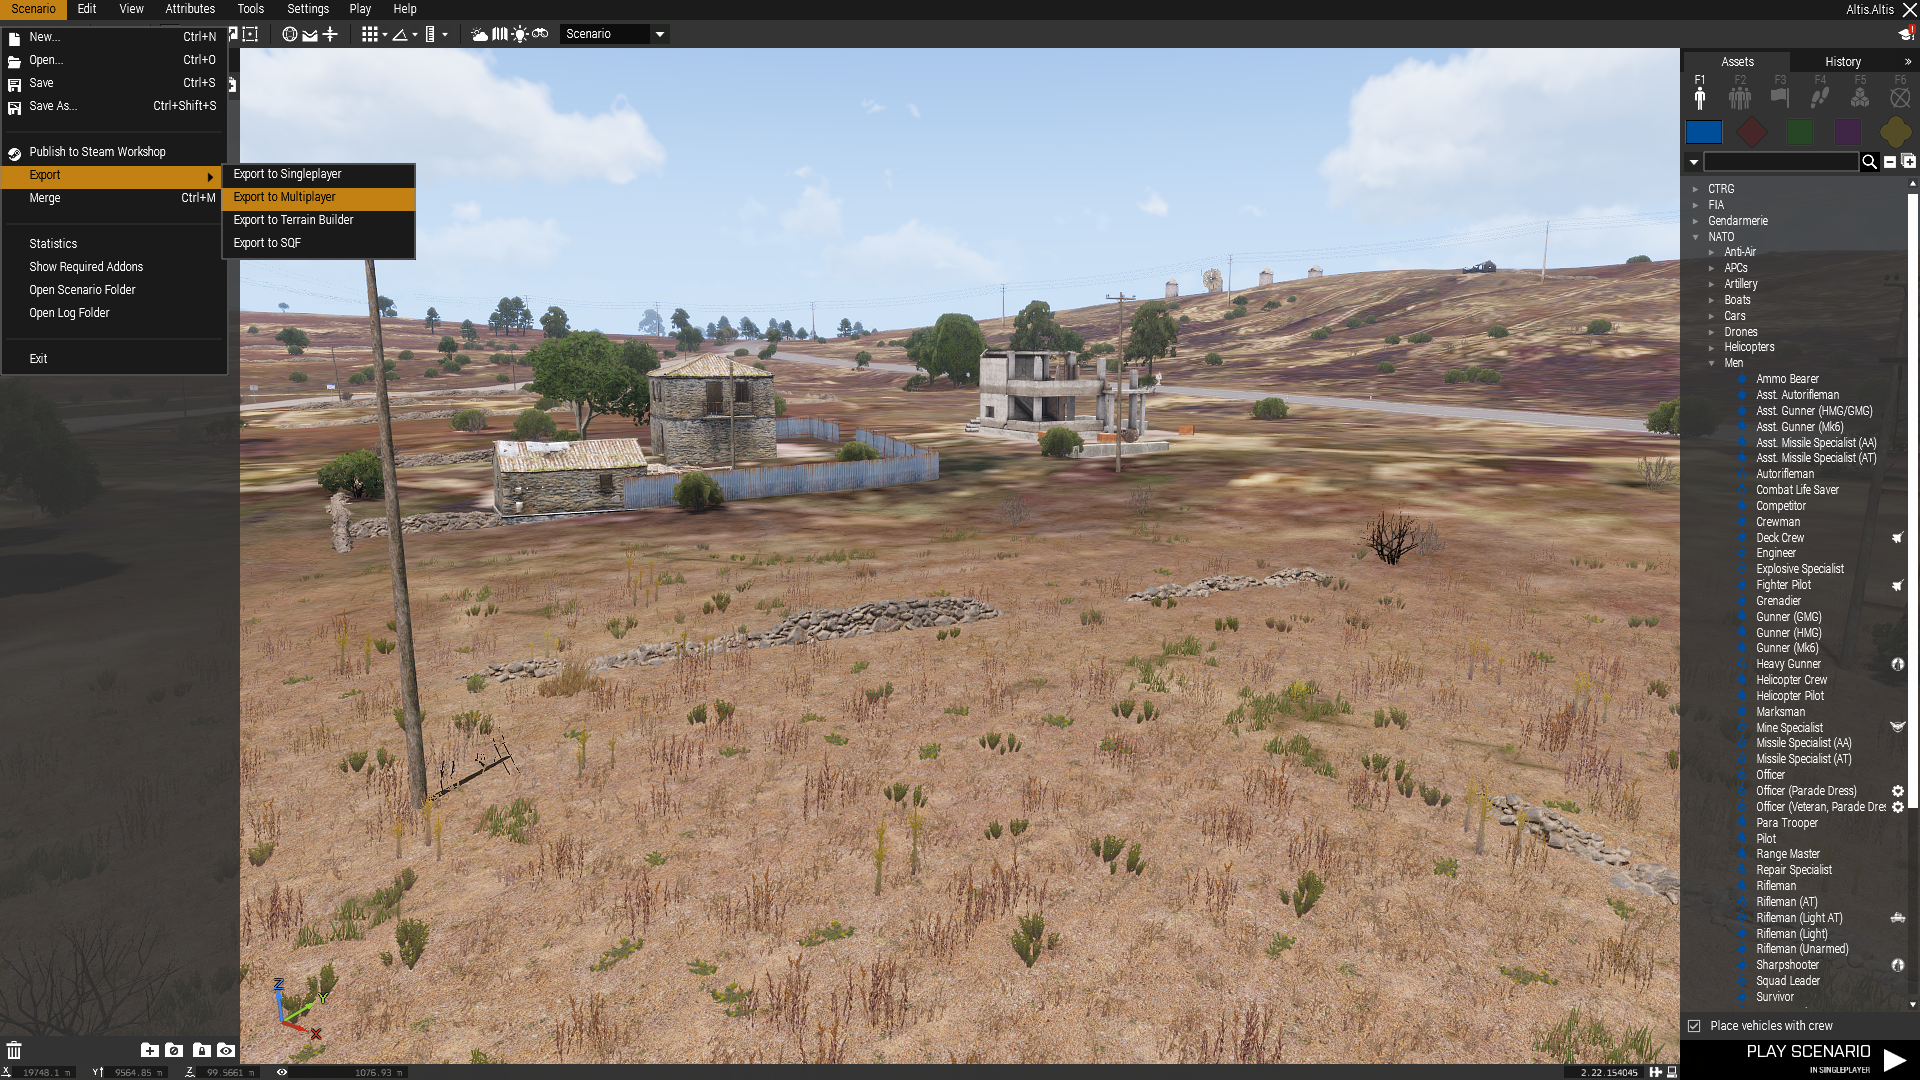
To export this for a server, go to Scenario -> Save As, and choose a file name. Go to Scenario -> Export as Multiplayer. Doing this will export a .pbo file that you can then drop inside of your server. This is saved in Steam\steamapps\common\Arma 3\MPMissions. Copy this to Steam\steamapps\common\Arma 3 Server\mpmissions.
Since this file was named Altis, our file name is Altis.Altis.pbo. Go back to server.cfg, find template and set this to Altis.Altis. If your file name is different, that is okay. It is just the file name without the extension. Example:
// MISSION ROTATION
class Missions {
    class Mission_1 {
        template = "Altis.Altis";     // Exported .pbo file from editor
        difficulty = "Regular";
    };
};
Starting the server
We’re going to test this locally, before we create a tunnel
Go to into Steam\steamapps\common\Arma 3 Server\ and open a command prompt.
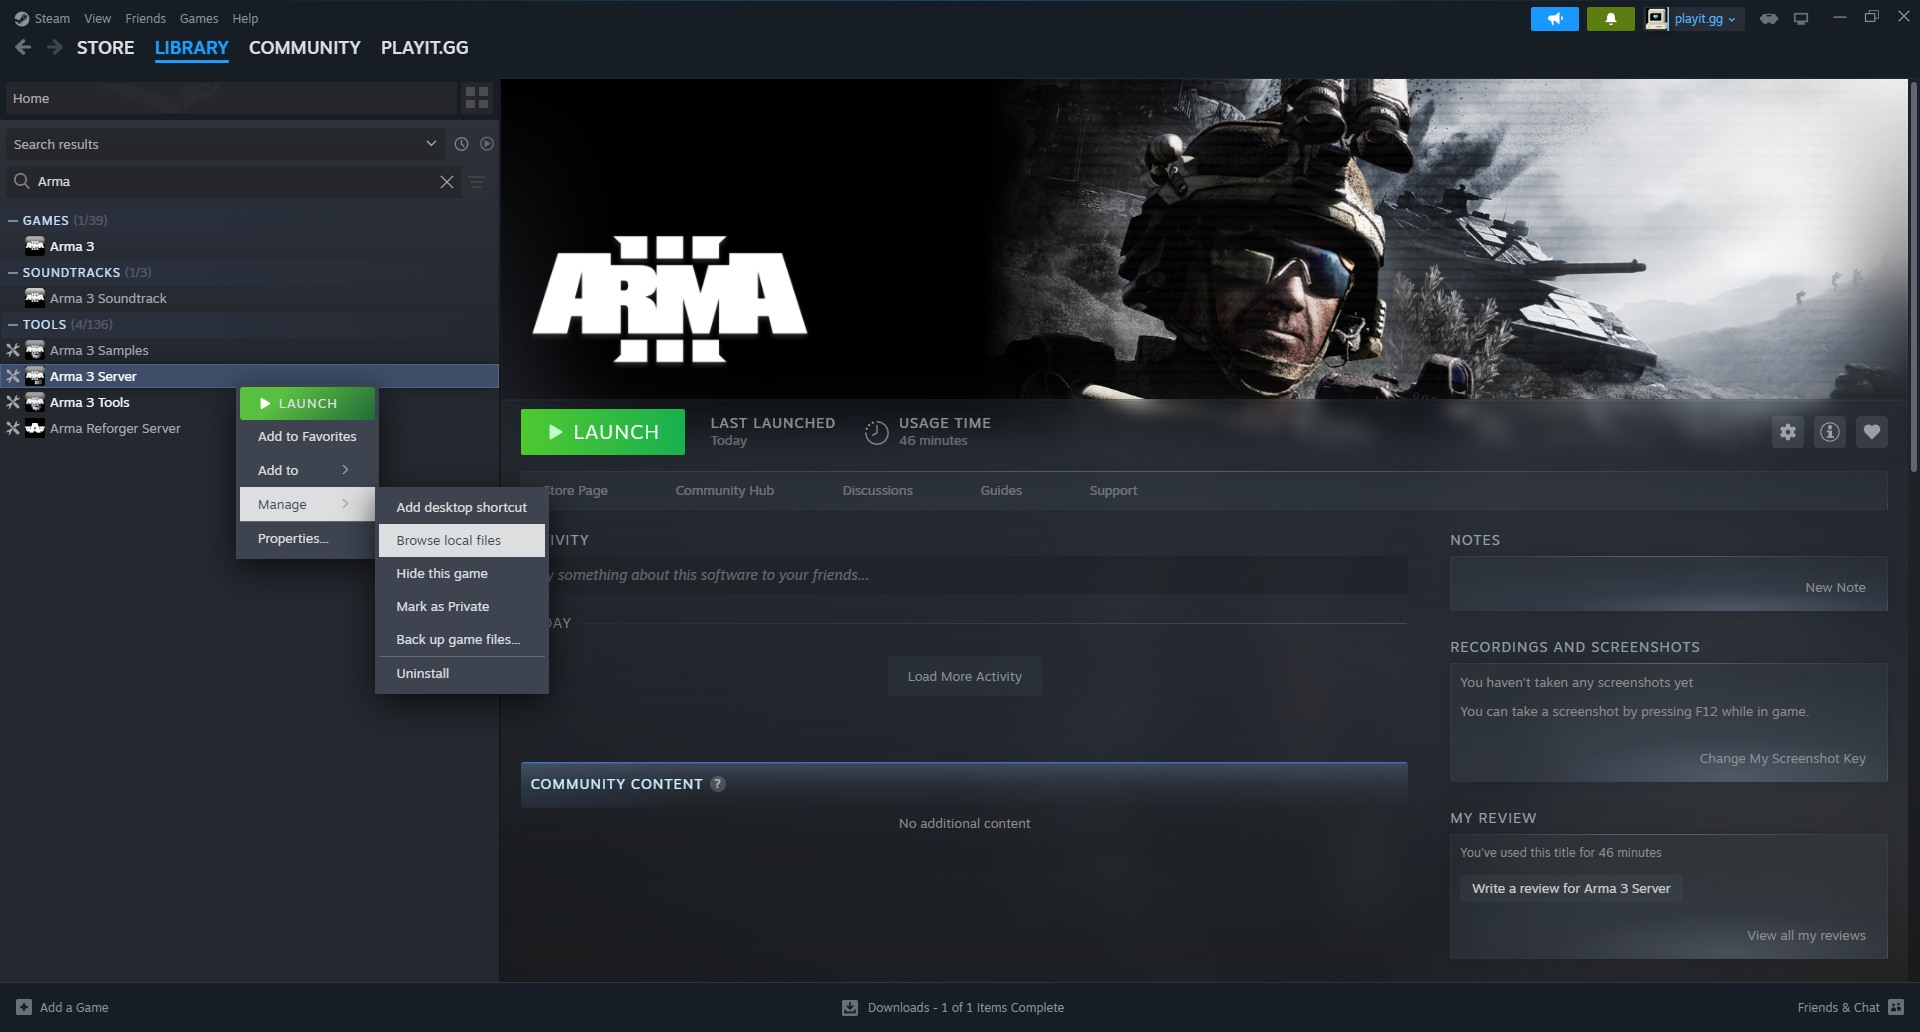
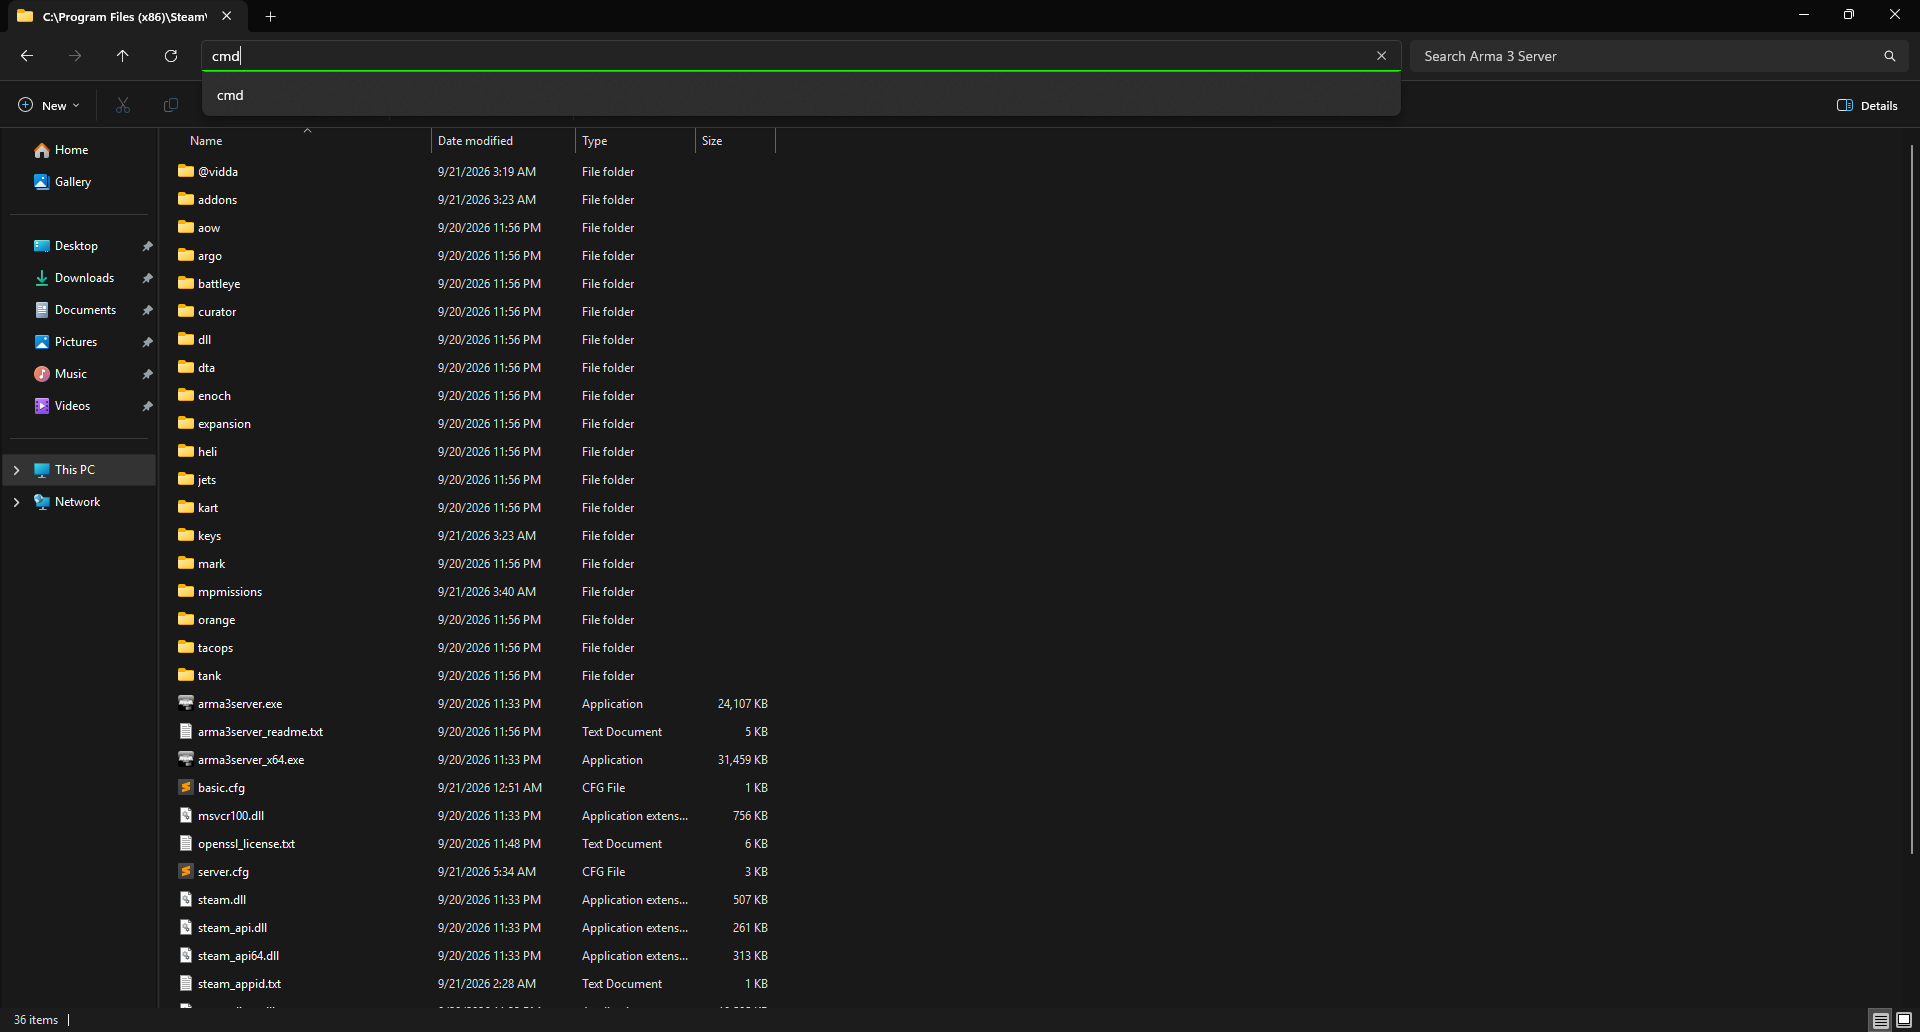
The command we’ll use to test opens arma3server_x64.exe with some options that tell the server where to find the configuration file, and which port to bind. -cfg=basic.cfg can remain -cfg=basic.cfg.
arma3server_x64.exe -port=2302 "-config=server.cfg" "-cfg=basic.cfg"
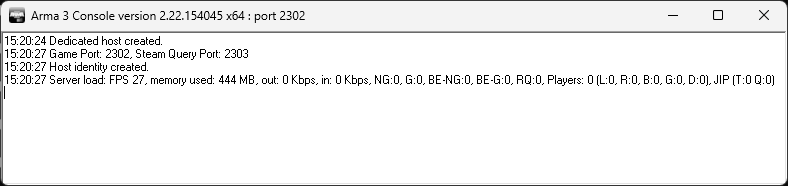
Your console should look like this:
Joining the server locally
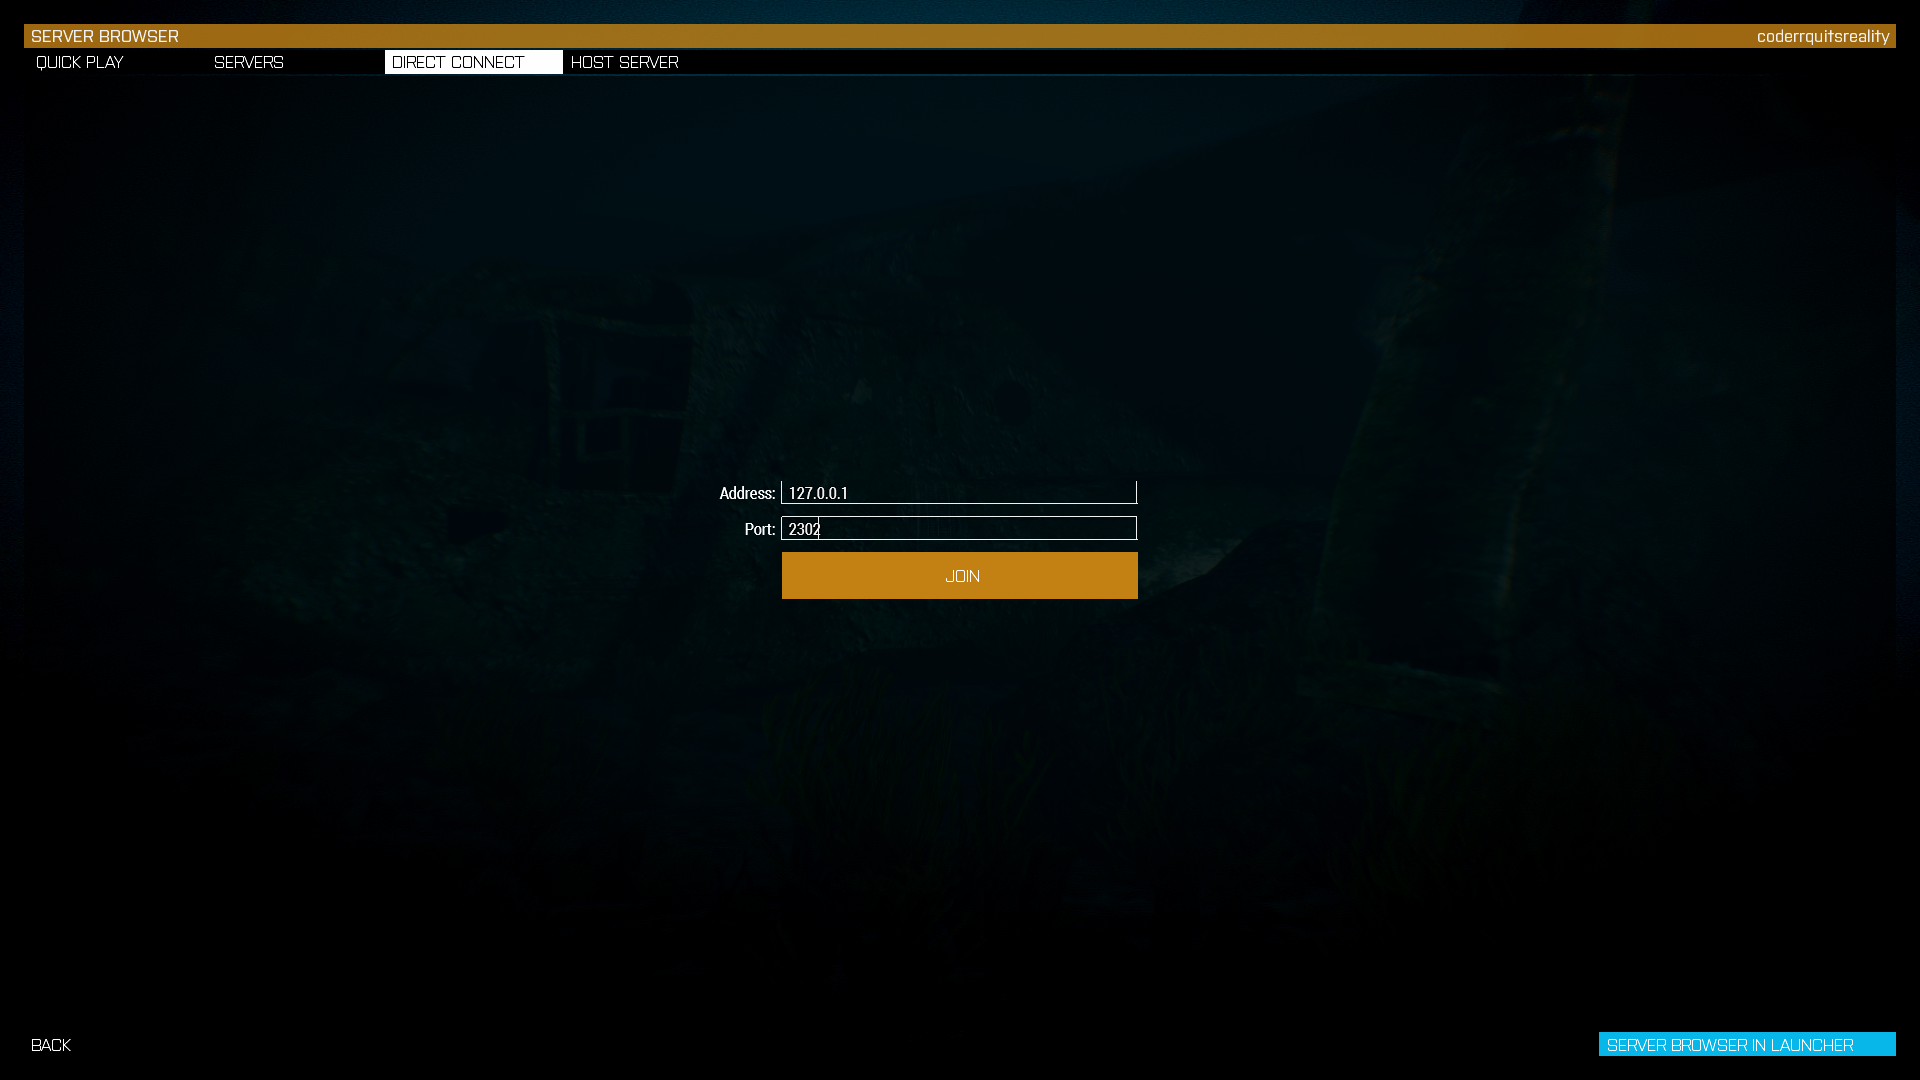
Inside of Arma 3, go to Multiplayer -> Server Browser -> Direct Connect. Try connecting to 127.0.0.1:2302. If this succeeds, close the server and proceed to the next step.
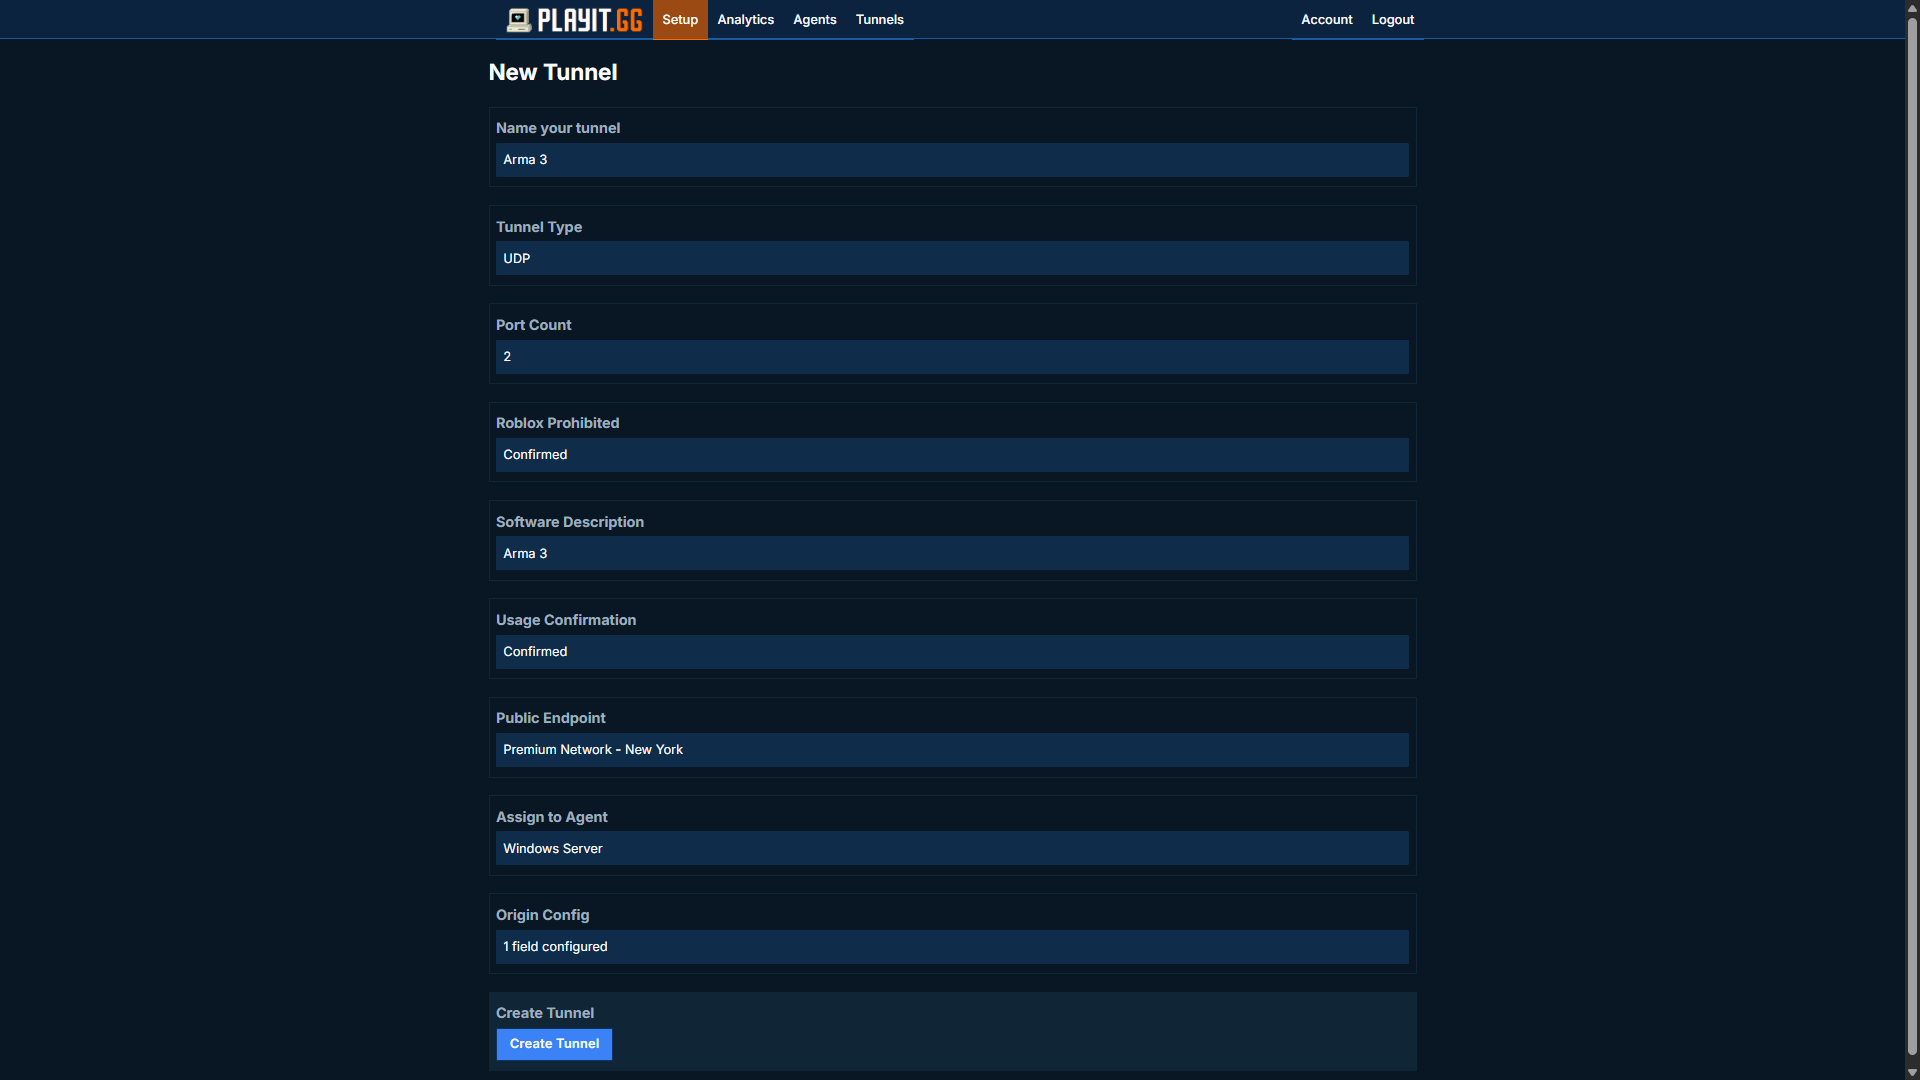
Creating a tunnel
- Type: UDP
- Port Count: 2
- Local IP: 127.0.0.1
- Port: Match Public (see Origin Configuration)
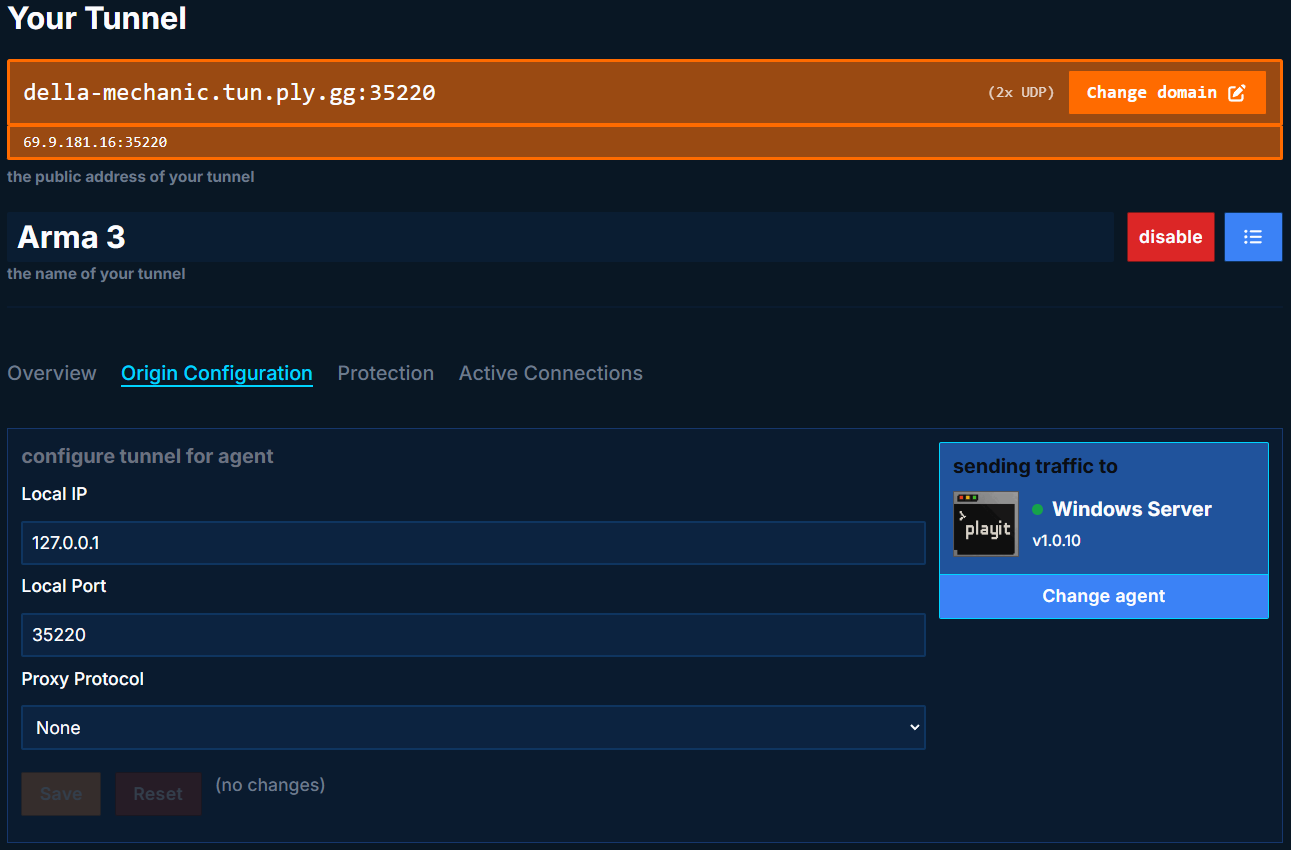
Re-open your server, defining the public facing port that playit has assigned the tunnel.
arma3server_x64.exe -port=35220 "-config=server.cfg" "-cfg=basic.cfg"
Your console should look like this:
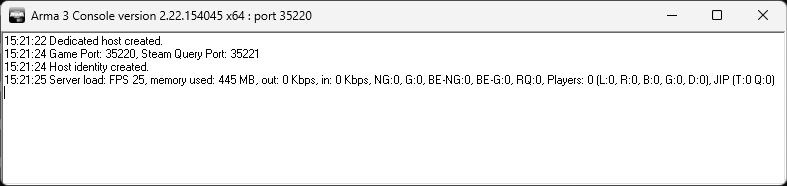
Joining the server over playit.gg
Inside of Arma 3, go to Multiplayer -> Server Browser -> Direct Connect. Try connecting to the IP address and port playit has assigned the tunnel. Ours is 69.9.181.16:35220
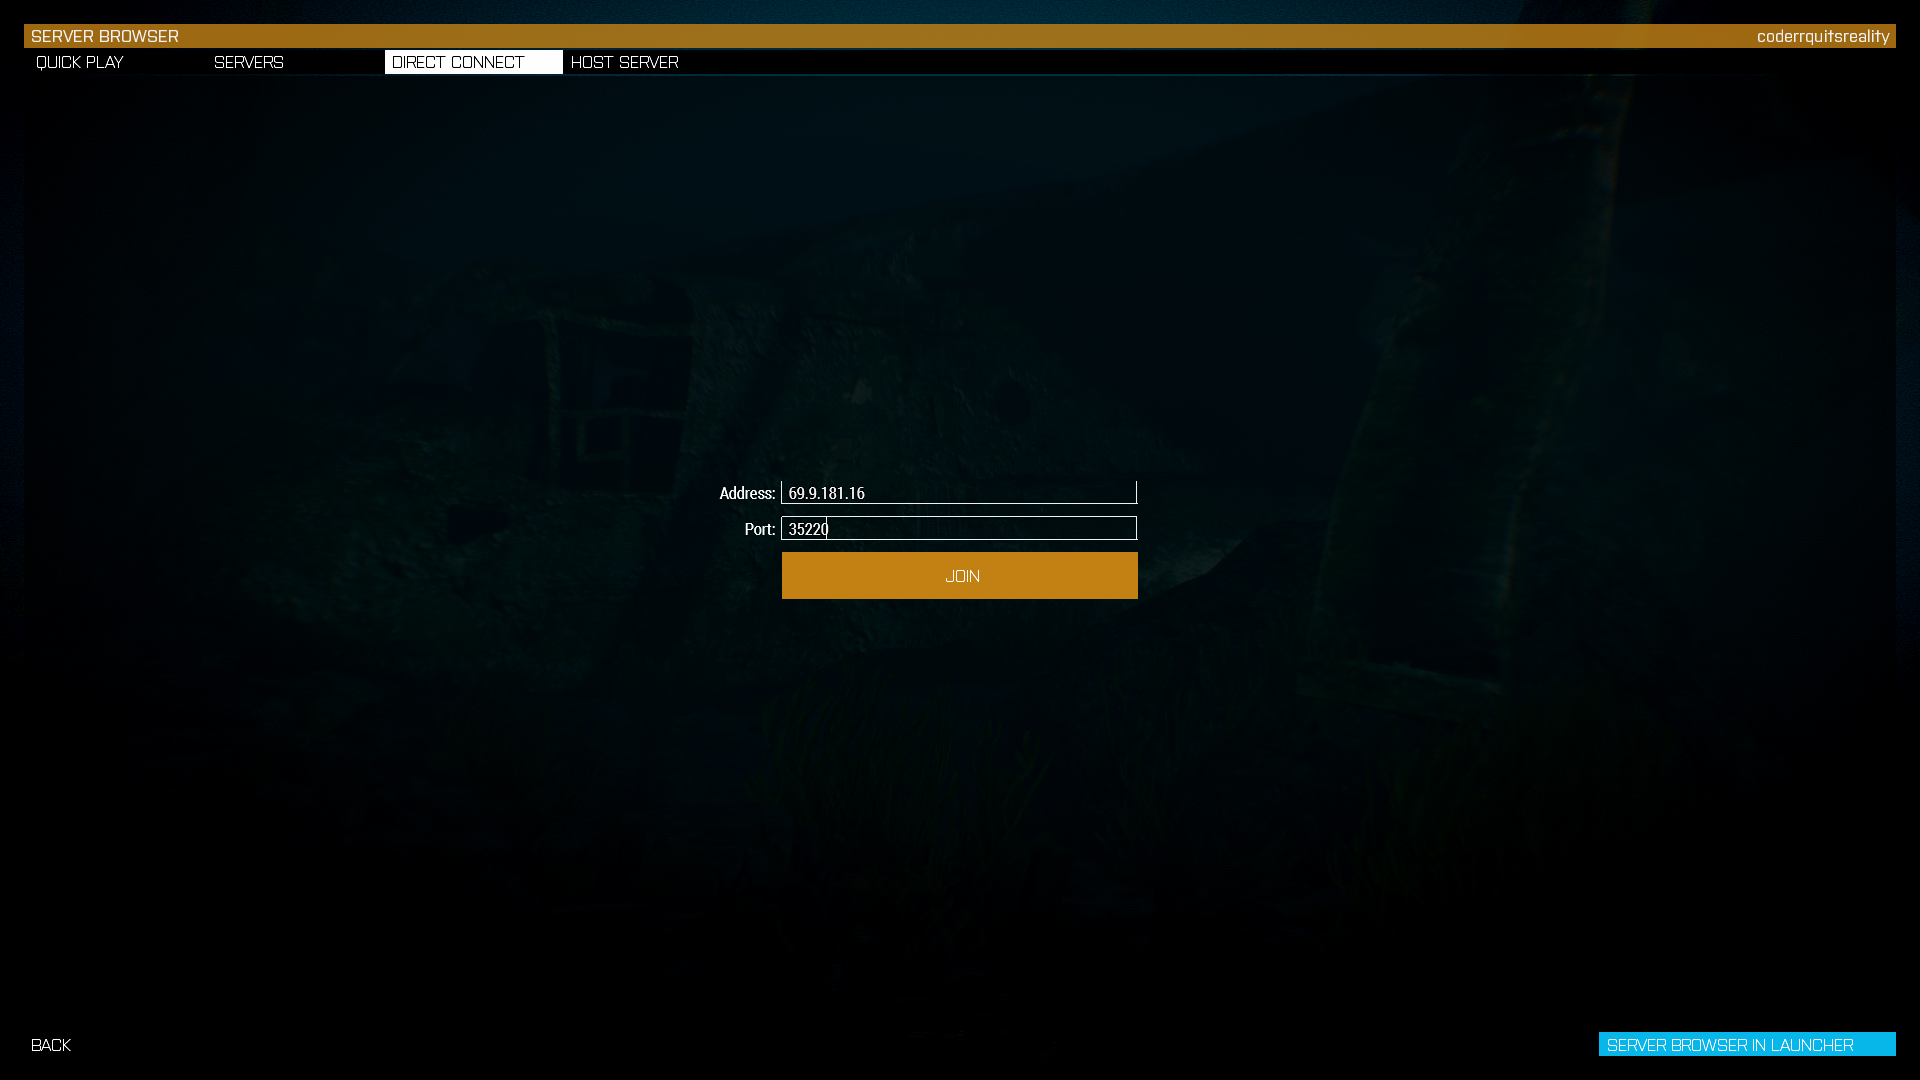
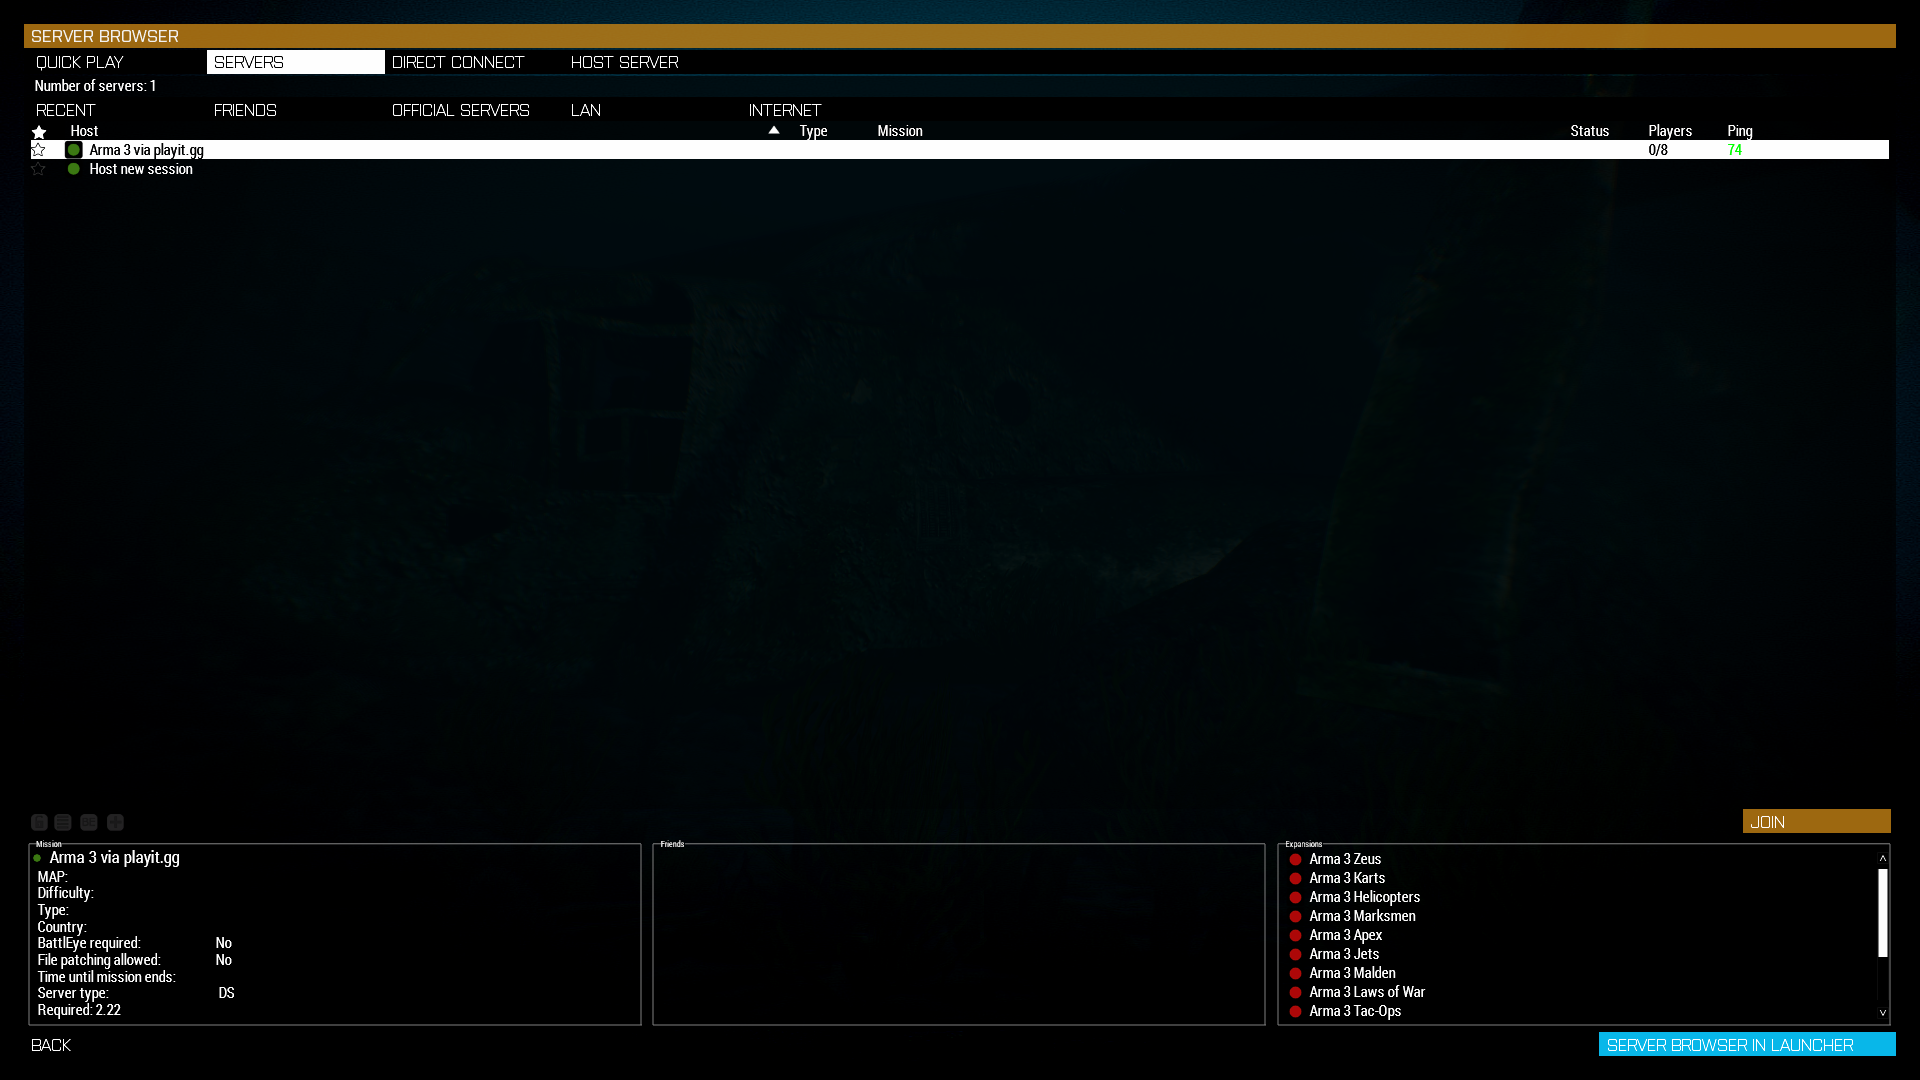
Click Join, and you should then be taken to a server list where the server is already highlighted. Click Join at the bottom right, and you should then be taken to a lobby, where you can choose teams and roles.
Steam Workshop
For this example, we’re using Vidda Legacy
from the Steam Workshop
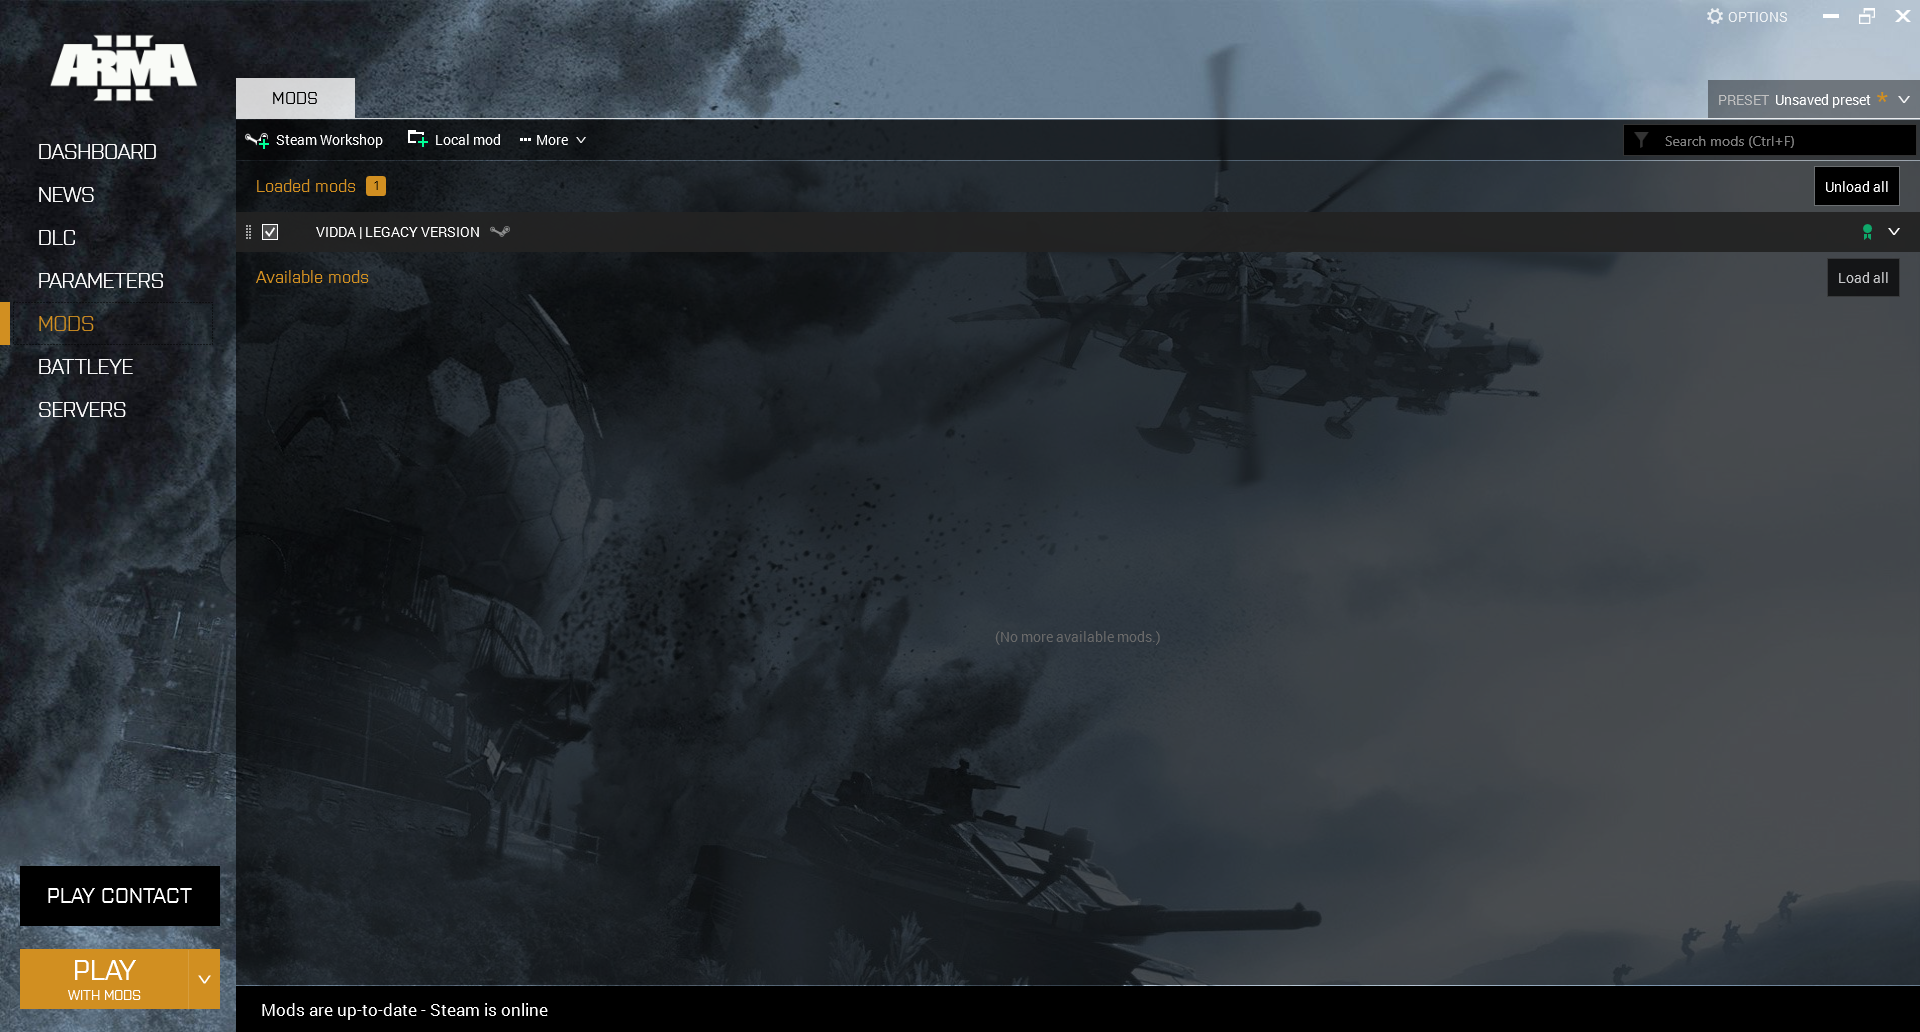
After subscribing to this item and installing it, you can open the launcher, and select to load the game with mods. Make sure the mod is selected, and then click PLAY WITH MODS
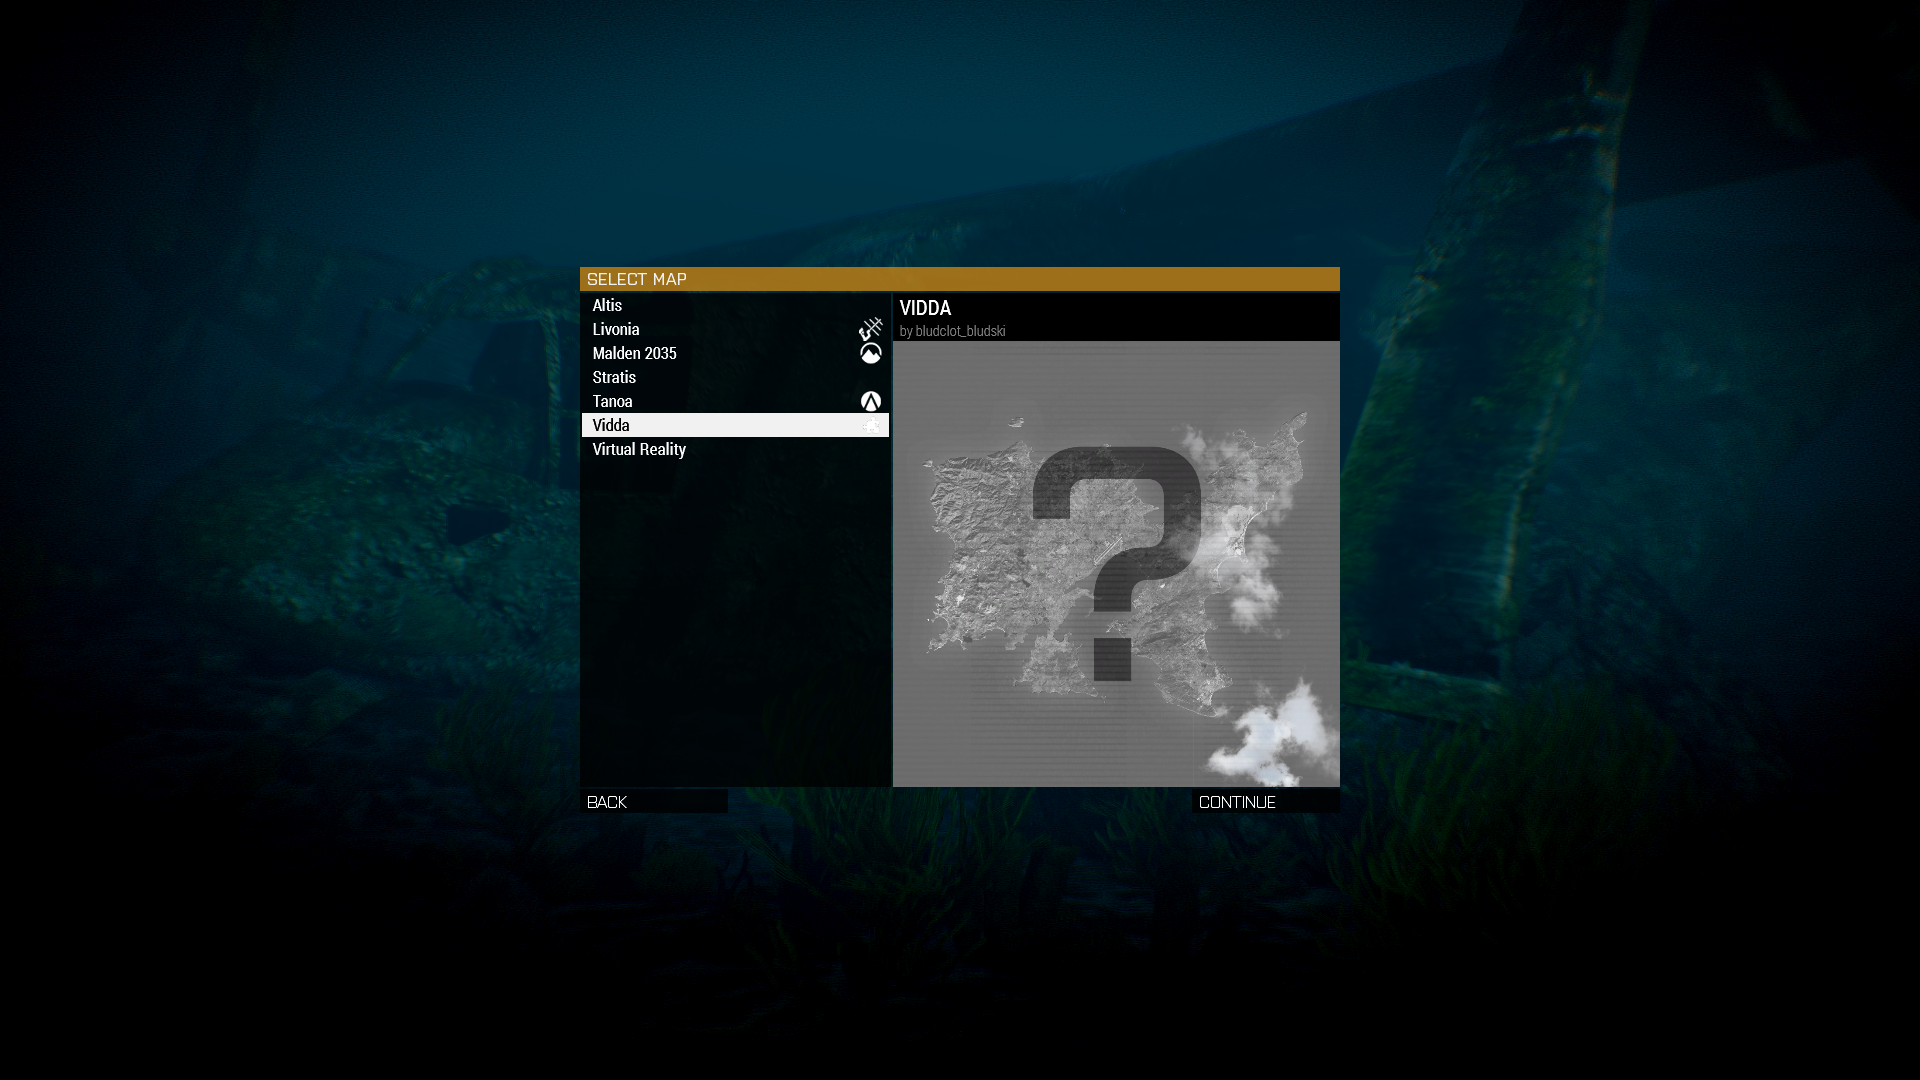
After the game is open, go the map editor. Select the mod’s map, and then click Continue
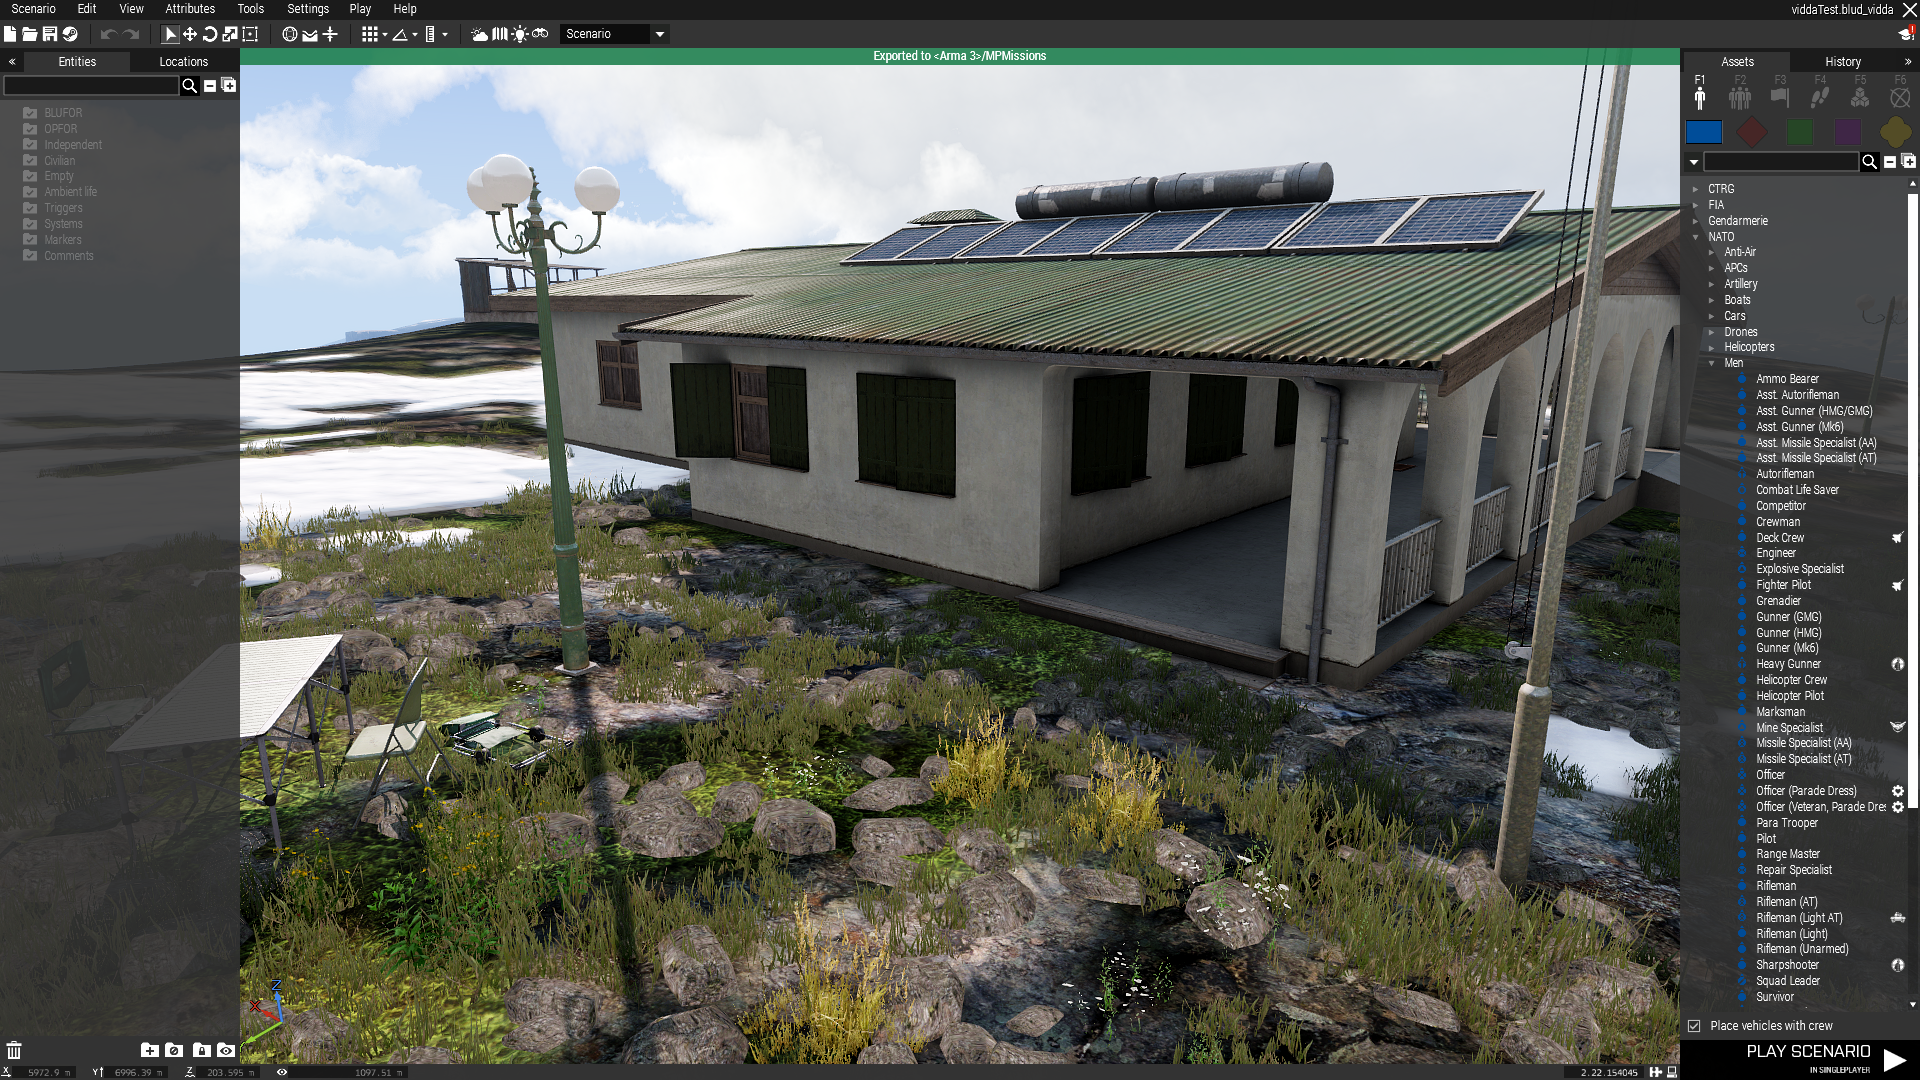
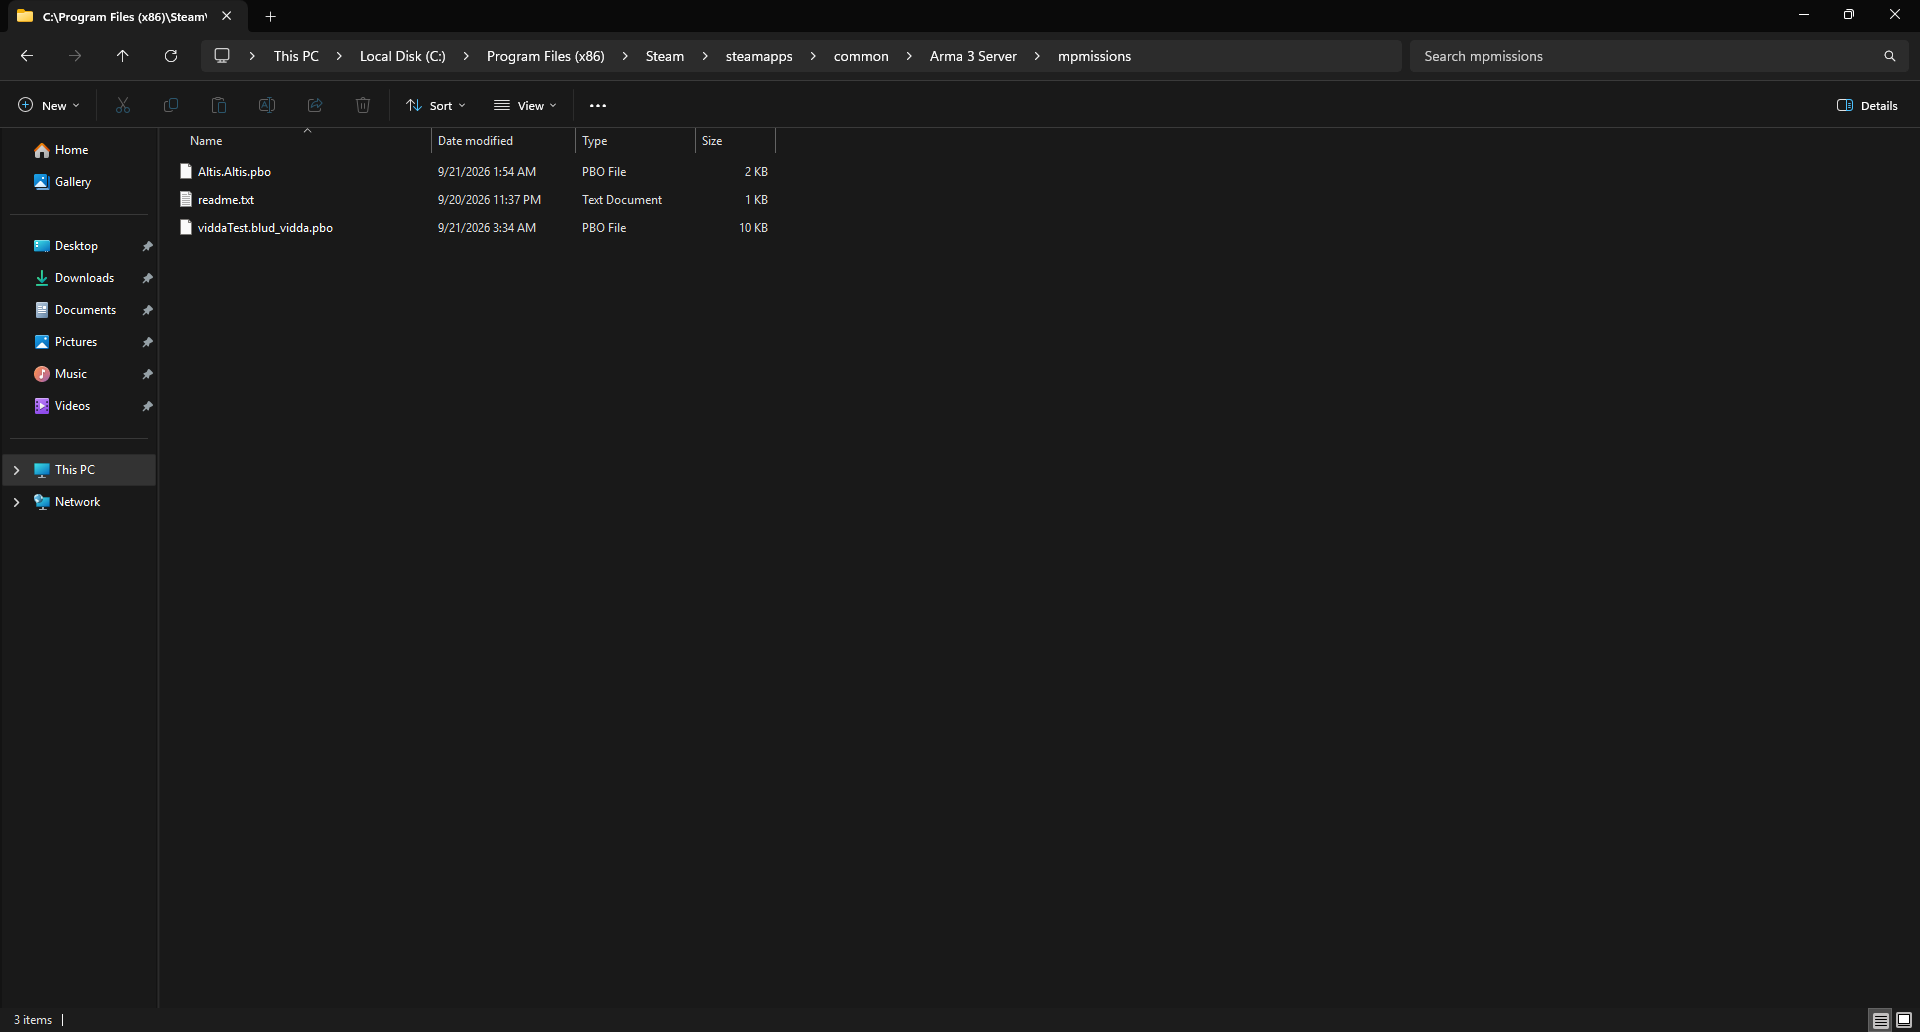
To export this for a server, go to Scenario -> Save As, and choose a file name. Ours is called ViddaTest Go to Scenario -> Export as Multiplayer. Doing this will export a .pbo file that you can then drop inside of your server. This is saved in Steam\steamapps\common\Arma 3\MPMissions. Copy this to Steam\steamapps\common\Arma 3 Server\mpmissions.
Your file structure should look like this, along with our Altis.Altis.pbo file:
Troubleshooting
The server says the AppId doesn’t match
Open
steam_appid.txtand change233780to107410
The game won’t let me start
Two possibilities:
A - Your tunnels are improperly set up. You can join the lobby, but your game can’t communicate with the game
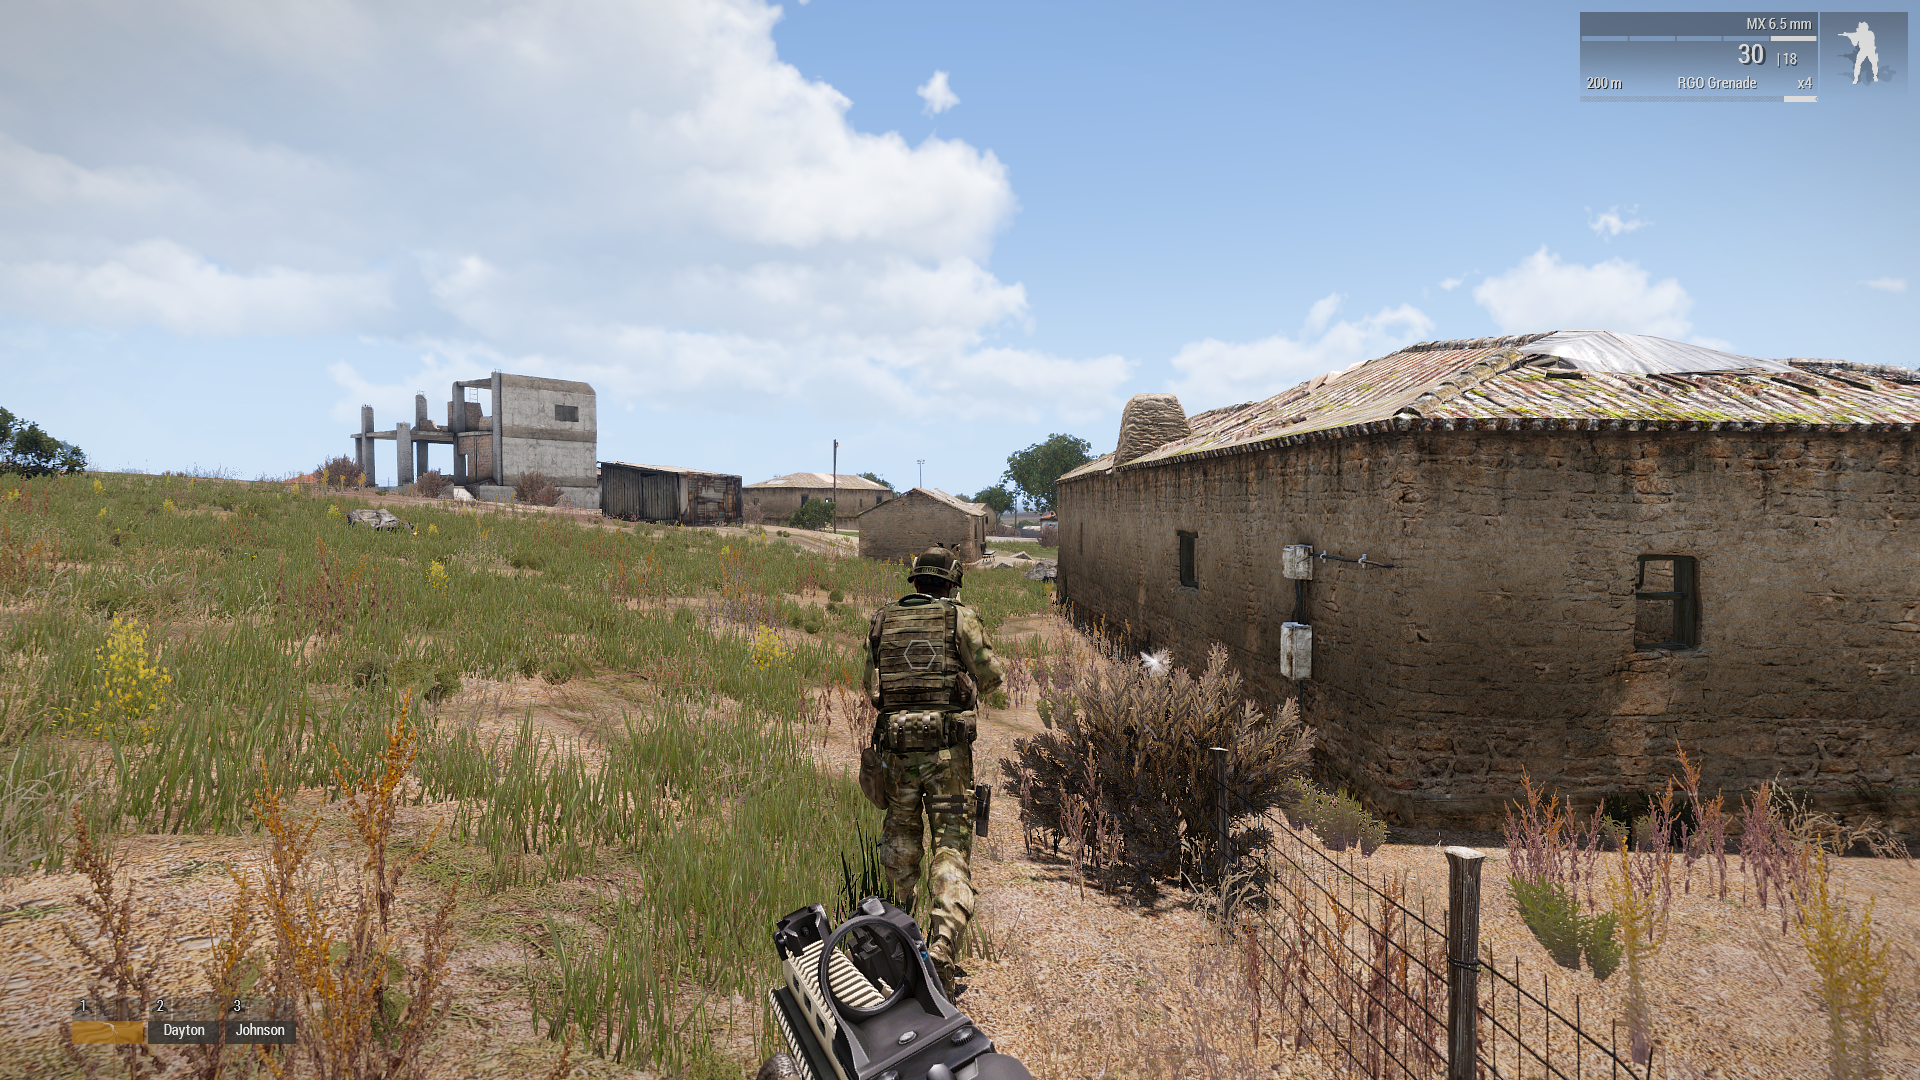
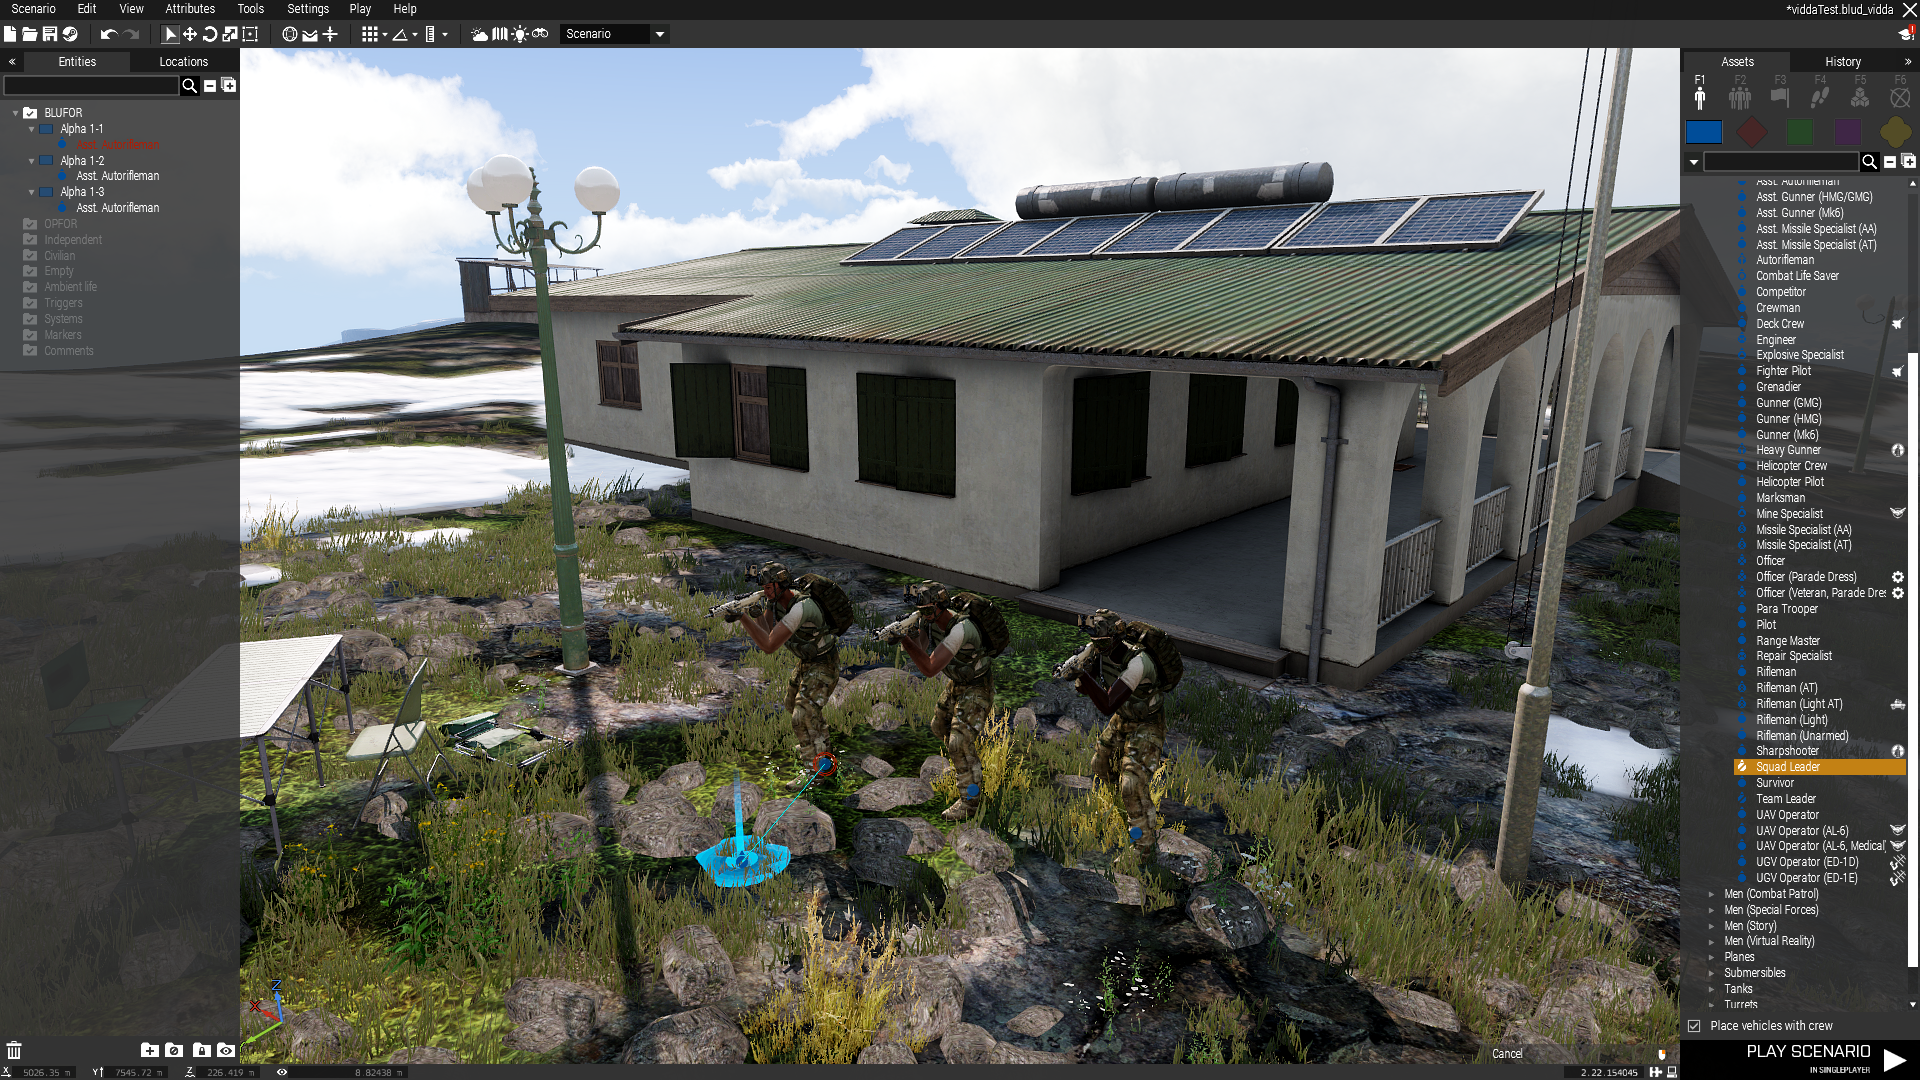
B - You’re trying to start a single player game. In the editor, drop in some entities to play as. That’s what we did for this guide:
BattlEye
We have not yet successfully set up the Arma 3 Server with BattlEye. The server lobby can be joined, however the player cannot choose a team or a role, and the game times out.