Installing the server
Server
We will use Debian 13 on x86-64 for this guide. Run the server as a normal Linux user.
Download the dedicated server from Terraria’s official website . The PC Dedicated Server download contains the Linux server and doesn’t require SteamCMD or a Steam login. This guide was tested with 1.4.5.8; the client and server versions must match. tModLoader servers use a different setup.
Install the download, extraction, and console tools:
sudo apt update
sudo apt install curl unzip tmux
Setup
Create a new folder for the server:
mkdir -p ~/terraria
cd ~/terraria
Download and extract the official server package:
curl -fL https://terraria.org/api/download/pc-dedicated-server/terraria-server-1458.zip -o terraria-server-1458.zip
unzip terraria-server-1458.zip
cd ~/terraria/1458/Linux
chmod +x TerrariaServer.bin.x86_64
The 1458 folder is for version 1.4.5.8. For a newer release, use the download linked from the official website and adjust the archive name and version folder in these commands.
Test running the server
Run the server:
./TerrariaServer.bin.x86_64
Wait for Terraria Server v1.4.5.8 and Choose World. Press Ctrl+C at this initial world-selection prompt to stop before configuring it. Don’t select or delete an existing world.
Server configuration
Create a separate folder for your world, then open the configuration:
mkdir -p ~/terraria/worlds
nano ~/terraria/serverconfig.txt
Add these lines:
world=/home/server/terraria/worlds/World.wld
autocreate=1
worldname=Terraria via playit.gg
difficulty=0
maxplayers=8
port=7777
upnp=0
motd=Welcome to Terraria via playit.gg
Replace /home/server with your user’s home directory. Run echo "$HOME" if you aren’t sure. Use the full path in the configuration; don’t put ~ in the world line.
This creates a small Classic world named Terraria via playit.gg. autocreate=1 only creates it if the specified file doesn’t exist. Keep the same world path when restarting to continue your saved world.
For a private game, add a join password on its own line:
password=YourUniqueServerPassword
Save in nano with Ctrl+S, followed by Ctrl+X.
Keeping the server running
Run this command from your SSH shell. It starts Terraria directly inside a tmux session named terraria:
tmux new-session -s terraria -c "$HOME/terraria/1458/Linux" ./TerrariaServer.bin.x86_64 -config "$HOME/terraria/serverconfig.txt"
The first run generates the world and can take a few minutes. Continue when the console shows:
Listening on port 7777
Type 'help' for a list of commands.
: Server started
Press Ctrl+B, release both keys, then press D to detach. Disconnect from SSH, reconnect, and attach to confirm that the console is still running:
tmux attach -t terraria
You can detach again with Ctrl+B, then D. Leave the server running while creating its tunnel.
Create the playit tunnel
Install and claim a playit agent on the same Linux computer as the Terraria server. See How to run playit.gg on Linux and How to run playit 24/7 on Linux for agent setup and keeping it running.
Open your tunnels , choose new tunnel, and use:
- Name your tunnel: Terraria Linux
- Tunnel Type: Terraria
- Public Endpoint: Playit Network → Global Anycast (Global · Free)
- Assign to Agent: the agent on your Linux server
- Origin Config: Local IP
127.0.0.1, Local Port7777, Proxy Protocol None
Click Next, review the settings, then click Create Tunnel. The Terraria preset was tested on the Free Network. It forwards Terraria’s TCP traffic to local port 7777.
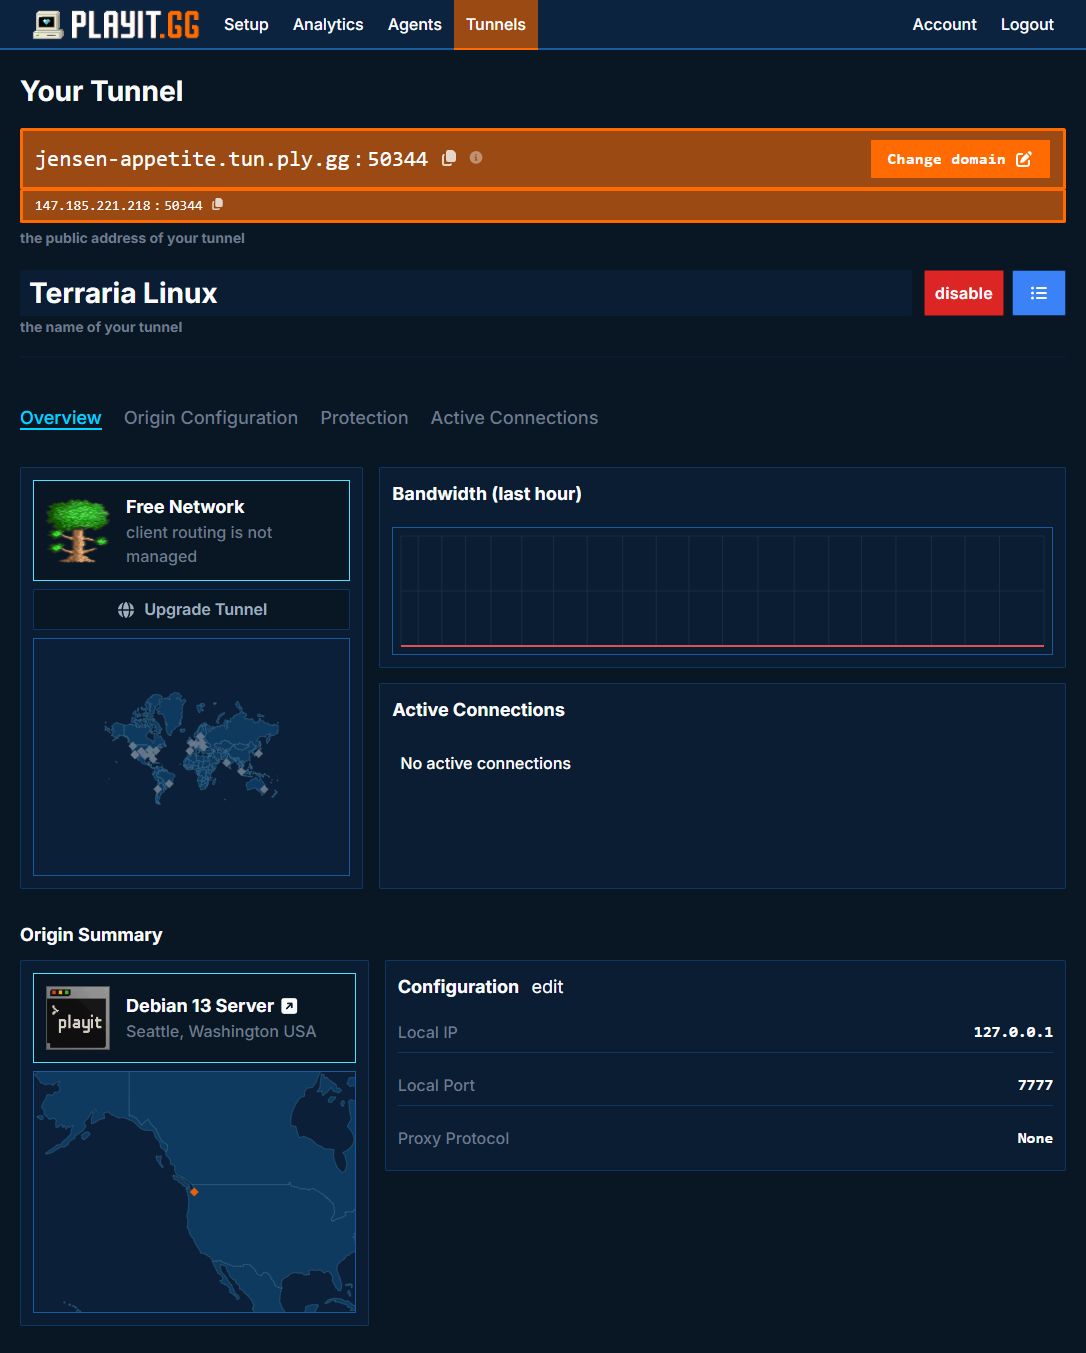
If the agent selector says the tunnel type isn’t supported, click Refresh agents and check again. Keep the server and agent running.
Joining the server
Open Terraria on your PC and choose Multiplayer → Join via IP. Select or create a Classic character for this Classic world.
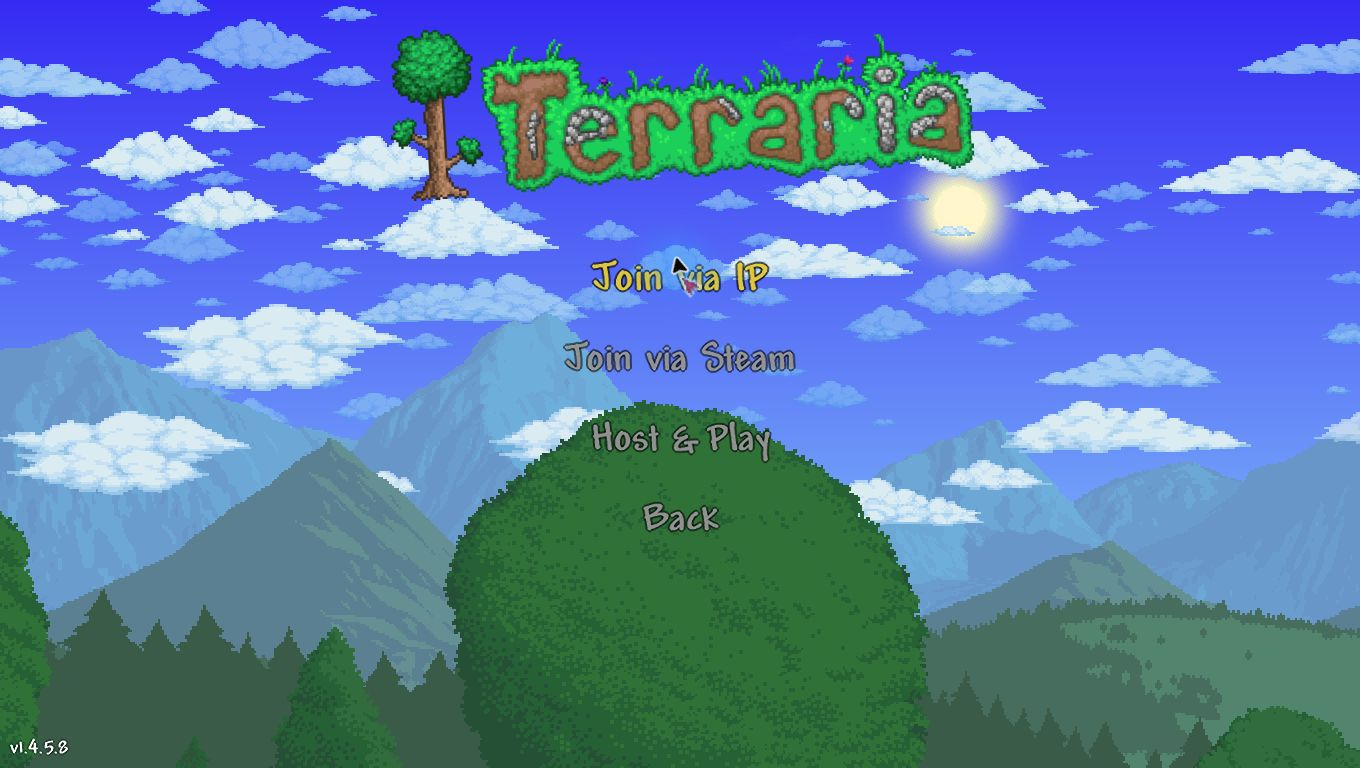
Enter the tunnel’s hostname without its port, then click Accept. Enter the assigned public port on the next screen. For the Linux example:
Server IP Address: jensen-appetite.tun.ply.gg
Server Port: 50344
Substitute your own tunnel’s hostname and public port. Keep port=7777 in the server configuration and Local Port 7777 in playit; the assigned public port can be different.
Click Accept, enter the server password if prompted, and wait until your character appears in the world. Found server alone isn’t a completed join.
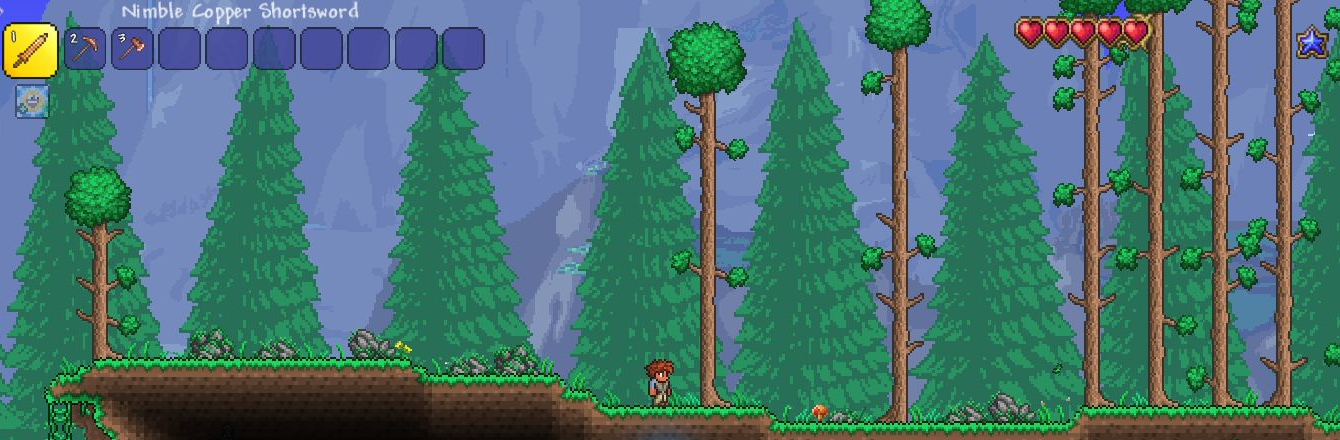
Share the tunnel hostname, public port, and optional password with friends. Keep the dedicated server and playit agent running while anyone is playing.
Save, stop, and update
Attach to the server console:
tmux attach -t terraria
Enter save to save without stopping, or exit to save and shut down. Wait for saving to finish. When you use exit, the tmux session closes and you return to your SSH shell. Avoid exit-nosave when you want to keep changes.
Back up ~/terraria/serverconfig.txt and the entire ~/terraria/worlds folder while the server is stopped.
To update, stop the server first. Download and extract the new official server archive into ~/terraria, as in the installation section. Change to its new Linux folder, repeat chmod +x TerrariaServer.bin.x86_64, and start it with the same configuration path. Keep the existing world path. Update clients to the same version.
For the version tested here, you can repeat the download and extract it with overwrite enabled:
cd ~/terraria
curl -fL https://terraria.org/api/download/pc-dedicated-server/terraria-server-1458.zip -o terraria-server-1458.zip
unzip -o terraria-server-1458.zip
Run the tmux startup command again to restart the server. If you installed a newer version, change the version folder in the command to match.
Troubleshooting
Permission denied or the server won’t start
Run the binary from its Linux folder and repeat the chmod +x command. This package is for x86-64 Linux; check your architecture with uname -m. Keep the bundled libraries with the executable.
The server asks you to choose a world
Check the -config path and the world line. Use your actual absolute home path in the configuration and create the parent folders before starting. Linux filenames are case sensitive.
The tunnel doesn’t connect
Wait for Server started. From another SSH connection, check the TCP listener:
ss -ltnp | grep ':7777'
Check that the Linux agent is online and selected on this tunnel, the tunnel is enabled, and the origin is 127.0.0.1:7777 with Proxy Protocol None. Check any local firewall restrictions between the agent and server. Router port forwarding isn’t needed.
Enter the hostname and public port on their separate screens. 127.0.0.1 in a remote player’s game refers to that player’s computer, not your Linux server.
The server is found but the world doesn’t load
Match the client and server versions, check the password, and use a Classic character for this Classic world. A Journey character cannot join it. Wait for the complete world load before treating the connection as successful.