Install Terraria
Install Terraria from your Steam Library. This guide uses the standard PC game and its included dedicated server, tested with version 1.4.5.8. Use the same version on the server and every player’s client. tModLoader servers use a different setup.
Search for Terraria in your Library and select it.
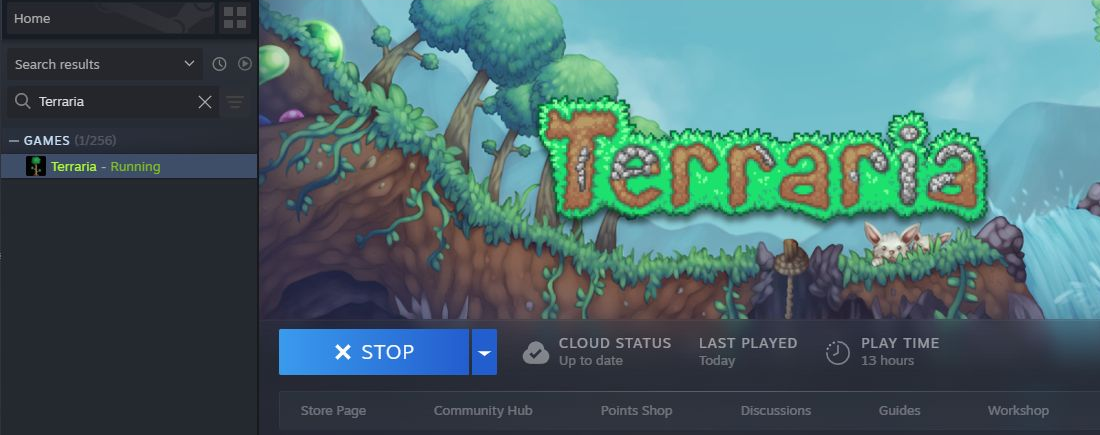
Right-click Terraria in the Library list on the left, then choose Manage → Browse local files.
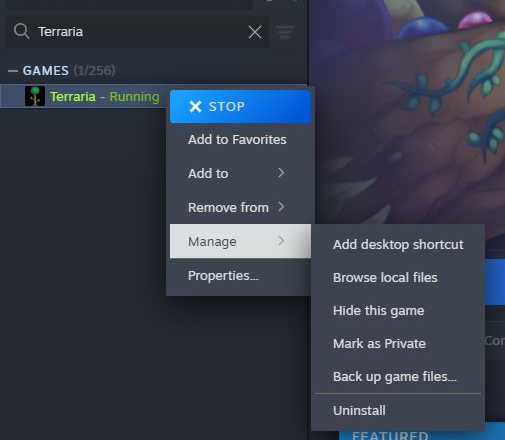
The folder contains TerrariaServer.exe and an example serverconfig.txt. Our installation is at D:\Steam\steamapps\common\Terraria; substitute your own installation folder in the paths below.
Launch TerrariaServer.exe. Wait for Choose World, then close this console before creating the configuration below. You don’t need to select or modify an existing world.
Configure the server
Create a folder named terraria-server inside the Terraria installation, and a worlds folder inside it. Back up the existing serverconfig.txt beside TerrariaServer.exe, then replace its contents with:
world=D:\Steam\steamapps\common\Terraria\terraria-server\worlds\World.wld
autocreate=1
worldname=Terraria via playit.gg
difficulty=0
maxplayers=8
port=7777
upnp=0
motd=Welcome to Terraria via playit.gg
Change the world path if your installation is elsewhere. This creates a separate small Classic world named Terraria via playit.gg. Keep the same world file path when restarting. autocreate=1 creates a world only if the specified file doesn’t exist.
For a private server, add a password on its own line:
password=YourUniqueServerPassword
Save the file as plain text. In File Explorer, enable View → Show → File name extensions and check that it is named serverconfig.txt, not serverconfig.txt.txt.
Create start-server.bat in the Terraria installation folder:
@echo off
cls
:start
TerrariaServer.exe -config serverconfig.txt
@echo.
@echo Restarting server...
@echo.
goto start
Keep start-server.bat, serverconfig.txt, and TerrariaServer.exe in the same folder. Double-click start-server.bat in File Explorer to start the server. The first run generates the world and can take a few minutes. Continue when the console shows:
Listening on port 7777
Type 'help' for a list of commands.
: Server started
Leave the console open while playing. This setup uses TCP port 7777 and disables automatic router port forwarding; playit will provide the public address.
Test joining locally
Open Terraria and choose Multiplayer → Join via IP. Select a Classic character, or create one. A Journey character cannot join this Classic world.
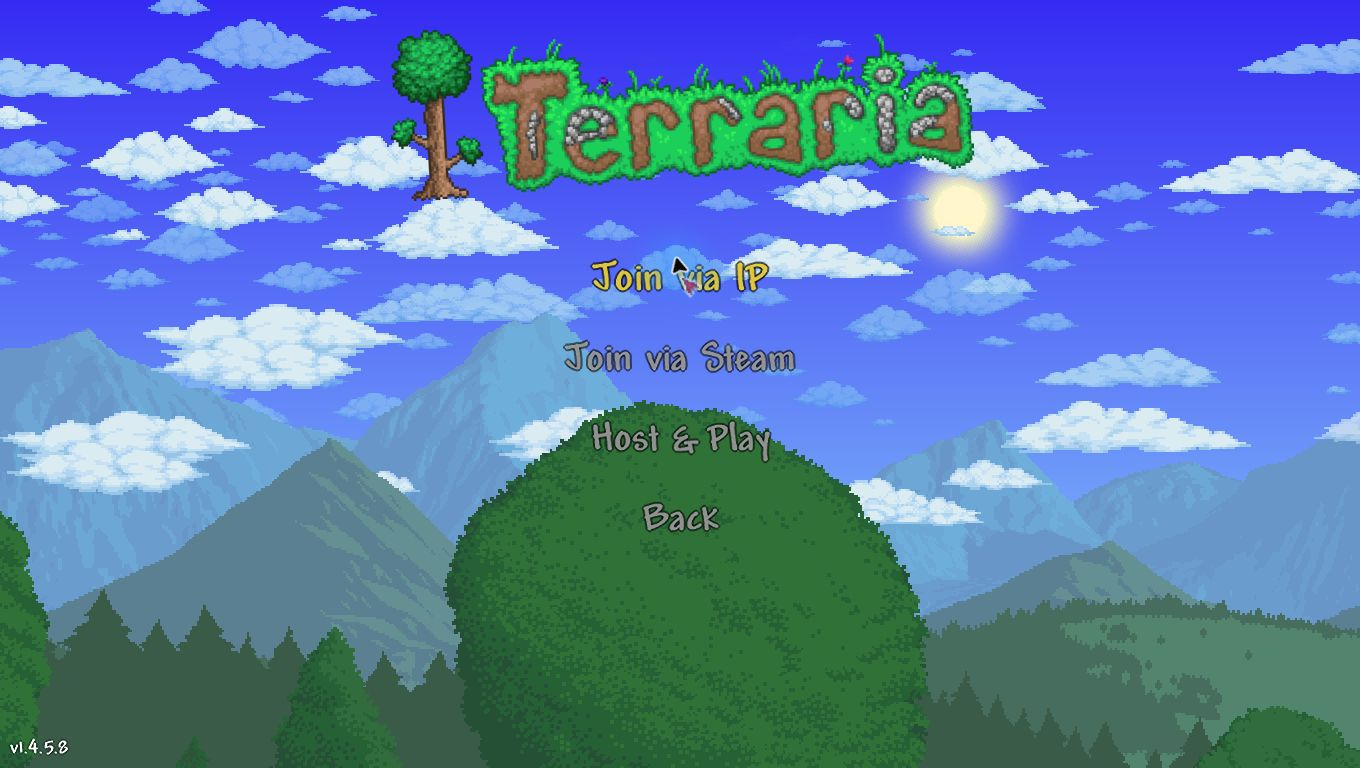
Enter 127.0.0.1 as the server IP address and click Accept. Enter 7777 as the server port, click Accept, and enter the server password if you set one. Wait until your character appears in the world.
On another computer in your home network, use the server computer’s LAN IPv4 address instead of 127.0.0.1.
Create the playit tunnel
Install and claim the playit agent on the same Windows computer as the server. Download the agent from playit.gg and follow its setup prompts. Keep the agent running.
Open your tunnels and choose new tunnel. Complete these sections:
- Name your tunnel: Terraria
- Tunnel Type: Terraria
- Public Endpoint: Playit Network → Global Anycast
- Assign to Agent: the agent on your Windows server computer
- Origin Config: Local IP
127.0.0.1, Local Port7777, Proxy Protocol None
Click Next, review the settings, then click Create Tunnel.
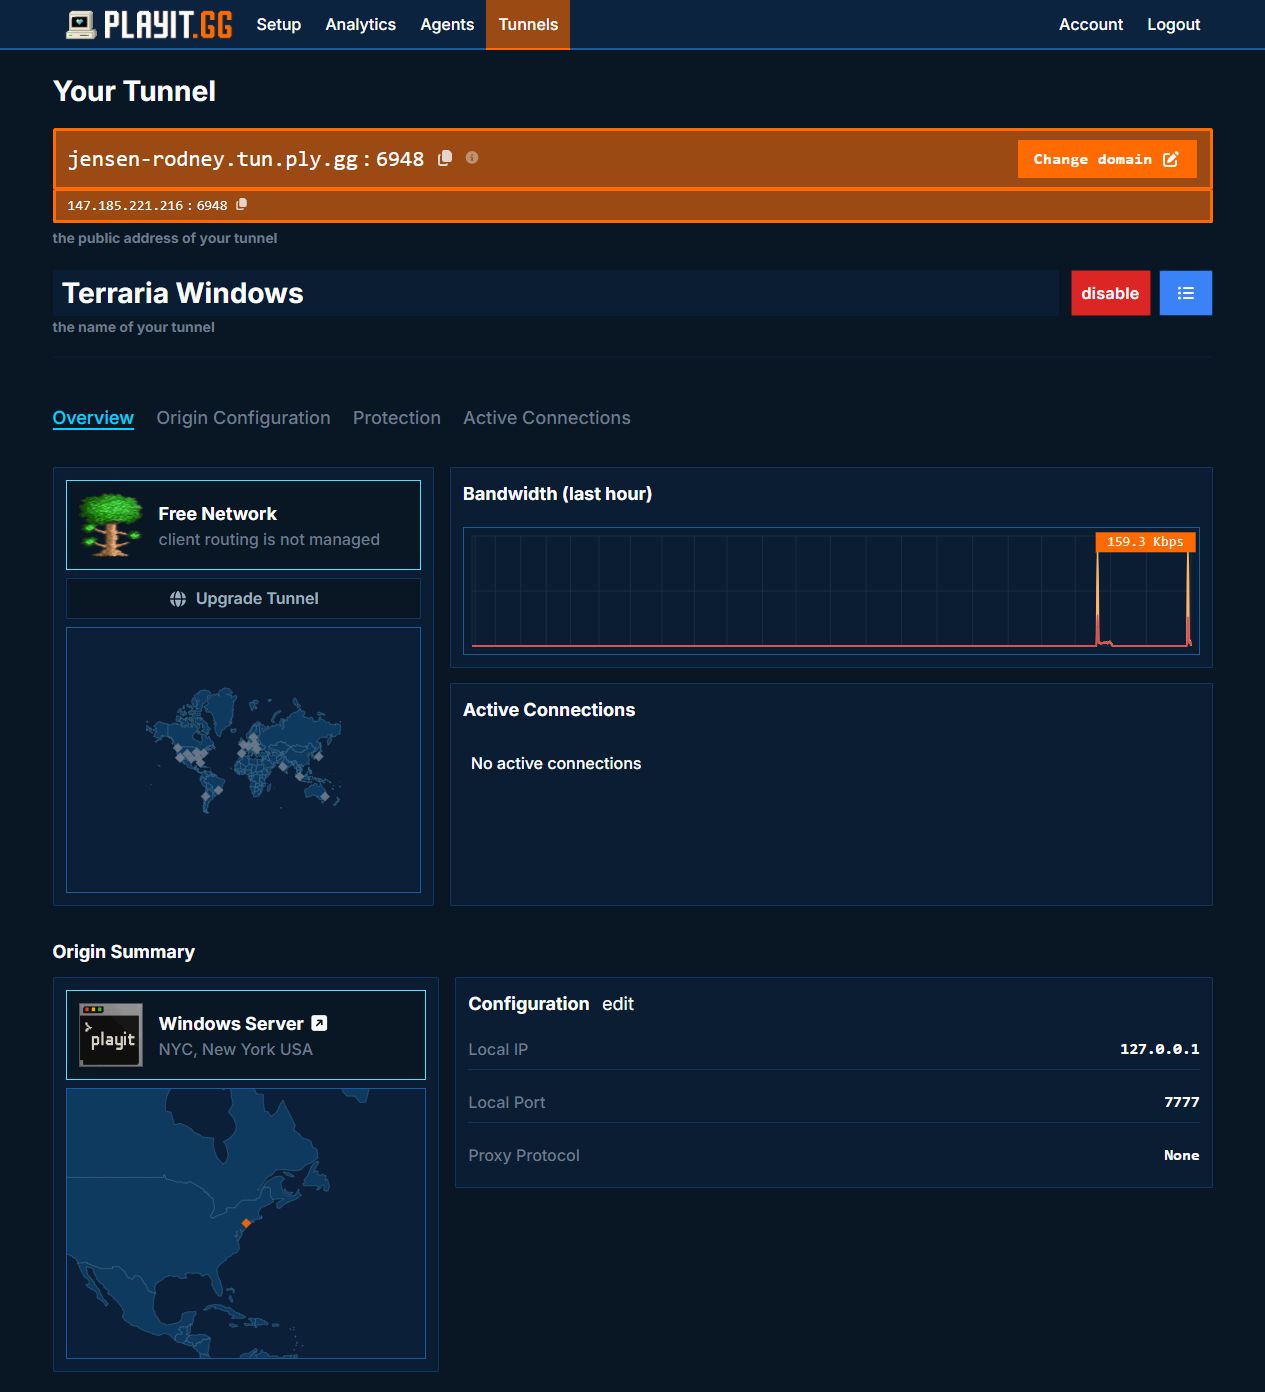
Join through playit
Return to Multiplayer → Join via IP and select your character. Enter your tunnel’s hostname without the port, then click Accept. Enter the assigned public port on the next screen.
For the Windows example:
Server IP Address: jensen-rodney.tun.ply.gg
Server Port: 6948
Replace both values with your own tunnel’s address and port. The public port is assigned by playit; keep port=7777 in the server configuration and Local Port 7777 in the tunnel.
Click Accept, enter your server password if prompted, and wait for the world to load. Found server alone isn’t the end of the connection process.
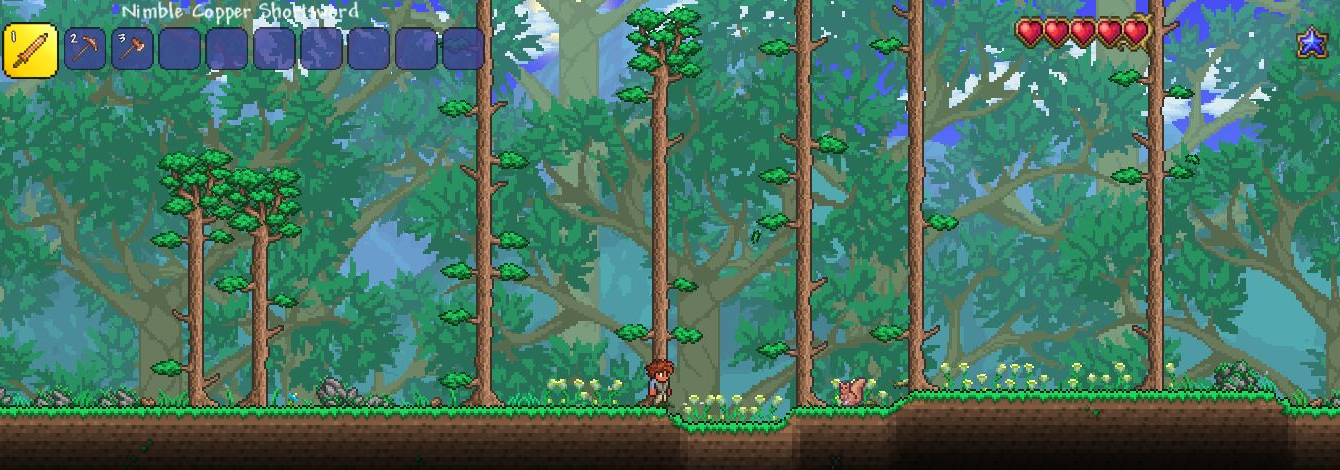
Share your tunnel’s hostname, public port, and optional server password with friends. Keep both the dedicated server and playit agent running.
Save, stop, and update
In the dedicated server console, enter save to save without stopping. Enter exit to save and restart the server. The batch file prints Restarting server… and starts it again with the same configuration. Avoid exit-nosave when you want to keep your changes.
To stop for a backup or update, open start-server.bat, replace the final goto start with pause, and save it. Then enter exit in the server console. Wait for saving to finish and Press any key to continue . . . before closing the window. Restore goto start in the batch file when you want automatic restarts again.
Back up serverconfig.txt and the entire terraria-server folder while the server is stopped. Restart with the same batch file to continue the saved world.
To update, stop the server, let Steam update Terraria, then restart with the same batch file. Update players’ clients too. Keep your configuration and world backups separate from the game files you replace.
Troubleshooting
Microsoft.Xna.Framework is missing
If the server reports Could not load file or assembly 'Microsoft.Xna.Framework, Version=4.0.0.0', complete Steam’s first-time setup for Terraria. If needed, run the included xnafx40_redist.msi from the Terraria folder and complete its installation with administrator access, then retry. Steam being installed doesn’t mean this Windows runtime is installed.
The console still asks you to choose a world
Check that serverconfig.txt is beside TerrariaServer.exe and start-server.bat, and that its world line is an absolute path to World.wld. Create the parent folders first. The example configuration bundled with the game has most settings commented out; it isn’t the configuration above.
Local joining fails
Wait for Server started, confirm the client and server versions match, and use port 7777. Check the password and character mode. For LAN connections, check that Windows Firewall permits TerrariaServer’s TCP traffic on port 7777 for the active network profile.
Local joining works but the public address fails
Check that the tunnel is enabled, the correct agent is online, and its origin is 127.0.0.1:7777 on the server computer. Use the tunnel’s assigned public port in the game, not 7777 unless that happens to be your assigned port. Leave Proxy Protocol at None. Enter the hostname and port on their separate screens.